

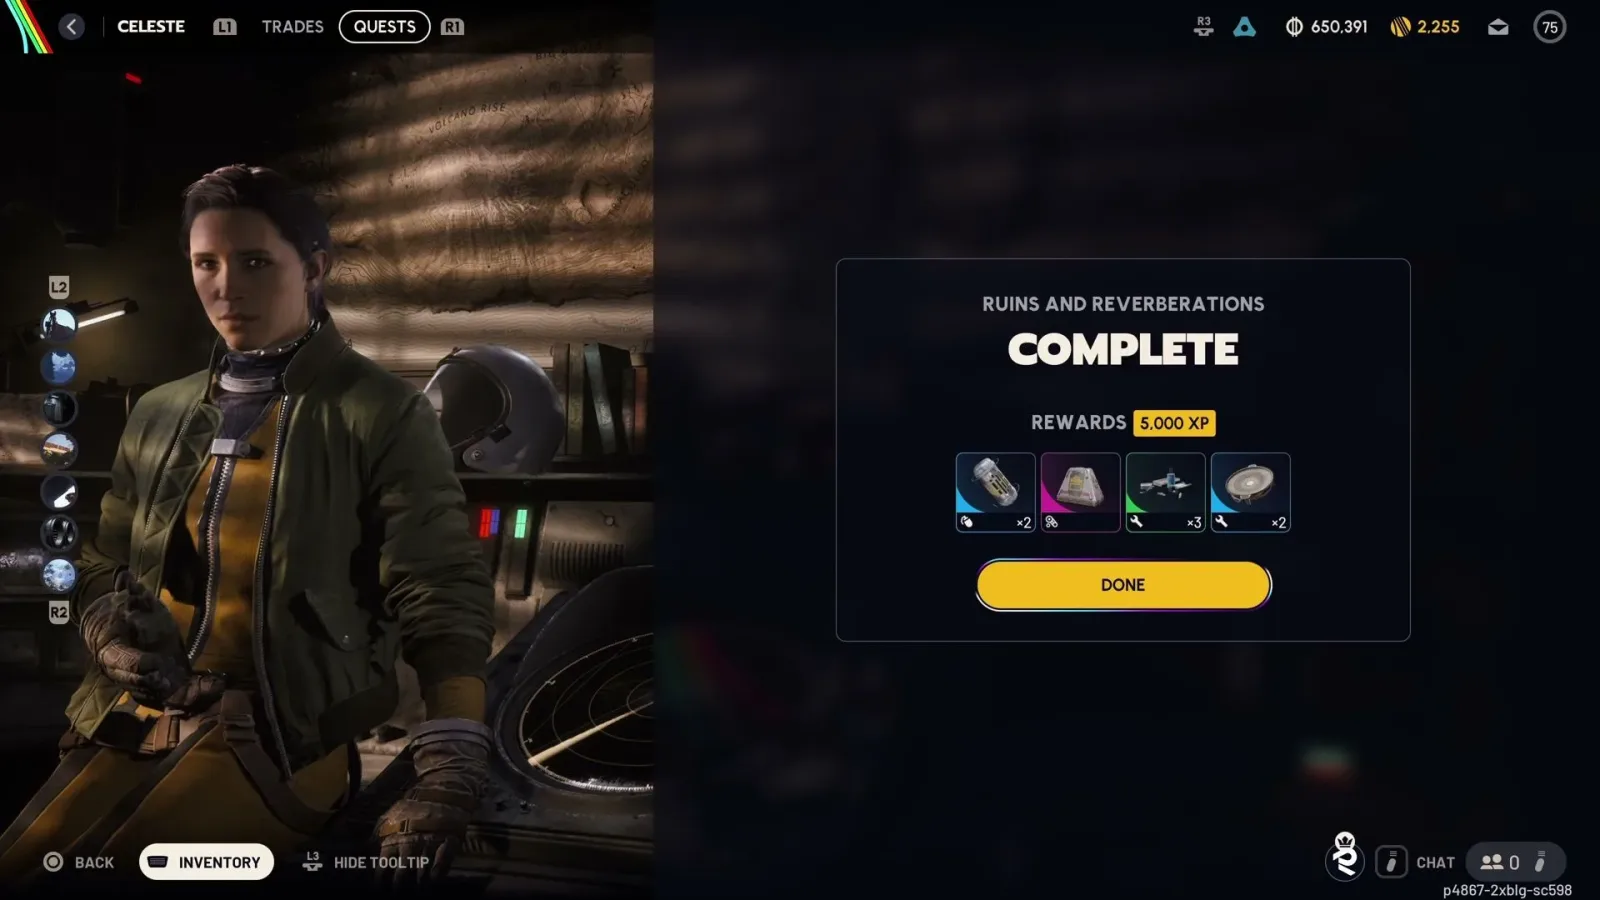
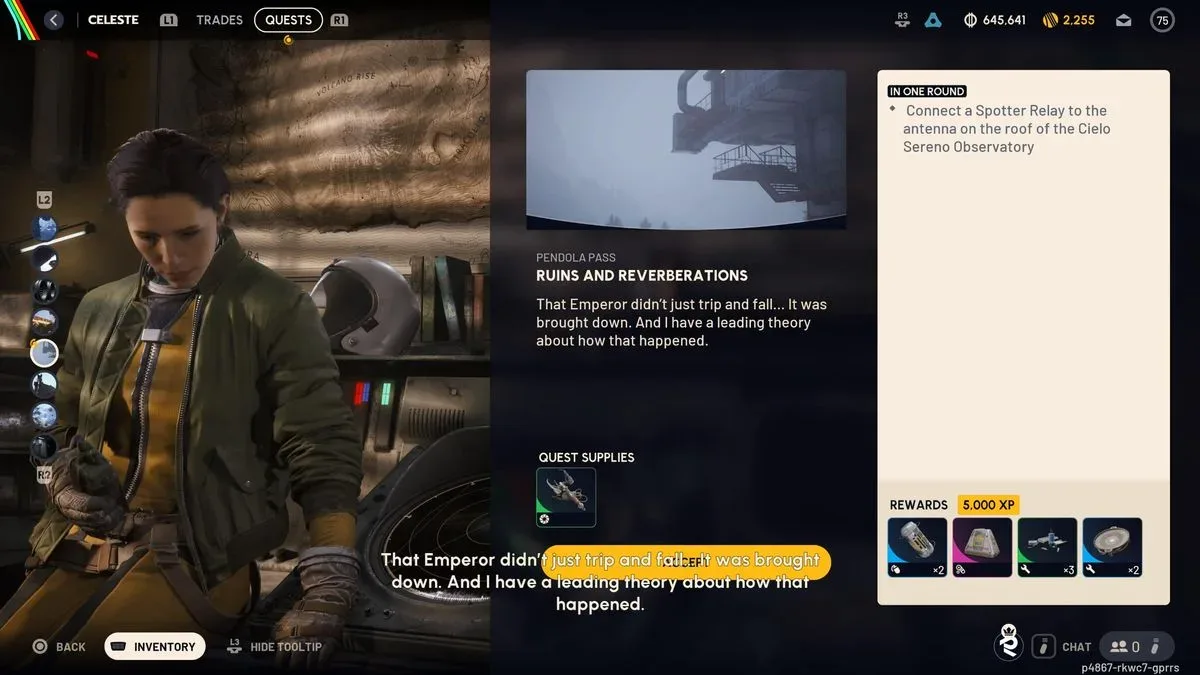
Ruins and Reverberations is a multi-stage Arc Raiders quest set in Pendola Pass. It begins with an apparently straightforward instruction: attach a Spotter Relay to an antenna atop the Cielo Sereno Observatory. In practice, getting the relay, reaching the correct rooftop position, and dealing with the unexpected power failure turn it into a longer field assignment.
The mission follows the antenna-related work from Wires Crossed, but it has a major difference: the required item is not necessarily something every Raider will already have in their inventory. You must obtain a Spotter Relay from a particular Arc enemy, get it into Pendola Pass, navigate the observatory, and then complete a repair beneath the control room before returning to the roof.
This walkthrough covers each objective, the safest practical approach to acquiring the relay, where to find the correct antenna at Cielo Sereno Observatory, and what to expect after the final interaction.
Ruins and Reverberations objectives at a glance
- Acquire a Spotter Relay if you do not already have one.
- Travel to Pendola Pass.
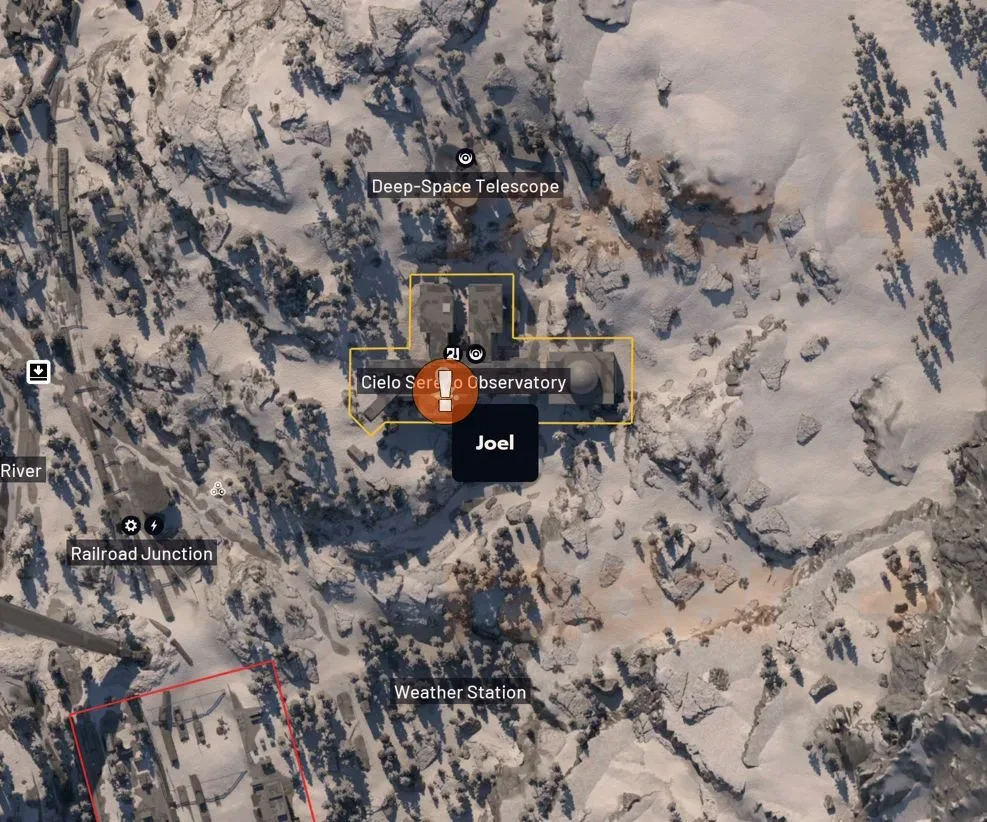
- Reach the Cielo Sereno Observatory in the northeast portion of the map.
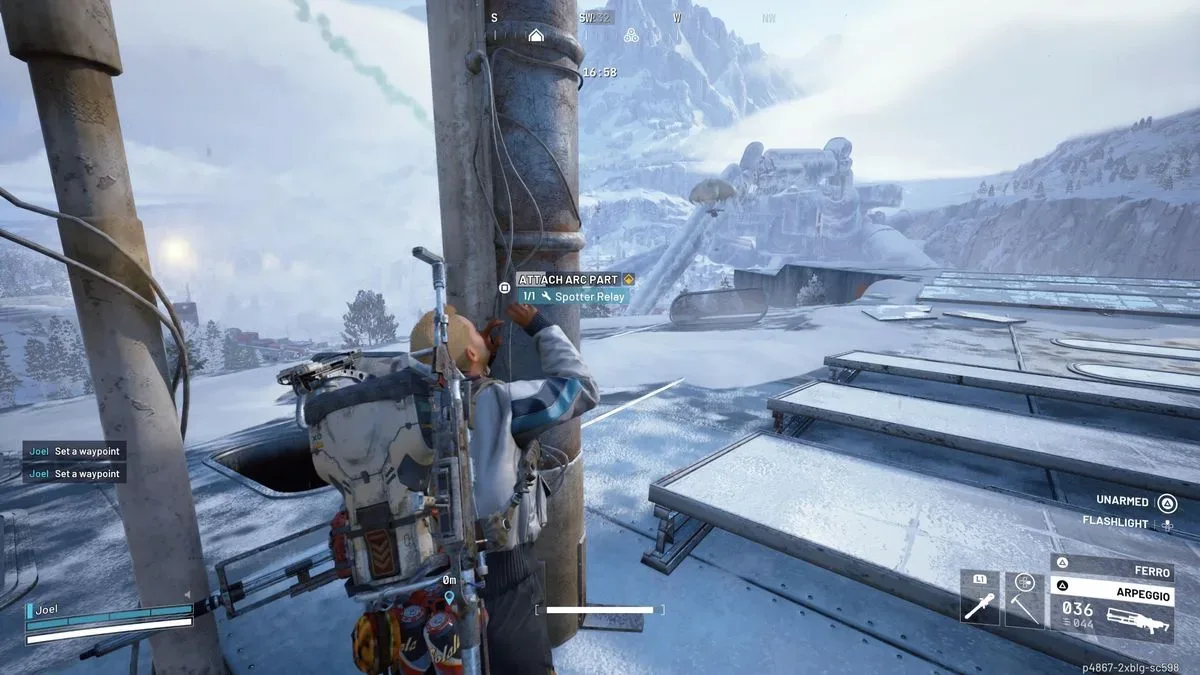
- Attach the Spotter Relay to the correct rooftop antenna.
- Enter the observatory and access the crawlspace beneath the control room.
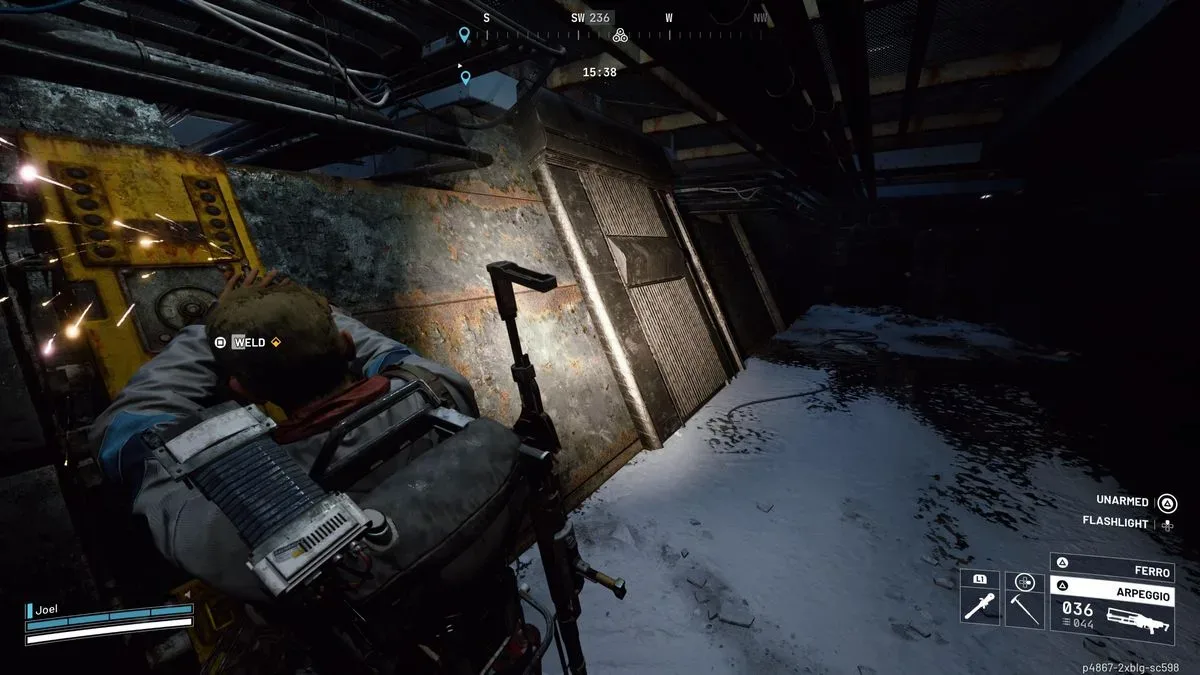
- Weld the damaged wires to redirect power.
- Return to the roof and activate the antenna again.
- Extract to secure the quest completion and collect the rewards.
It is worth treating the last point as part of the mission rather than an afterthought. The quest may be completed at the antenna, but successfully leaving the area is what ensures the rewards are collected.
For useful background on this topic, read Become Tops 145,000 Steam Wishlists as Its Microscopic Adventure Wins Showcase Honors.
How to get a Spotter Relay
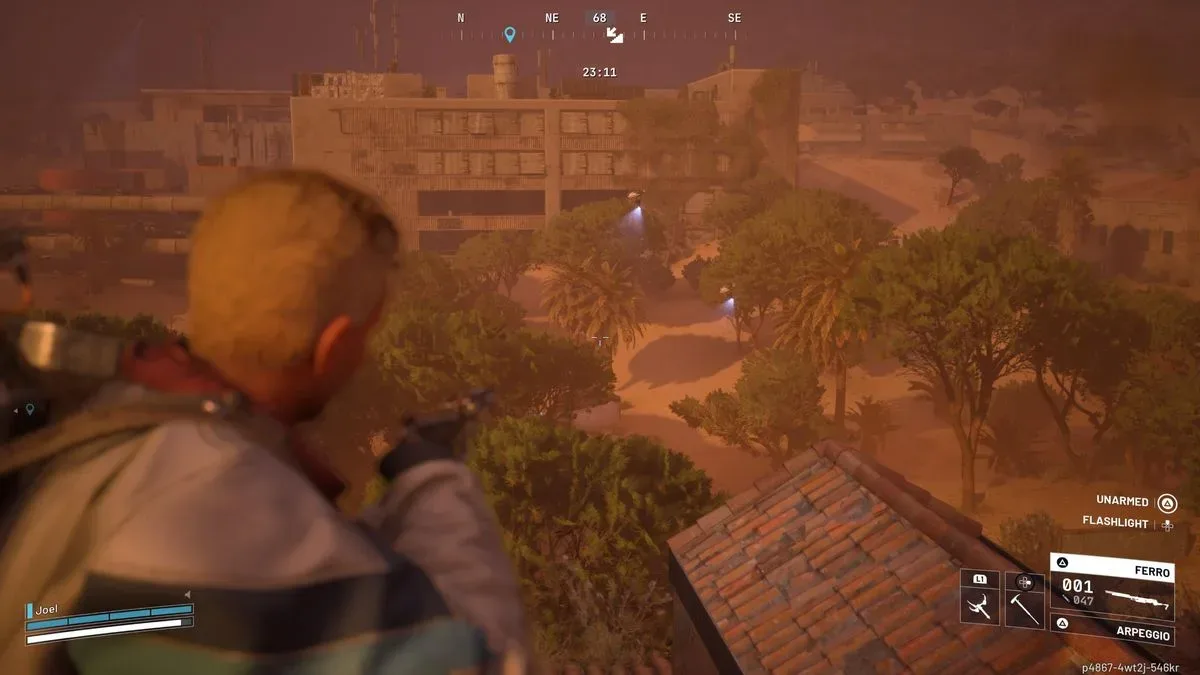
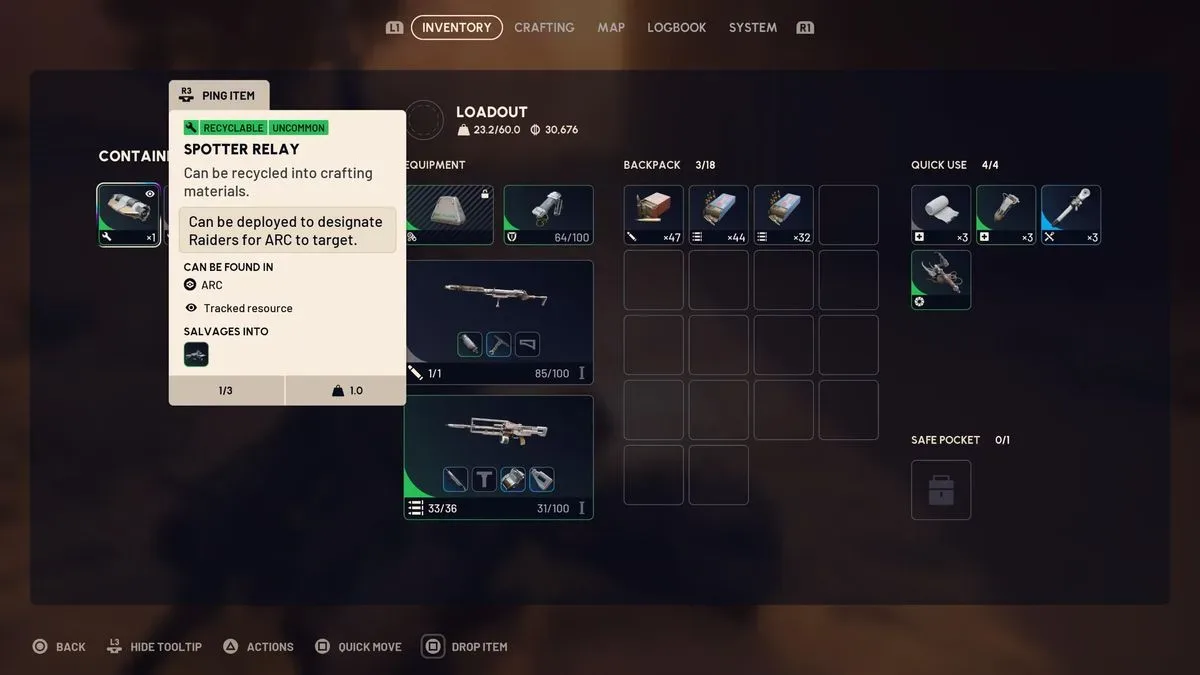
A Spotter Relay is obtained from a Spotter. These are the circular airborne drones that commonly accompany Bombardiers. Spotters are built to identify nearby players and direct danger toward them, rather than serving as the primary heavy threat themselves.
Although a Spotter can be destroyed relatively easily, fighting one carelessly can turn into a Bombardier encounter. Once a Spotter notices a Raider, the nearby Bombardier may begin firing arcing explosive mortar shots at the detected position. That makes the small drone less of a loot problem and more of an alarm system attached to a much larger problem.
Safer tactics for fighting a Spotter
- Create noise at a distance: Try to draw the Spotter's attention away from your actual position before engaging.
- Use a stronger weapon: Eliminate the drone quickly before it can properly identify you or maintain pressure.
- Do not linger after being seen: If the Bombardier identifies your location, prioritize cover over immediately retrieving the loot.
- Wait out the danger: Let the Bombardier move away before approaching the destroyed Spotter and searching its wreckage.
The key is not to assume that a weak drone means a risk-free kill. A relay is valuable for the quest, but exposing yourself to bombardment in open terrain can cost much more than the item is worth. If the first attempt gets messy, disengaging and trying again later can be the better decision.
After looting the Spotter Relay, make sure it remains with you for the Pendola Pass run. The next stages require carrying it to the observatory, so avoid unnecessary fights or detours that could jeopardize the item before it is installed.
Prepare before entering Pendola Pass
The Cielo Sereno Observatory is located on the northeast side of Pendola Pass. The destination can be reached without special mobility gear, but vertical traversal becomes significantly more convenient if you prepare before deploying.
A grappling hook, zipline, or snap hook is strongly recommended. The quest route requires getting onto the exterior roof and moving around the building to find a specific antenna. Bringing a mobility option gives you more flexibility if a direct path is blocked, if enemies are nearby, or if you need to leave the rooftop quickly after making noise.
Beyond traversal equipment, consider arriving with enough healing and ammunition to handle an interruption rather than planning a prolonged fight. The objective is concentrated around a recognizable landmark, which means other Raiders may also have reason to pass through the area. A fast, controlled completion is safer than turning the observatory into a lengthy defensive position.
Find the Cielo Sereno Observatory antenna
Once in Pendola Pass, head northeast to the Cielo Sereno Observatory. The first task at the building is to access its exterior roof. Use the available climbing routes or the mobility equipment you brought to get up and begin moving around the outside of the structure.
There are multiple antennas on the observatory, so interacting with the first one you see may not advance the objective. The required antenna is located on the south side of the building, roughly around the halfway point of the structure.
When you find the right antenna, interact with it and install the Spotter Relay. This does not immediately conclude Ruins and Reverberations. Instead, the attempt produces a bad result and reveals that power needs to be rerouted before the installation can work properly.
Do not assume the relay has been wasted. The failed activation is the intended transition into the quest's repair stage.
Enter the observatory and locate the crawlspace
After the first antenna interaction, leave the exterior roof route and drop through one of the holes leading into the main observatory. From there, search the nearby rooms for a hole in the floor. This leads into a dark crawlspace that runs beneath the building's control-room area while remaining above the catwalks.
The interior section can be disorienting because the repair point is not directly beside the first opening. Once you enter the crawlspace, travel as far south as possible. At the southern end, follow the corridor until you are positioned beneath the rooftop antenna where the relay was installed.
You should then find the interaction prompt needed to weld the wires. Completing this action redirects power and resolves the issue created during the first rooftop attempt.
Tips for navigating the repair stage
- Use the rooftop antenna's south-side position as your main orientation point.
- Do not stop at the first accessible interior area; the crawlspace is reached through a floor opening in the rooms near the observatory's main space.
- Once below, commit to the southern route rather than repeatedly searching side paths.
- Stay alert for other players while moving through enclosed sections, where visibility and escape routes can be limited.
The crawlspace objective is brief once located, but it is the step most likely to slow down players who expected the quest to end at the roof. Think of the observatory as having two layers: the visible antenna installation above and the hidden power-routing repair below.
Return to the roof and finish the quest
With the wires welded, retrace your route back to the roof of Cielo Sereno Observatory. Return to the same antenna on the south side of the building and interact with it again. This second activation completes the Ruins and Reverberations objective.
There is one important danger attached to the final step: activating the antenna creates a very loud sound. Both Arc forces and nearby players can hear it. Even if the area seemed empty during the repair stage, assume the noise can draw attention immediately.
Because the quest is finished at that point, there is little reason to remain at the antenna. Move away from the roof, choose the safest available route, and focus on extraction. A mobility tool can be especially useful here, whether it helps you descend quickly or break line of sight after another player investigates the sound.
Ruins and Reverberations rewards
After completing the antenna activation and extracting, Ruins and Reverberations grants the following rewards:
- 2 Smoke Grenades
- 1 Looting Mk.3 Safekeeper Augment
- 3 Electrical Components
- 2 Speakers
- 5,000 XP
The mix of utility gear, components, and experience makes the mission worthwhile, particularly if you are already progressing through the earlier antenna-focused assignments. The Smoke Grenades also fit the mission's final escape pressure: the observatory activation can advertise your location, and visual cover is valuable when leaving a contested landmark.
Final checklist
Before deploying, verify that you have the Spotter Relay and ideally a grappling hook, zipline, or snap hook. In Pendola Pass, travel northeast to Cielo Sereno Observatory, get onto the exterior roof, and locate the antenna on the building's south side around its midpoint. Install the relay, then drop inside through a roof opening. Find a floor opening into the crawlspace, move all the way south, and weld the wires beneath the antenna. Return to the roof, activate the antenna once more, and leave promptly after the noise reveals that the job is done.
Ruins and Reverberations is less about winning a difficult fight than about staying organized through a chain of connected objectives. Secure the relay without letting a Bombardier overwhelm you, bring the right traversal tool, remember that the first antenna interaction is not the end, and be ready to extract once the final activation broadcasts your presence across the area.
Community
Discussion
Start the conversation.
No comments have been posted yet.