

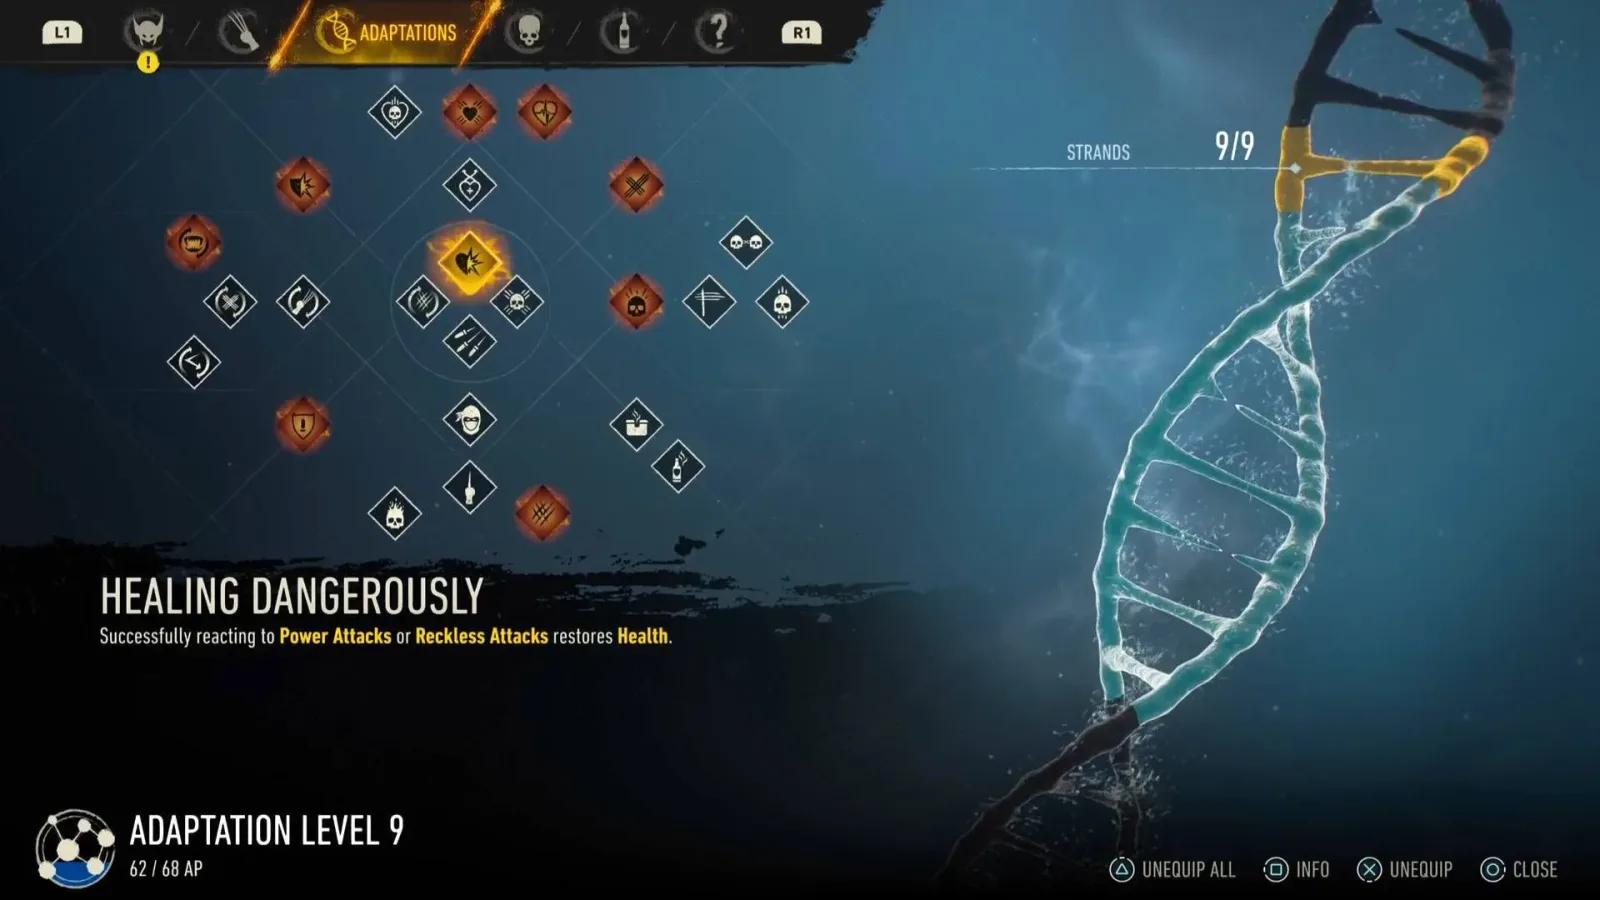
Marvel's Wolverine gives its combat progression a sharp, flexible edge through Adaptations: equipable passive perks that can reshape how Logan survives, builds momentum, and dismantles groups of enemies. They are not merely small stat bonuses. The strongest choices directly improve the systems at the center of a successful combat loop, particularly parries, critical strikes, health recovery, Special Technique recharge, and the all-important Rage state.
There are 25 Adaptations to discover in total. Players begin with four possible choices but only one available Strand, which is effectively an equipment slot. Further Adaptation levels are earned by locating whisky bottles and completing Nightmare Doors. As those levels rise, new perks become available and additional Strands open up, ultimately allowing up to 10 Adaptations to be equipped at once.
That growing number of slots means the ideal build changes over time. Early in the game, immediate reliability and survivability matter most. Later, the best loadout is built around accelerating Rage generation, extending high-level Rage, and turning critical strikes into a chain of rapid eliminations. While individual preference and combat skill will always matter, a Rage-centered setup offers the greatest overall payoff once the full system is unlocked.
The best Marvel's Wolverine Adaptations overall
The following Adaptations make the strongest all-purpose endgame combination. Their effects reinforce one another rather than competing for attention, giving Wolverine reliable defense during normal encounters and enormous offensive potential after Rage begins to climb.
For useful background on this topic, read Marvel's Wolverine: Every Suit, Claw Set, and Unlock Requirement.
- Expanded Crit
- Extended Parry
- Healing Parry
- Tough Skinned
- Rage Intimidation
- Enraging Ender
- Tier 2 Crit
- Chain Crit
- Rage Longer
- Enraging Barrage
This is a deliberately aggressive selection, but it is not reckless. Extended Parry gives more room to respond to threats, while Healing Parry rewards successful defensive timing with health restoration. Tough Skinned provides another important safety net by cutting incoming melee damage. Together, those three perks ensure Wolverine can remain active in close quarters, where his most effective offense happens.
The rest of the build is designed to get more from Rage. Enraging Ender and Enraging Barrage improve the rate at which Rage is accumulated through key offensive actions. Rage Intimidation, Tier 2 Crit, and Chain Crit transform that stored Rage into a powerful execution engine, letting critical opportunities spread through nearby basic enemies. Finally, Rage Longer reduces Rage decay at Tier 3, extending the time Wolverine can operate at his most destructive.
Expanded Crit is also foundational. It allows critical strikes against enemies that have more health remaining, making critical opportunities more broadly useful rather than something reserved for targets already close to defeat. The result is a build that can quickly swing the momentum of a crowded fight.
How Adaptation slots unlock
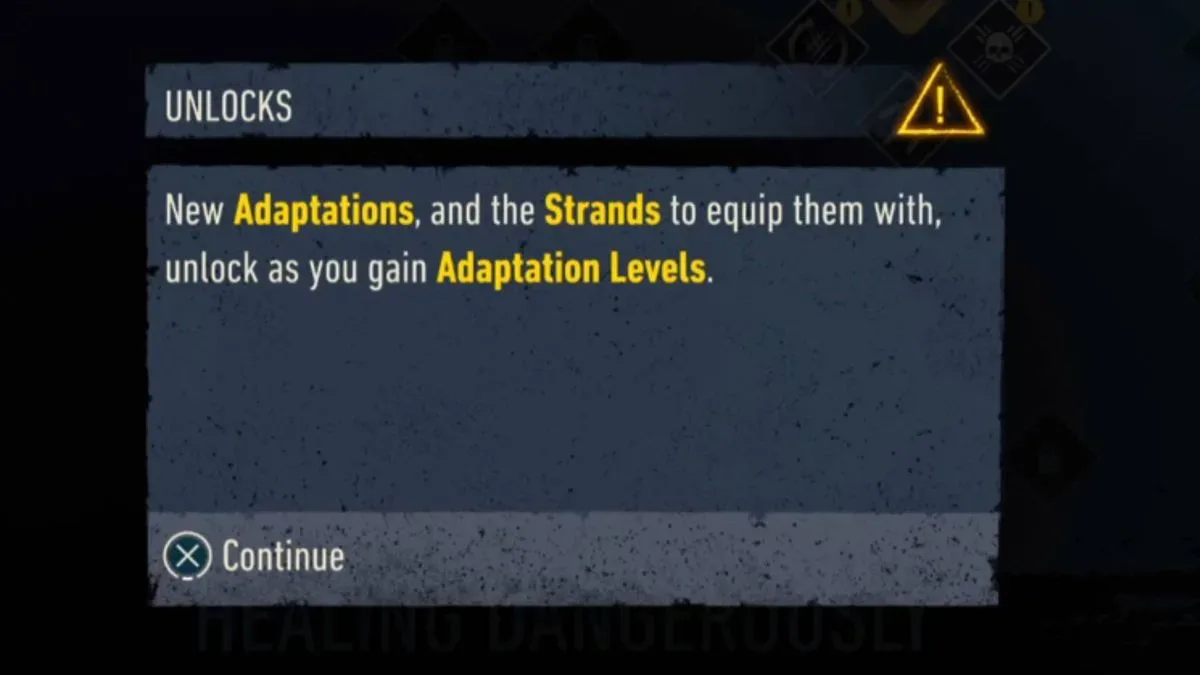
Adaptation progression is split across 10 levels. New perks appear at various milestones, and Strands gradually increase along the way. By the time the final level is reached, every Adaptation has already been unlocked; the level 10 reward is simply the final Strand, enabling one more perk to join the active loadout.
Because early Strand counts are limited, it is usually better to choose perks that improve core combat actions rather than narrow conveniences. Effects such as greater material or whisky detection can be helpful for exploration, but they are not generally worth occupying a combat slot once a stronger option is available.
Best Adaptations at levels 1 through 3
Adaptation level 1
The first set includes Healing Dangerously, Expanded Crit, Barrage Recharge, and Enraging Sprint. Only one Strand is available at this point.
Expanded Crit is the leading choice for most players. It immediately makes Rage-enhanced critical potential more practical and begins building toward the game's most effective offensive playstyle. It is a perk with long-term value, not a temporary early-game solution.
However, Healing Dangerously is a reasonable alternative for anyone struggling with incoming Power Attacks or Reckless Attacks. Successfully responding to those attacks restores health, providing extra breathing room while learning the combat rhythm.
Adaptation level 2
Level 2 adds Enraging Stealth and Bullet Sponge, while opening a second Strand. This is the right time to equip whichever level 1 option was not selected first: Expanded Crit and Healing Dangerously make a dependable two-perk starting kit.
Enraging Stealth adds Rage to stealth takedowns, but stealth is not the dominant part of Wolverine's action-focused combat identity. Bullet Sponge, which reduces ranged damage, can offer situational help in the early game, yet it is generally less valuable than the more proactive benefits of the two original choices.
Adaptation level 3
At level 3, players gain access to Healing Dodge and Extended Parry, plus a third Strand. Equip Extended Parry immediately. Parries are a major pillar of combat, and a more forgiving timing window has value in virtually every encounter.
Healing Dodge can also replace Healing Dangerously if dodging is happening more frequently than reactions to Power or Reckless Attacks. This is a player-dependent swap, but Healing Dodge is likely to trigger often in ordinary combat. The important point is to retain one source of recovery while keeping Expanded Crit and Extended Parry active.
Best Adaptations at levels 4 through 6
Adaptation level 4
Level 4 brings Tough Skinned and Combo Ender Recharger. With the fourth Strand, Tough Skinned is the preferred addition. Reducing melee damage is consistently valuable in a game where Wolverine spends so much time surrounded by opponents at close range.
Combo Ender Recharger has a useful effect, speeding the recharge of the Special Technique mapped to L2 and Triangle after Combo Enders. But the defensive consistency of Tough Skinned usually produces more noticeable results during difficult encounters.
Adaptation level 5
The choices here are Healing Parry, Rage Intimidation, and Crate Finder. Rage Intimidation is the standout selection. Entering Rage Tier 2 intimidates a nearby basic enemy, creating a critical-strike opportunity and helping Wolverine start turning one opening into several rapid takedowns.
This is also the best stage to reassess the healing perk. Players who have become comfortable with parries should replace Healing Dodge with Healing Parry. Parrying not only prevents danger but now restores health as well, making it an exceptionally efficient combat response.
Adaptation level 6
Level 6 adds Healing Crit, Parry Recharge, and Enraging Ender. Enraging Ender is the priority for the Rage build, since Combo Enders now generate additional Rage. That directly supports the central objective of reaching powerful Rage tiers sooner and more often.
Healing Crit offers another health-restoration route, while Parry Recharge helps refill the Special Technique assigned to L2 and X. Neither is weak, but Enraging Ender strengthens the entire offensive plan and remains useful from the moment it is equipped through the final encounters.
Best Adaptations at levels 7 through 10
Adaptation level 7
Level 7 offers Dodge Recharge, Enraging Barrage, and Tier 2 Crit. The latter two are both excellent and should eventually become part of the full 10-Strand setup.
Enraging Barrage makes Barrages build additional Rage, improving the speed at which Wolverine reaches his combat power spike. Tier 2 Crit, meanwhile, enables critical strikes against staggered low-health enemies during Rage Tier 2. Choose between faster Rage generation and a stronger immediate payoff depending on how a fight is being approached; when enough slots become available, equip both.
Adaptation level 8
The level 8 unlocks are Desperate Regeneration, Chain Crit, and Whisky Finder. Chain Crit is the clear combat recommendation. After a critical strike, it ensures that a nearby basic enemy becomes Intimidated. Taking that follow-up critical strike does not guarantee another intimidation, but even one extra linked opportunity can dramatically improve crowd clearing.
Desperate Regeneration increases passive recovery when health drops below 35% until it rises to 50%. It is a solid emergency perk for a defensive setup. Still, Chain Crit better complements Rage Intimidation and Tier 2 Crit, making it more attractive for the strongest overall loadout.
Adaptation level 9
At level 9, the options are Enraged Recharge, Rage Longer, and Leaping Crit. Rage Longer is the recommended choice. It reduces Rage decay during Rage Tier 3, which means more time to deal high damage, eliminate enemies, and capitalize on every other Rage-focused Adaptation already equipped.
Enraged Recharge can accelerate passive recharge rates for all Special Techniques during Rage Tier 2 and even more at Tier 3. Leaping Crit provides a Tier 3 critical strike against basic enemies by holding Triangle. Both can suit specialized preferences, but Rage Longer has the broadest and most reliable impact.
Adaptation level 10
No new Adaptations arrive at level 10. Instead, the final Strand unlocks, bringing the maximum number of active perks to 10. This is where Enraging Barrage should take the final place if it was not already selected at level 7. Barrages are one of the build's principal Rage-generation tools, so maximizing their contribution completes the loop.
Final loadout and combat priorities
The most effective endgame setup balances resilience with escalating momentum. Parry whenever possible, using Extended Parry and Healing Parry to stay healthy while controlling the flow of combat. Use Combo Enders and Barrages to fuel Rage through Enraging Ender and Enraging Barrage. Once Rage reaches Tier 2, Rage Intimidation and Tier 2 Crit create critical openings; Chain Crit then helps push that advantage into nearby foes.
When Tier 3 arrives, Rage Longer ensures that the heightened state does not disappear too quickly. Combined with Expanded Crit, this gives Wolverine the tools to rapidly clear groups and reverse difficult engagements. Players should also invest Technique Points carefully, as Techniques can further improve combat power alongside a well-chosen Adaptation layout.
The strongest Adaptations are ultimately the ones that make every successful action lead into another. A clean parry restores health. A Combo Ender creates Rage. Rage enables intimidation and critical strikes. Critical strikes create further opportunities. With all 10 Strands filled, Wolverine becomes most dangerous when the player maintains that cycle instead of treating each perk as an isolated bonus.
Community
Discussion
Start the conversation.
No comments have been posted yet.