


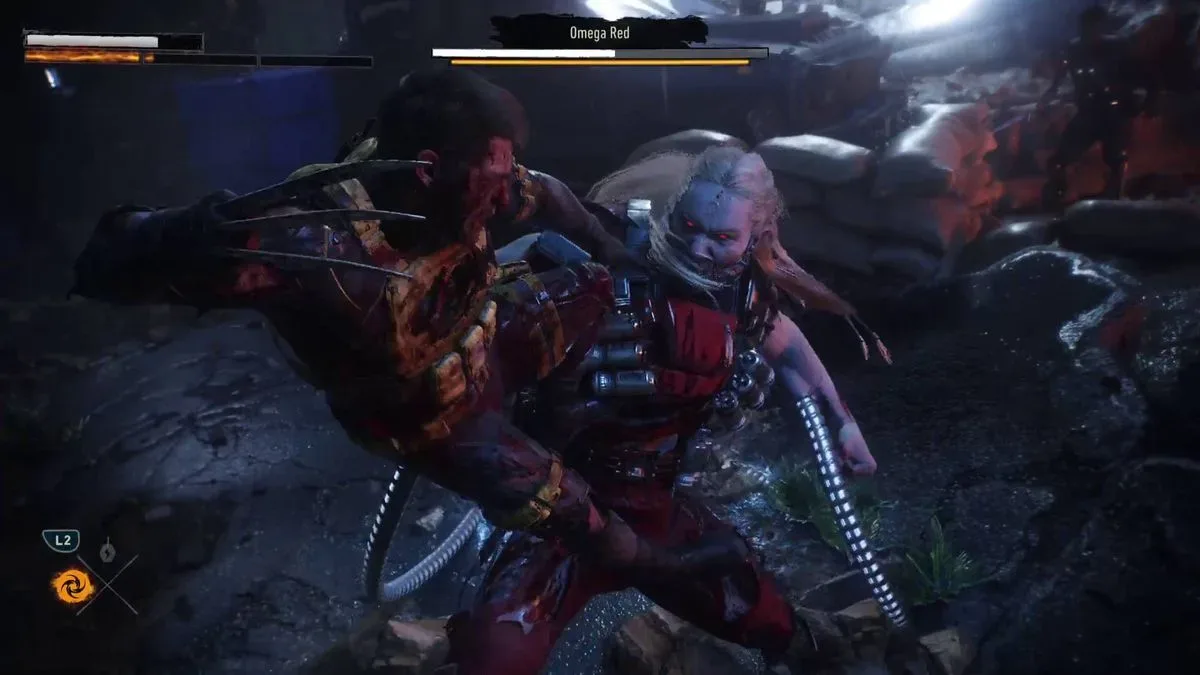
Omega Red, also known as Arkady Rossovich, serves as Marvel's Wolverine's first major boss encounter and a sharp warning that the game's combat asks for more than relentless claw attacks. Early fights against Trask soldiers and Reavers can encourage players to stay on offense, overwhelm isolated targets, and recover before the next exchange. Omega Red is built to punish that approach. He has the durability to weather unfocused aggression, defensive tendrils that stop ordinary pressure, and attack strings that demand a measured response.
The key to this fight is understanding that the best opportunities to hurt Omega Red come after successful defensive play. Parrying, dodging, breaking his guard, and building stagger are much more important here than simply trying to force damage through. It is also a useful preparation for the battles that follow, as this encounter effectively closes out the game's introductory tutorial stretch and expects players to use Wolverine's full combat toolkit with more purpose.
Prepare for a reactive fight
Before concentrating on individual moves, approach Omega Red with patience. Do not chase every opening, especially at the beginning of the battle. His patterns in the first section are limited enough that the safest strategy is to observe them, practice the relevant timings, and make each counterattack count.
Think of the encounter as a cycle: let Omega Red commit to an attack, answer with the correct defense, and capitalize only when he is vulnerable. A clean parry or dodge creates a better opening than an uncontrolled rush. This is particularly important because Omega Red takes substantial damage when staggered, making every stagger opportunity far more valuable than a few unsafe light hits.
For useful background on this topic, read Diablo 4 Season 15 Raises Mythic Drop Rates and Reshapes Boss Loot.
If a player has reached the encounter without much experience using the parry system, this is the point to learn it. The boss is intentionally designed as a test of that mechanic. Dodging is equally essential, since not every attack can be parried.
Phase one: learn the core attack patterns
The opening phase takes place in the hangar and gives Omega Red a relatively straightforward set of moves. That does not make him harmless, but it does make this the best moment to settle into the rhythm of the fight.
Handle the three-hit combo correctly
One of Omega Red's primary attacks is a three-strike sequence. The first two attacks can be parried, while the final hit needs to be dodged. Trying to treat all three blows the same way is a common way to get punished. Instead, stay calm through the opening pair, use the parry timing, then move out of the way of the finishing strike.
Once the sequence ends, look for a brief chance to retaliate. Avoid extending the punish so long that the boss recovers and starts another attack string. A smaller, reliable response is better than losing health in an attempt to land one more hit.
Dodge thrown objects
Omega Red can leap into the air and hurl objects toward Wolverine. This attack must be dodged. Keep an eye on his movement whenever he jumps away or gains elevation, and be ready to evade rather than attempting to meet the projectile attack with a parry.
The lesson is simple but important: react to the attack being used, not merely to the boss's proximity. His close-range string creates parry opportunities, while his airborne projectile pressure demands a dodge. Recognizing that difference quickly is one of the foundations of the entire fight.
Break the tendril guard immediately
Omega Red's metal tendrils are not only offensive tools. He can also use them to shield himself, closing off normal attacks and daring Wolverine to waste time striking into his defense. When he raises this guard, use the kick by holding Square to break through it.
A successful guard break opens a short but important damage window. Once the tendrils are out of the way, attack rapidly before Omega Red can reset. Repeated Square inputs can work, but a stronger option is to use a combo finisher such as Square, Square, Square, Triangle. The exact choice depends on player comfort and positioning, but the principle remains the same: do not hesitate after the guard has been broken.
Because this is one of the cleaner offensive windows in the battle, it is worth prioritizing. Trying to chip away at Omega Red while his tendrils are protecting him is inefficient and exposes Wolverine to counterattacks. Wait for the guard, break it, then turn that defensive stance into meaningful damage.
Use techniques that build stagger and sustain Wolverine
Omega Red's stagger state is where the fight swings most heavily in Wolverine's favor. For that reason, techniques that either inflict high stagger damage, help Logan quickly enter range, or provide survival value are especially useful.
Stagger Leap closes space safely after an opening
Stagger Leap is highly valuable for this encounter. Its charged leap lets Wolverine cover distance quickly while contributing solid stagger damage. It is most effective as a response after Omega Red has attacked and missed, rather than as an impulsive way to initiate from neutral range.
That distinction matters more in the latter half of the fight, when Omega Red becomes especially dangerous to approach carelessly. Use the leap as a punish tool: defend first, confirm the boss is vulnerable, then launch in.
Healing Strike helps stabilize the battle
Healing Strike is another recommended technique because it combines damage with a modest heal. A boss fight can deteriorate quickly after a few mistimed defenses, and any ability that restores some of Wolverine's health while maintaining offensive momentum can be the difference between recovering and restarting.
It should not be treated as a replacement for learning the patterns. The goal is still to avoid taking unnecessary hits. But Healing Strike gives players a way to regain ground during a successful opening rather than backing away and surrendering all momentum.
Knee Breaker is a powerful answer to unblockable pressure
Knee Breaker stands out as one of the most useful special techniques against Omega Red because it can interrupt unblockable attacks and deals enormous stagger damage. Its usefulness is not limited to this particular boss, either; it is a strong tool to keep in mind for later boss encounters.
Against Omega Red, save it for moments when he threatens to force a difficult defensive situation or when a big stagger push could create a decisive opening. Used well, Knee Breaker can stop momentum from swinging toward the boss and instead put Wolverine in control.
Phase two: respect the grab attack
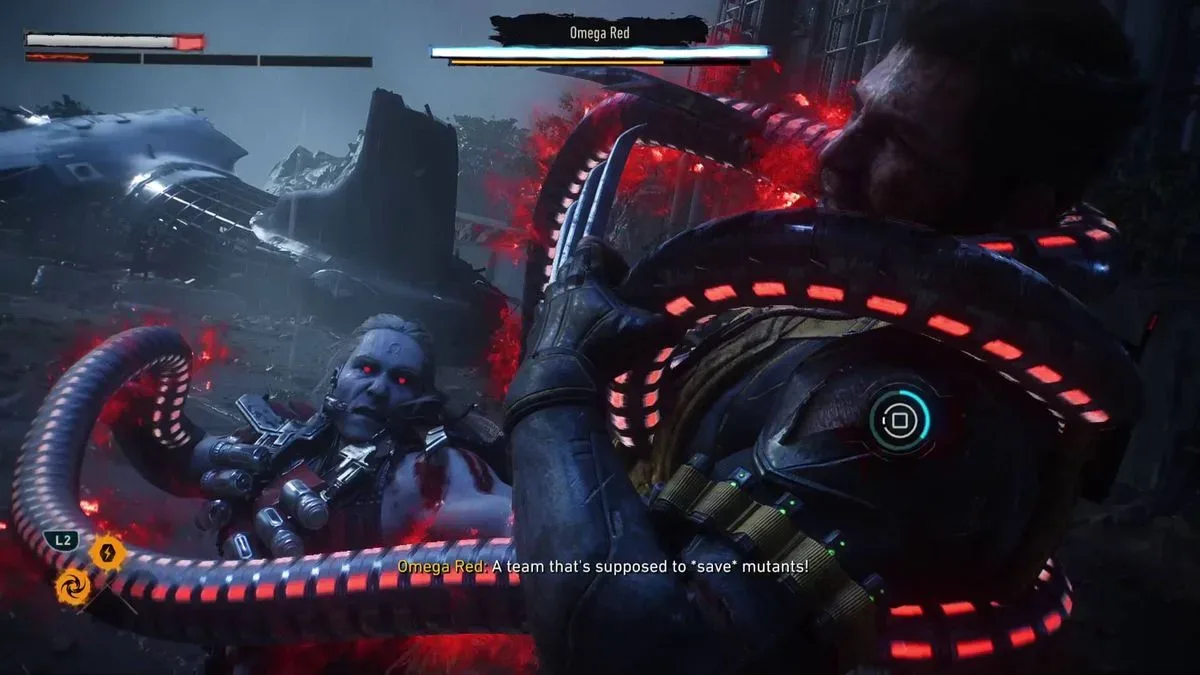
The second phase adds the move that makes Omega Red significantly more threatening: a brutal grab. Getting caught initiates a button-mashing quick-time event. Escape from it as rapidly as possible.
This is not a mechanic to take lightly. The longer Wolverine remains trapped, the more damage he suffers. At the same time, Omega Red recovers health, potentially erasing a meaningful portion of the progress made earlier in the fight. Even players who have handled the first phase confidently can lose control of the battle if they repeatedly allow this grab to connect.
When the quick-time event does happen, prioritize speed. But the better solution is to identify the grab's setup and avoid being caught in the first place.
Do not leap at Omega Red after he repositions
Omega Red often uses his dangerous grab after he leaps away from Wolverine. There is a recognizable warning: he prepares to lash out with his tendrils, accompanied by a red circular unblockable indicator. When that appears, do not try to meet him head-on.
The safe response is to wait for the attack, dodge it, and only then close the gap. This is where Stagger Leap becomes useful again, but timing is everything. Launching Wolverine toward Omega Red before the grab has been evaded can result in Logan being caught in mid-air, turning what looked like an aggressive punish into a costly mistake.
In practical terms, whenever Omega Red creates distance, resist the urge to instantly pursue. Pause for a moment and expect an attack. If the grab comes, dodge it. Once it has missed, use a charged leap or another fast approach to punish the recovery. This small adjustment can make the second phase much more manageable.
A reliable Omega Red strategy
- Start patiently in the hangar and use the first phase to learn the boss's timing.
- Parry the first two hits of Omega Red's three-hit combo, then dodge the final strike.
- Dodge the objects he throws after leaping into the air.
- When his tendrils form a shield, hold Square to kick through the guard.
- Exploit the resulting opening with quick attacks or the Square, Square, Square, Triangle combo finisher.
- Build stagger with tools such as Stagger Leap and Knee Breaker, and use Healing Strike to recover when an opening allows it.
- During phase two, treat every reposition as a possible grab setup.
- Watch for the red unblockable indicator, dodge the tendril grab, and only then rush back in.
- If grabbed, complete the button-mashing escape immediately to limit damage and prevent Omega Red from restoring too much health.
What comes after Omega Red
Defeating Omega Red marks a meaningful transition in Marvel's Wolverine. The introductory sequence is effectively over, and later missions begin to open up more of the game's optional details and customization systems. Players can start finding Wolverine whiskey bottles across missions, while the following mission introduces suit crafting, allowing Logan's appearance to be changed.
The adventure also does not remain solely focused on combat. Later areas include puzzles, including the Shiro lock code challenge, alongside Easter eggs and references scattered through the levels. Still, the lesson from Omega Red remains relevant throughout: Wolverine is at his most dangerous when aggression is backed by timing. Learn when to parry, know when to dodge, and save Logan's strongest tools for the moments that truly matter.
Community
Discussion
Start the conversation.
No comments have been posted yet.