

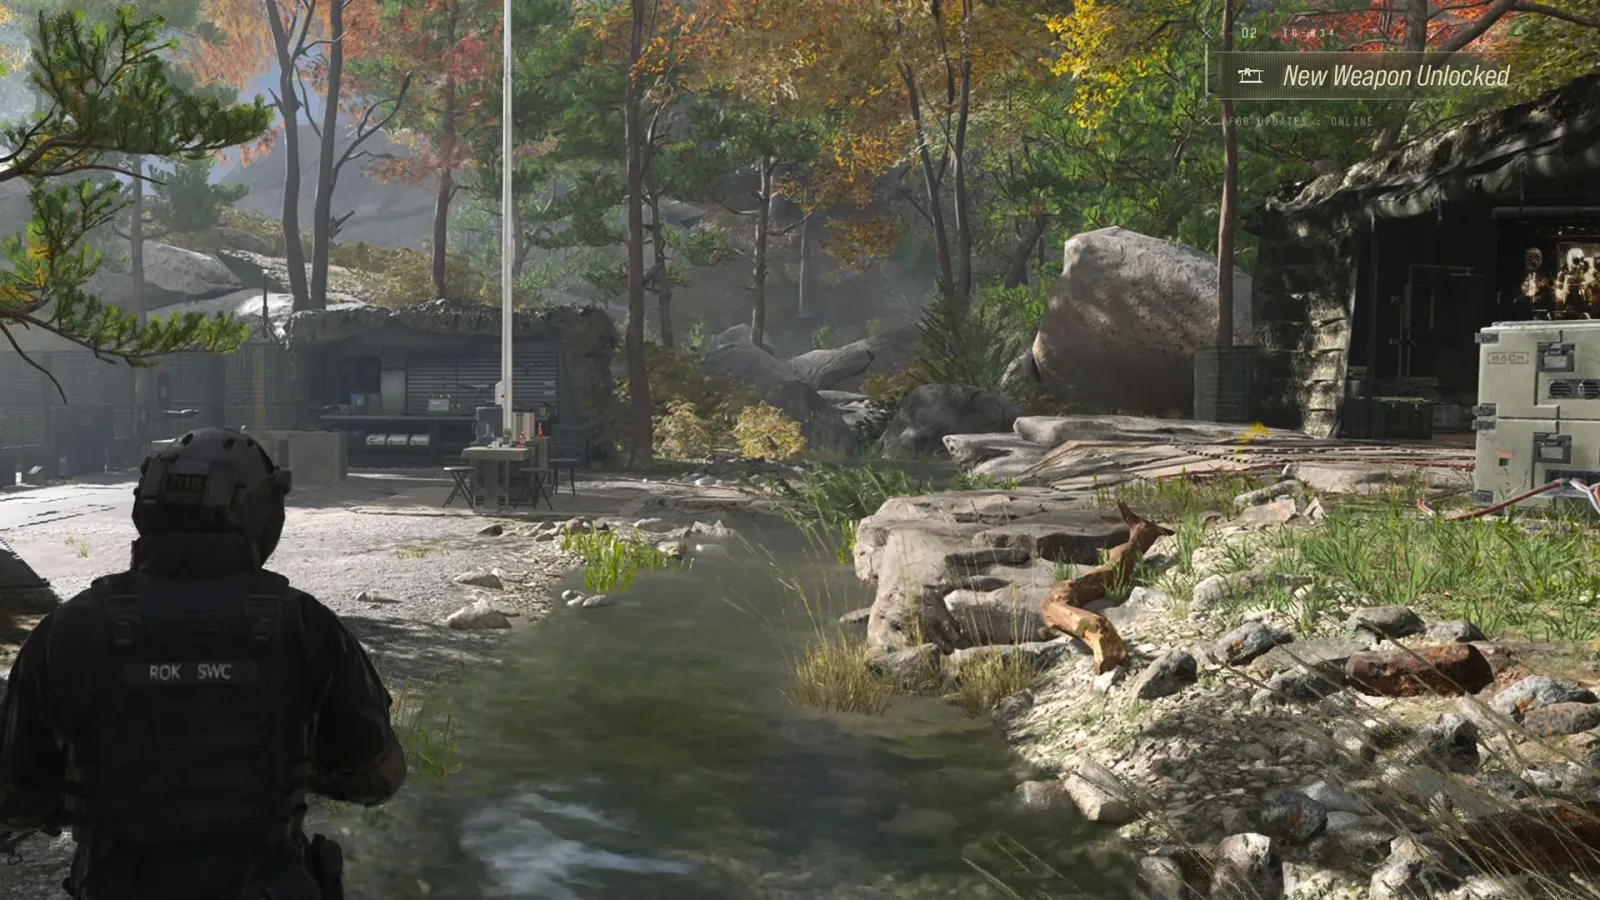
Weapon Manuals are among the most valuable pieces of loot available in Call of Duty: Modern Warfare 4's DMZ mode. Unlike supplies that are consumed during a single run, a successfully extracted manual can add a lasting weapon recipe to the Gunsmith at your base. That makes each one a potentially important long-term upgrade, especially for players trying to broaden the selection of weapons they can build between deployments.
The catch is that Weapon Manuals are not tied to one guaranteed spawn point. DMZ loot remains randomized, so even a careful sweep of the most promising buildings can end without a manual. Still, some container types and map areas offer substantially better odds than ordinary residential rooms or miscellaneous ground loot. Knowing where to focus a run can make the search much more efficient--and can help squads decide when the risks of entering a dangerous area are worthwhile.
What Weapon Manuals do in MW4 DMZ
Weapon Manuals function as blueprint-style loot. When a player finds one in DMZ, it occupies inventory space until extraction. Getting out alive with the manual is the key step: after returning to base, the item is converted automatically into a weapon recipe for that player.
That recipe then becomes a permanent Gunsmith option, allowing the weapon to be purchased and crafted in future. Unlocking the recipe does not mean every version of the weapon is free. The Gunsmith still charges money to produce it, and the cost rises when players add more attachments or other extra components to the crafted build.
For useful background on this topic, read Meta Signals a Slower Road to Quest 4 as Reality Labs Shifts Toward AI Glasses.
In practical terms, a Weapon Manual is worth more than a powerful gun found during one match. An extracted weapon may help in the moment, but a manual expands the available crafting pool over time. Players focused on building a dependable arsenal should therefore treat manuals as high-priority extraction loot.
The most reliable places to search
There is no completely dependable Weapon Manual farm because drops are randomized. A location that yields a manual in one deployment may have nothing special in the next. However, several types of containers and points of interest are consistently more worthwhile than standard loot locations.
Military containers and military compounds
Military-themed containers are one of the best starting points. Look for military crates, lockers, and comparable storage objects in compounds or other army-associated locations. These areas naturally contain more gear-oriented loot, making them a sensible target for anyone hunting items connected to weapon crafting.
A useful approach is to prioritize a fast pass through military storage before spending time on less specialized containers. Check every crate and locker in the immediate area, then decide whether the surrounding risk level justifies a more thorough sweep. Since the objective is a rare item rather than a guaranteed reward, speed matters: a team that searches multiple promising container clusters may have better overall odds than one that exhaustively loots a single building.
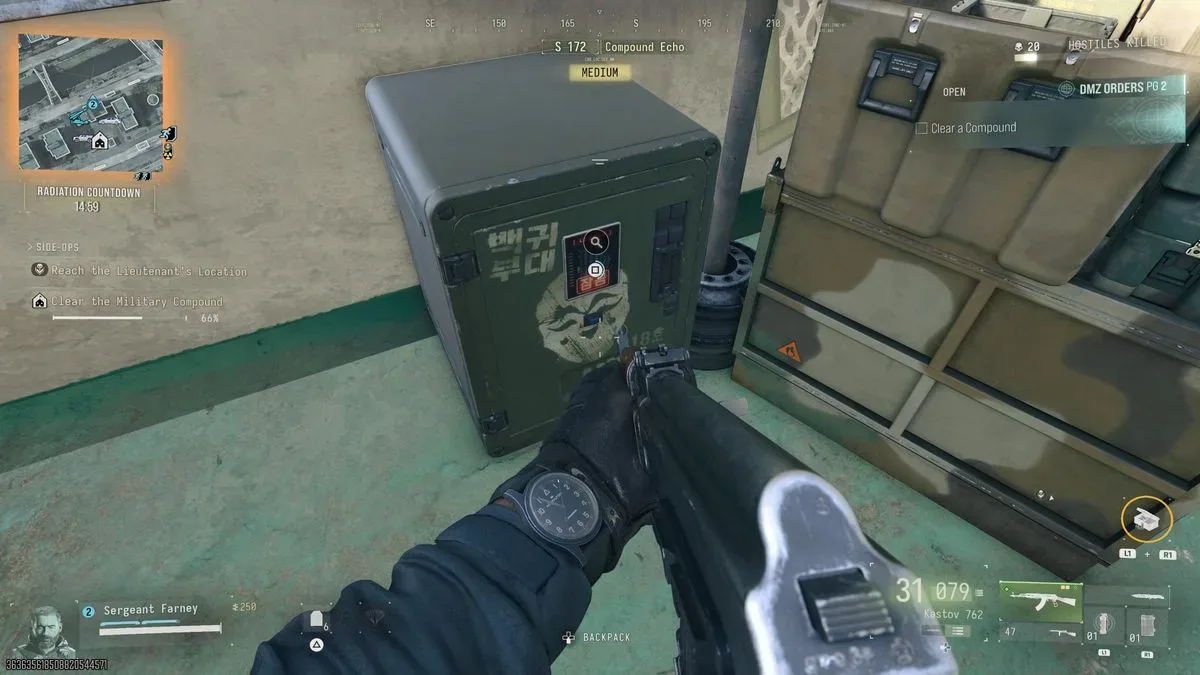
Safes
Safes are another high-value opportunity. They can appear in a variety of locations around the map, although they are not common. Opening one takes longer than accessing a conventional crate because the Operator must hack it, so safes create a meaningful tactical decision.
Before beginning the hack, consider the local threat situation. A safe can leave a player exposed long enough for enemy Operators or AI forces to intervene. In a squad, one player can handle the interaction while others watch entrances, rooftops, nearby streets, and potential approaches. Solo players may want to clear the immediate building first and keep an exit route in mind before committing.
Safes are worth the delay because of their stronger loot potential, but they should not be treated as risk-free. A Weapon Manual only matters if it reaches extraction, and losing it after a long safe interaction is still losing it.
Weapon lockers and locked armories
Weapon lockers and armories should be central to any manual-hunting route. These rooms commonly require keys, which can be obtained randomly or earned through mission rewards. Keys are important because their descriptions identify the specific locked room they open, allowing players to turn a vague search into a deliberate objective.
If a run begins with an armory key, it is usually wise to plan around it. Head toward the applicable locked location, but remain flexible if the route crosses a military area, a police station, or a safe. A key does not guarantee a Weapon Manual, yet access-controlled rooms are among the more logical places to seek rare weapons-related loot.
Players should also remember that reaching an armory is only part of the process. Keyed locations can draw attention from others with the same objective. Clear the room efficiently, coordinate who carries any manual found there, and avoid lingering once the important containers have been opened.
Police stations
Police stations have developed a strong reputation among players looking for Weapon Manuals. There are five police stations across the DMZ map, providing several possible locations to incorporate into a route. Their law-enforcement setting makes them a natural fit for searching lockers, secured storage, and other weapon-related containers.
A police-station route can be particularly useful when a squad wants to avoid making a single high-risk gamble in the most dangerous map sectors. Rather than depending on one building, players can check a station, move through nearby loot points, and then choose whether to continue toward another station or rotate to an extraction point.
As with every other recommended location, positive reports do not mean guaranteed manuals. The advantage is simply that police stations are recurring points of interest worth checking when the objective is a rare crafting blueprint.
Why red and yellow zones are worth the danger
Red and yellow zones bring increased danger, but they also tend to provide better loot. For players specifically after Weapon Manuals, that trade-off can be attractive. These areas should not be entered casually, particularly if a squad is already carrying valuable equipment or has limited healing and ammunition. Yet when the goal is to maximize the quality of loot rather than merely survive a low-risk run, they can offer some of the strongest opportunities.
The nuclear reactor in the northeast is an especially risky example. It sits in a high-threat part of the map, but the potential for better rewards makes it a tempting destination for well-equipped teams. A squad attempting the reactor should establish roles before going in: one member can focus on containers, while teammates cover likely enemy angles and remain ready to call for an immediate withdrawal.
For less experienced players, yellow zones may be a more manageable step up from ordinary looting. They can provide a higher-value search without committing to the toughest available encounter. In either case, the safest plan is to enter with a clear purpose, loot the relevant containers quickly, and leave before the situation becomes a prolonged fight.
Weapon Manuals can appear in unexpected places
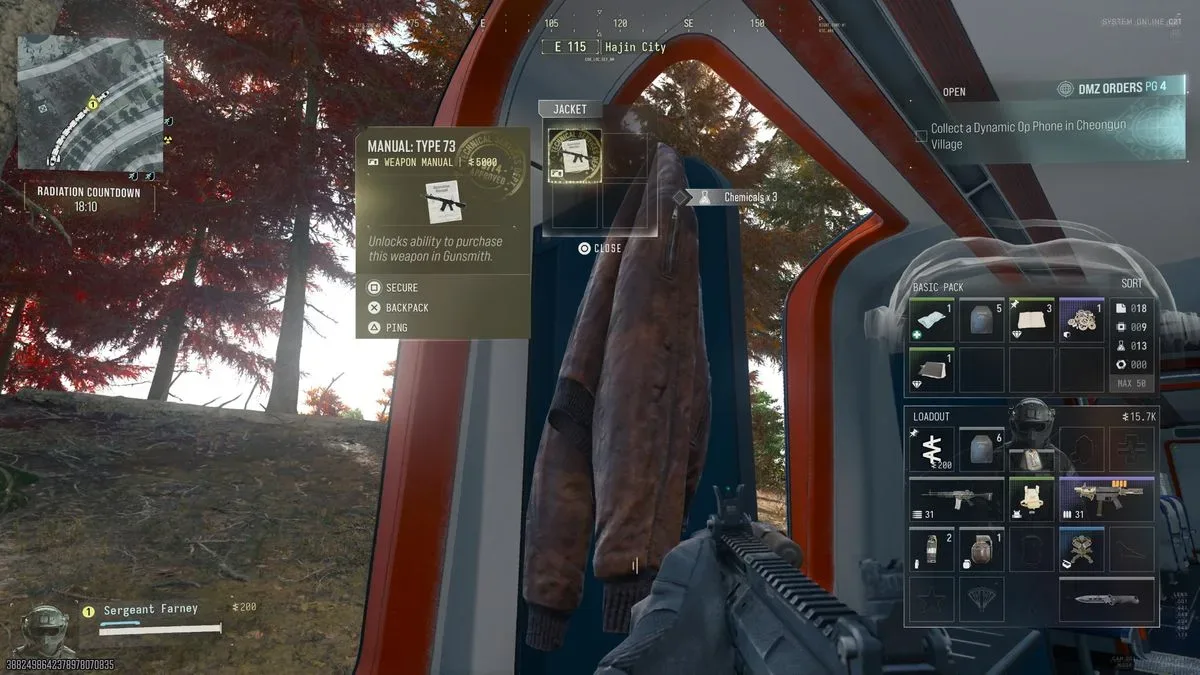
Although military containers, safes, armories, police stations, and high-danger zones are the best places to focus, Weapon Manuals are not restricted to those areas. They can appear in unexpected loot objects. One manual was found inside a discarded jacket on the train that circles the map, underlining how broad the potential loot pool can be.
That unpredictability means players should not ignore smaller containers entirely, especially when they are already moving through a route. Check jackets, bags, lockers, and other quick-to-search objects along the way. The important distinction is efficiency: make high-value locations the priority, then collect incidental loot without allowing every low-value container to slow the run to a crawl.
The train is also worth keeping in mind when it is convenient. Since it travels around the map, it can offer an unusual looting opportunity or a way to encounter containers outside the standard building-to-building route. It is not a replacement for searching dedicated high-value areas, but it illustrates why a manual hunt should remain adaptable.
Extraction is the final and most important step
Finding a Weapon Manual is only half the job. It must be in the inventory of the player who extracts safely. If that player does not make it out, the manual does not become a base recipe. This makes the decision after finding one just as significant as the search itself.
Once a manual is acquired, reassess the deployment. Continuing to loot may yield more valuable equipment, but it also increases exposure to enemies, hazards, and failed extraction. If the team entered primarily to secure manuals, an early exit can be the smartest choice. If the team decides to stay, the manual carrier should avoid unnecessary risks and should not be assigned to the most aggressive role in a fight.
There is also no squad-wide unlock from a single pickup. The manual benefits only the player holding it at extraction, not every member of the group. Teams should discuss this before deploying, particularly when several players are trying to unlock recipes. Rotating priority between runs can prevent confusion when a rare manual finally drops.
A practical manual-farming route
- Start by checking available keys and mission rewards for access to an armory or weapon locker.
- Build a route through military compounds, police stations, and any nearby locked weapon rooms.
- Open safes when the surrounding area can be secured long enough for the hacking process.
- Use yellow or red zones for higher-risk, higher-reward runs, with the northeast reactor reserved for prepared squads.
- Search incidental containers during travel, including jackets and loot on the circulating train.
- When a manual is found, decide whether to extract immediately or continue only if the team can protect the carrier.
Weapon Manual hunting in MW4 DMZ is ultimately a balance between probability and survival. No container can promise the reward, but military storage, safes, locked armories, police stations, and dangerous loot zones give players the most productive places to start. Keep the route focused, stay alert for surprise drops, and remember that the permanent Gunsmith recipe is earned only when the manual carrier reaches base safely.
Community
Discussion
Start the conversation.
No comments have been posted yet.