

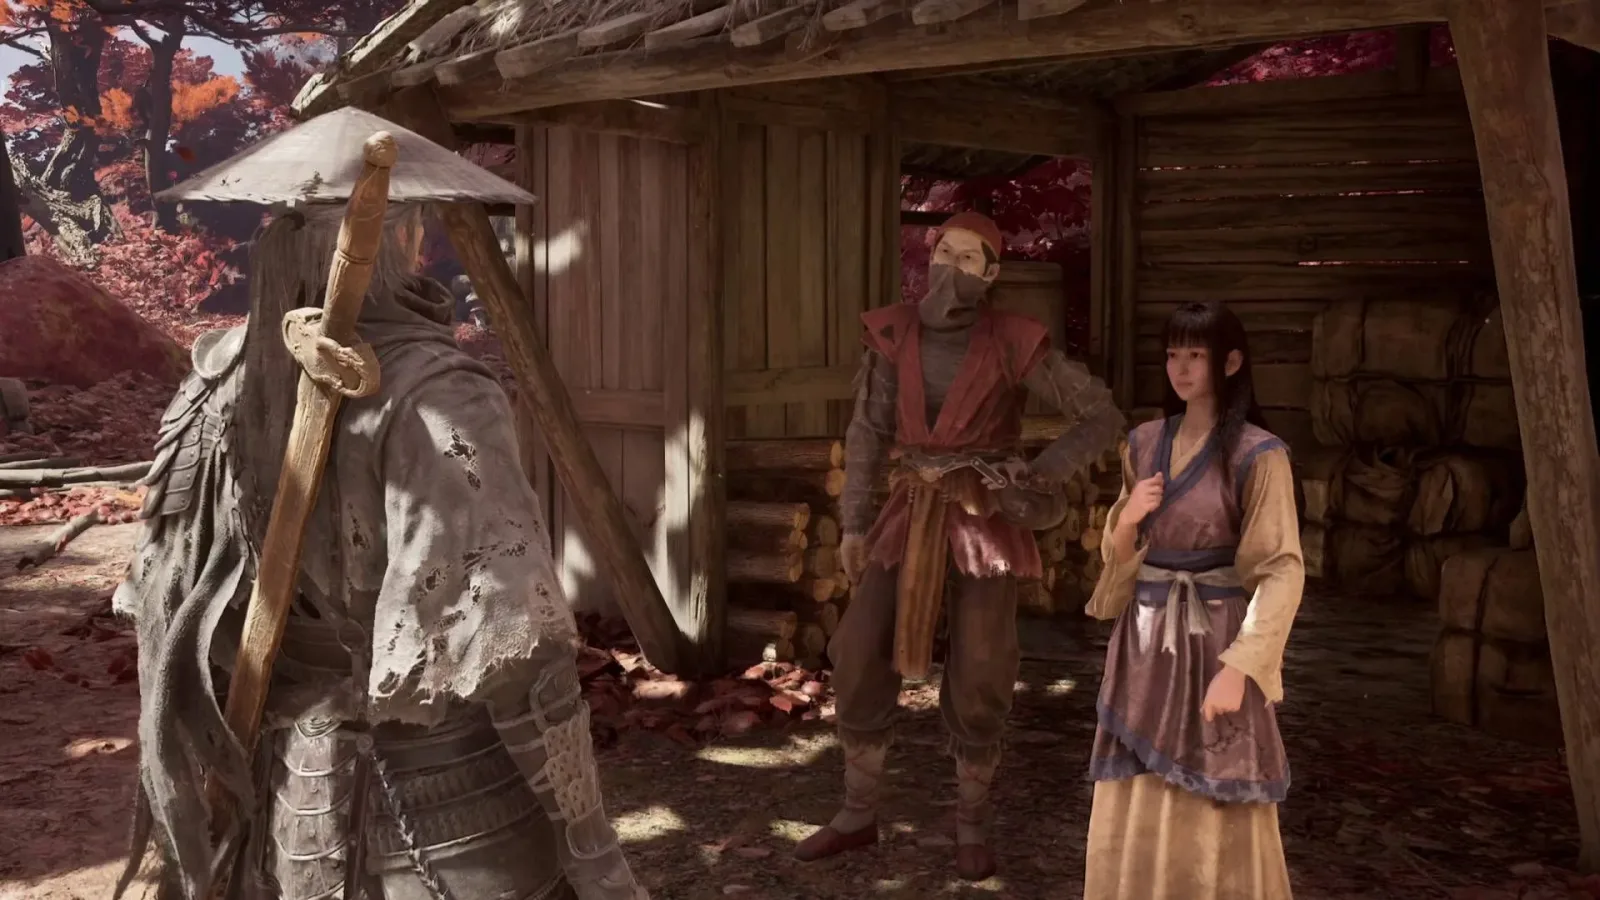
A Healer's Mercy is an easy quest to overlook in Phantom Blade Zero, but it carries a serious consequence for waiting too long. Yu'er asks you to deliver life-saving medicine to four injured thieves scattered around the Crimson Forest Thieves' Camp. While the game provides a note and map indicators to point players in the general direction, the actual routes can be confusing--especially because one thief is behind a locked dungeon door.
The most important thing to know is that this is a time-sensitive side quest. Advancing too far through the Crimson Forest can cause the mission to fail permanently, leaving the four thieves dead and preventing completion. To stay safe, handle every rescue before pushing beyond the Cliffside Lodge area. All required objectives can be found at or before that point, so there is little reason to delay.
For each injured thief, the process is simple once they are located: speak with them and Yu'er's medicine is handed over automatically. There is no separate item-selection step, healing minigame, or dialogue choice required. The challenge is entirely about reaching each person, collecting the necessary dungeon key, and returning to Yu'er once all four have been treated.
How A Healer's Mercy Works
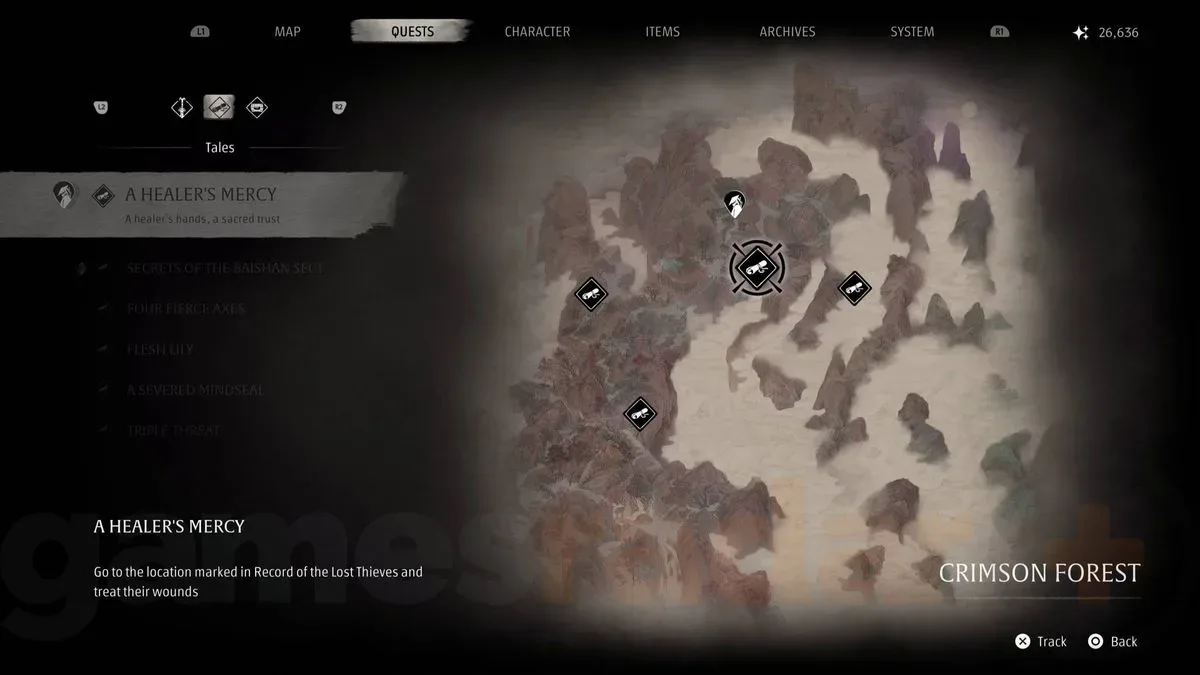
After accepting the quest from Yu'er in the Thieves' Camp, check the map for the marked thief locations. These markers are useful, but they do not always show a clear route through the camp's caves, underground passages, and cliffside paths. On PS5, selecting a thief marker on the map and swiping upward on the controller touch pad can place a more immediate world marker to help guide your travel.
For useful background on this topic, read Silver Palace Launches Globally December 14, 2026 for PC, PS5 and Mobile.
That feature is especially useful if you have already opened shortcuts in the Crimson Forest and are unsure which bell, tunnel, or pathway leads closest to a particular target. Still, following the world marker alone may not reveal environmental requirements such as a crank-operated passage or the locked Thieves' Camp dungeon.
There are four thieves to save:
- Lean Monkey
- Flying Rat
- Slippery Eel
- Night Raven
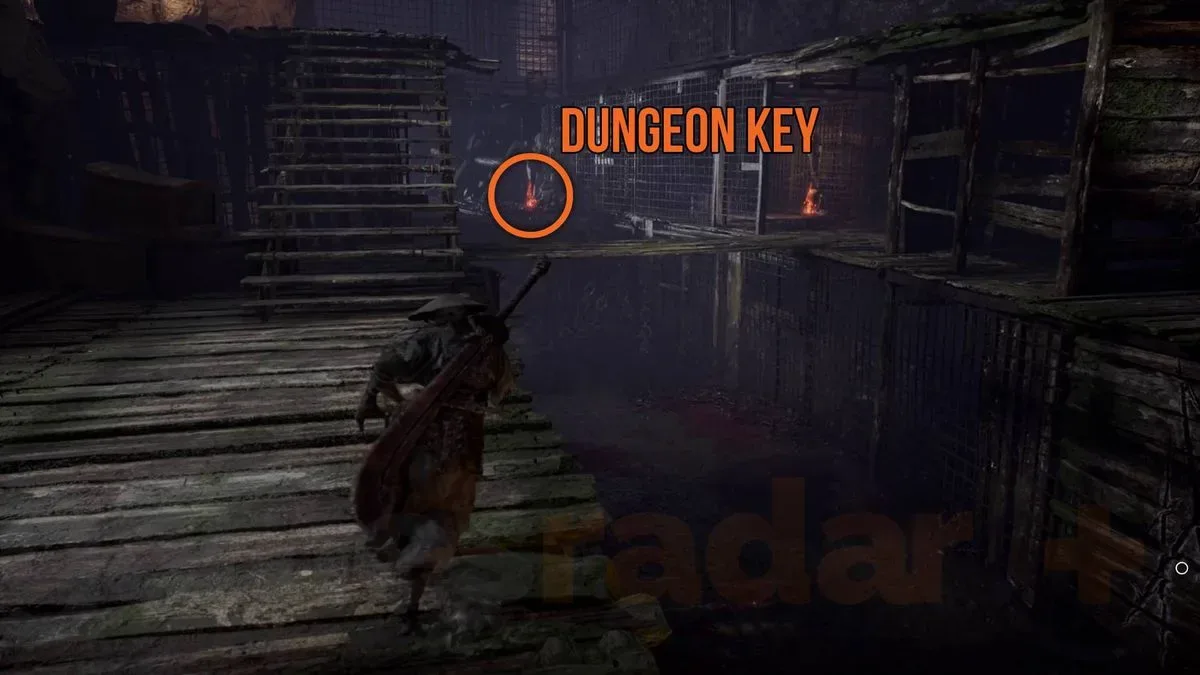
Three can be reached without opening the dungeon. The fourth, Night Raven, requires the Thieves' Camp Dungeon Key, which is found by thoroughly exploring the basement of the Cliffside Lodge. Because Slippery Eel's route and the key are connected, it is efficient to deal with those objectives together before returning to the camp.
Lean Monkey Location
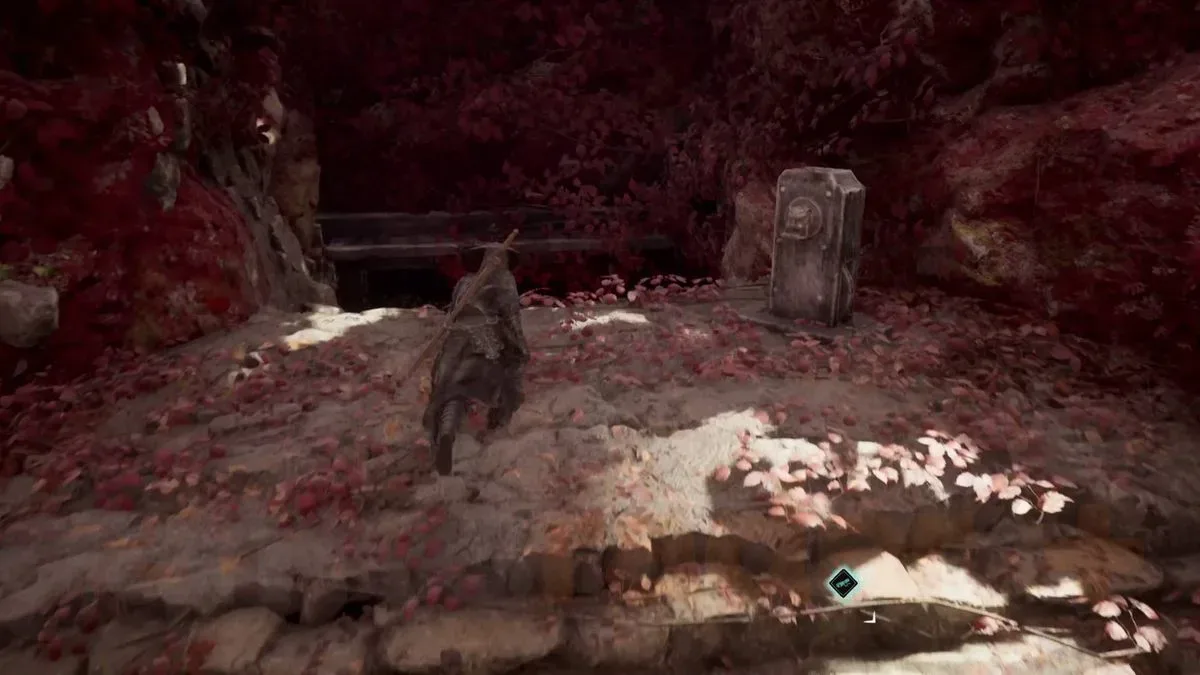
Lean Monkey is found close to the Outlaw Trap Bell. Begin at that bell and look for the nearby pit that becomes accessible after using the Crimson Forest Tunnel Crank. If the pit has not been opened yet, make sure you have activated the crank before attempting this route.
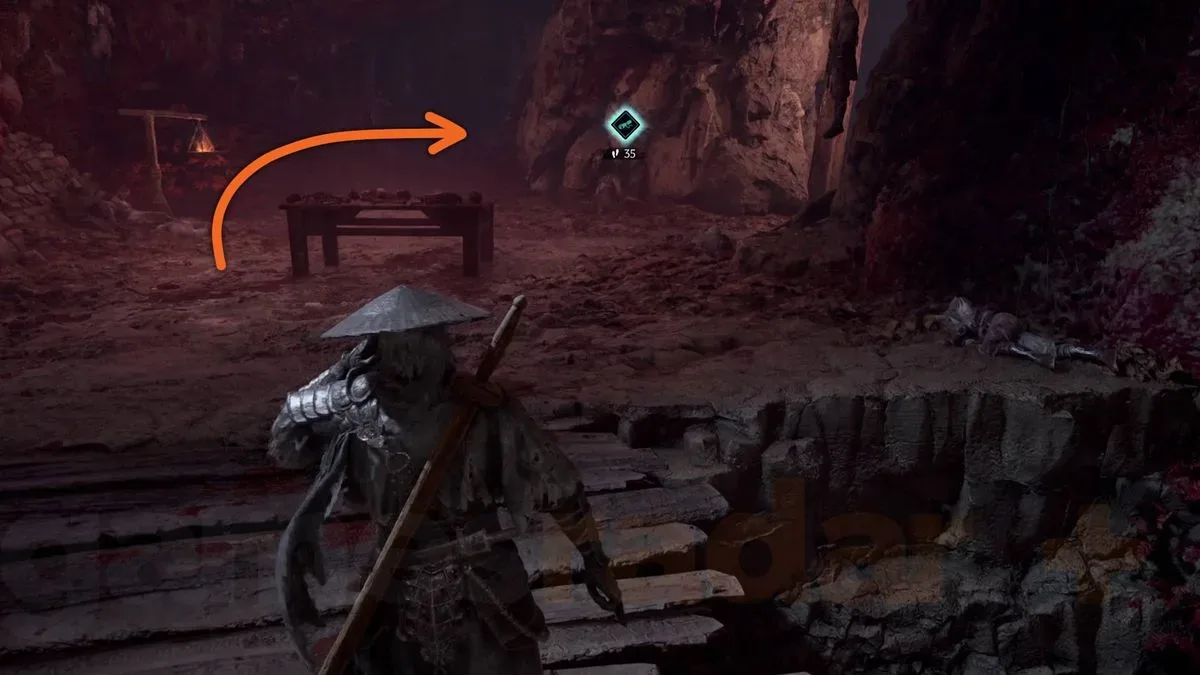
Drop into the pit and continue through the underground area. As you travel, watch for a wooden bridge and a table positioned near it. Lean Monkey is in the tunnel just beyond that table. The thief is injured and waiting on the route rather than tucked behind an additional locked door or major combat challenge.
Talk to Lean Monkey to give them the medicine. The treatment occurs automatically, so once the conversation has concluded, this rescue is complete. Since this target is close to the Outlaw Trap Bell, it is a sensible early stop when beginning the quest.
Flying Rat Location
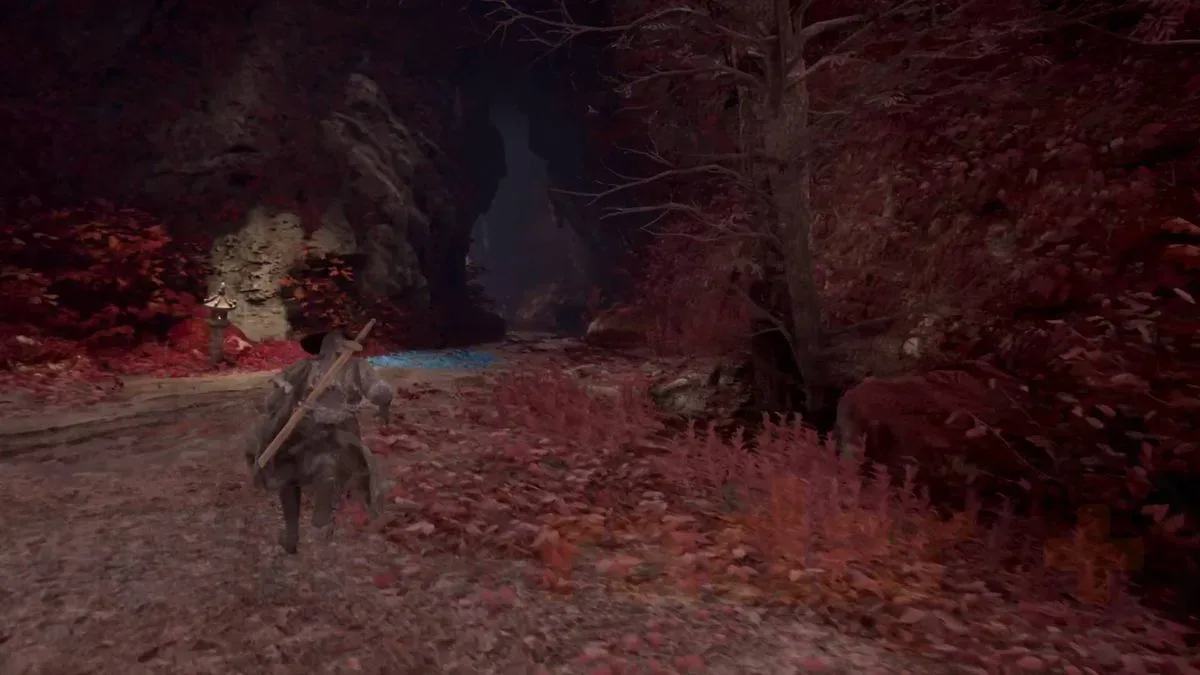
Flying Rat is also near the Outlaw Trap Bell, though the path branches away from Lean Monkey's underground route. From the bell, head to the right and enter the large cave marked by a blue Memory Flower outside its entrance.
This cave is also near the uphill path associated with the quest involving the Nimble Thief questions, which can make it a useful landmark if you have encountered that activity already. Once you step into the cave, do not travel too far inward. Flying Rat is almost immediately inside, lying against machinery on the left-hand side.
Speak to Flying Rat and the medicine will be delivered automatically. This is one of the quickest rescues in A Healer's Mercy, but it can be missed if players assume the map marker points deeper into the cave system. Check the left side near the entrance before exploring further.
Slippery Eel Location and the Dungeon Key
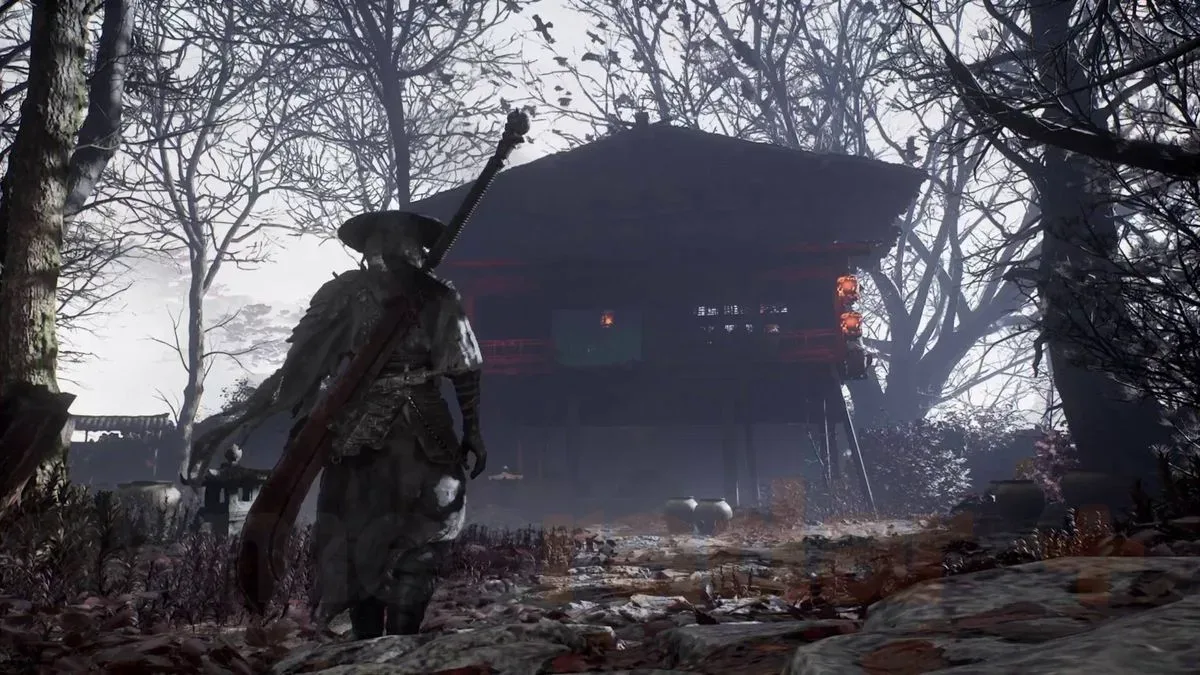
Slippery Eel is located near the Cliffside Lodge, an area that should serve as a practical limit for main-story progression until A Healer's Mercy is finished. Getting to this thief also creates the opportunity to collect the key needed for Night Raven, making the lodge an essential stop even if you choose to reach Slippery Eel by a faster route.
First, enter the Cliffside Lodge and locate the crank on the upper floor. Using it grants access to the basement. Explore the basement carefully rather than rushing to the exit, as the key is not simply placed in the first room.
Within the basement, follow the upper dirt path and inspect the dead body found there. This corpse holds the Thieves' Camp Dungeon Key. Pick it up before leaving. The key is mandatory for opening the dungeon back at the camp, where the final wounded thief is trapped.
Continue following the dirt path to its end. You will reach a door that opens onto a small clearing along the cliff. Slippery Eel is sitting in this clearing. Speak with them to administer the medicine and complete the third rescue.
There is a wooden ladder nearby that allows you to climb back out. It is possible to reach Slippery Eel more directly by climbing down that ladder from above, but doing so does not replace the basement exploration. The Thieves' Camp Dungeon Key can only be acquired through the Cliffside Lodge basement route, so players should still make sure they have collected it before returning to the camp.
Night Raven Location
With the Thieves' Camp Dungeon Key in hand, return to the Thieves' Camp. Find the dungeon door and unlock it using the key obtained from the Cliffside Lodge basement.
Once inside, look to the left. Night Raven is lying on the ground near the entrance area, making this final rescue relatively straightforward after the key requirement has been met. Speak to Night Raven to automatically hand over the medicine.
With Night Raven healed, all four thieves should now be safe. Before leaving, consider searching the dungeon thoroughly. The area contains additional rewards, including one of Quick Hand Zhang's treasures for the Crimson Forest, two Sha-Chi Amber Fragments, and the Brass Chest Guard Accessory.
Some of the dungeon's extra paths, as well as access toward the small Lakeside Arch Bridge area beyond it, require the Bastion shield Phantom Edge. That ability is needed to block the crossbow bolt traps found along the way. If you do not have Bastion yet, you can still finish A Healer's Mercy by healing Night Raven, then return later for the optional loot and routes when properly equipped.
Return to Yu'er for the Reward
After healing Lean Monkey, Flying Rat, Slippery Eel, and Night Raven, go back to Yu'er at the Thieves' Camp. This completes A Healer's Mercy and awards the Calming Gourd Accessory.
The Calming Gourd has a particularly useful defensive effect: whenever medicine is used, it lets you recover from a broken guard state and prevents Sha-Chi consumption for three seconds. That combination can make medicine use far more valuable during dangerous encounters, particularly when a guard break might otherwise leave you exposed.
The accessory is especially important because there does not appear to be another way to obtain it if A Healer's Mercy is failed. Since progressing too far in the Crimson Forest can result in the thieves dying, this is one side quest worth treating as an immediate priority.
A Healer's Mercy Checklist
- Accept A Healer's Mercy from Yu'er at the Thieves' Camp.
- Before progressing beyond Cliffside Lodge, rescue Lean Monkey via the pit near the Outlaw Trap Bell.
- Enter the Memory Flower cave to the right of the Outlaw Trap Bell and heal Flying Rat on the left.
- Explore Cliffside Lodge, use the upper-floor crank, and enter the basement.
- Collect the Thieves' Camp Dungeon Key from the corpse along the upper dirt path.
- Follow the path to the cliff clearing and heal Slippery Eel.
- Return to the Thieves' Camp, unlock the dungeon, and heal Night Raven on the left.
- Report back to Yu'er to receive the Calming Gourd Accessory.
Completing the rescues in this order keeps the route efficient and avoids the main failure condition. Deal with the injured thieves early, secure the dungeon key while visiting Cliffside Lodge, and save the optional dungeon treasure hunt for afterward if you need the Bastion shield Phantom Edge first.
Community
Discussion
Start the conversation.
No comments have been posted yet.