

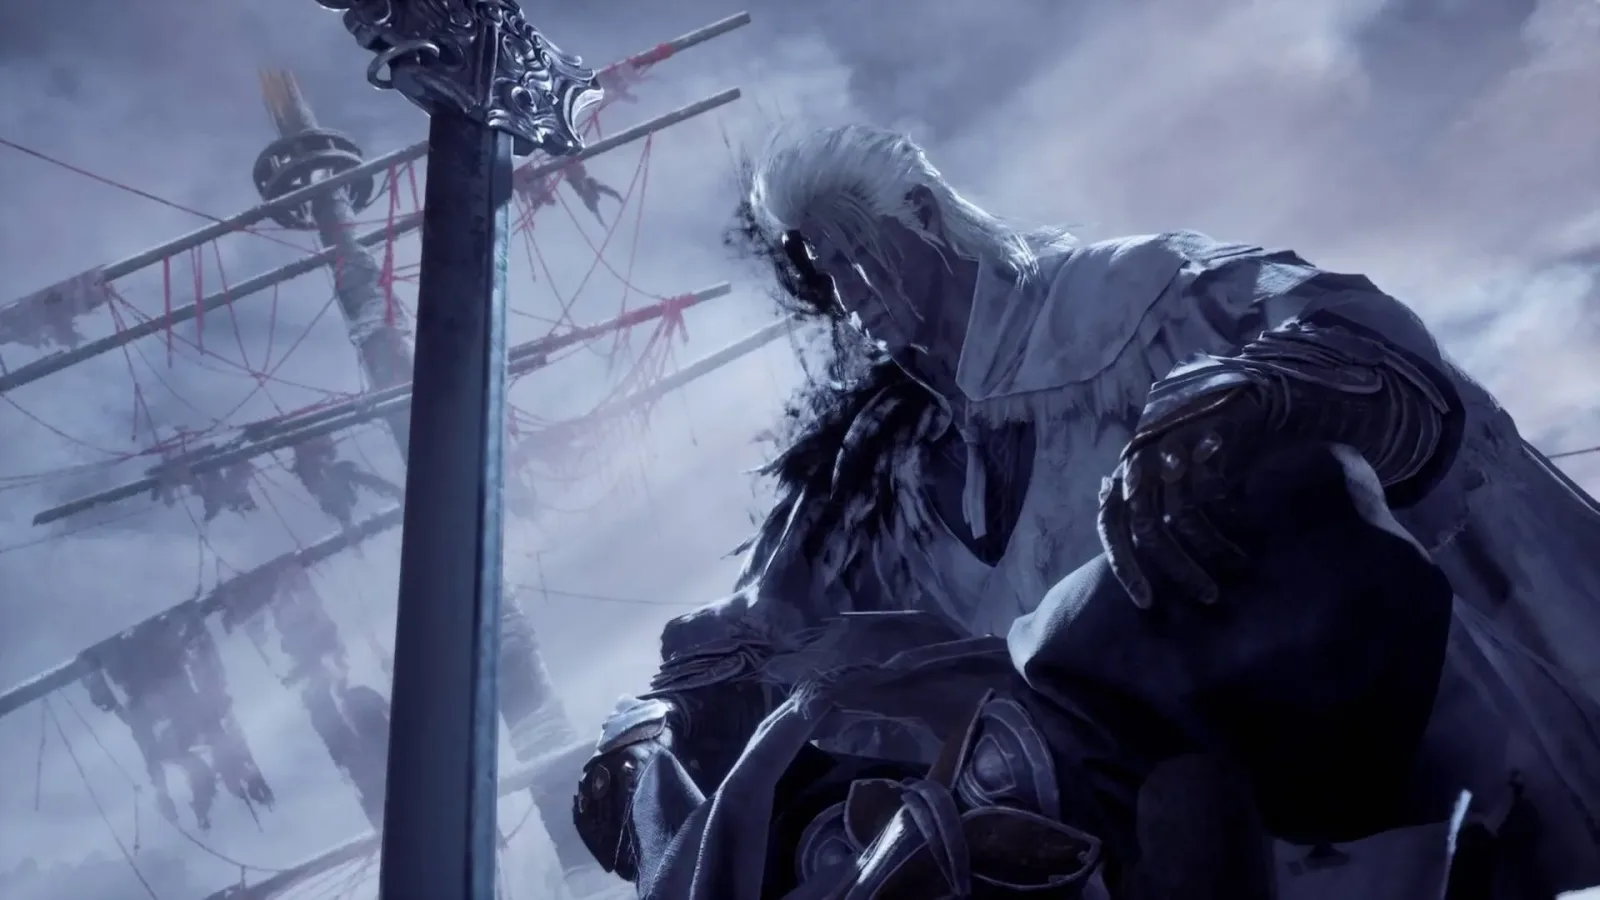
Phantom Blade Zero's Blizzard Blademaster is an optional opponent with the pressure of a late-game wall. Fast sword strings, abrupt movement, dangerous lunges, and an ice-based status effect make this encounter particularly punishing for anyone who tries to force offense. The fight only has one phase, but that is not much consolation when a single freezing hit can leave Soul stationary and exposed to whatever attack comes next.
The good news is that the Blademaster is beatable without relying on reckless damage races. This is a battle of recognition and restraint. Learn the opening dash, track freeze buildup, treat the red-flash grab as a major priority, and use the equipment systems available before entering the arena. Defeating him is worthwhile not only for the challenge, but also for story progress and a powerful ice weapon reward.
Where to find the Blizzard Blademaster
The Blizzard Blademaster waits at the end of the Four Guardians' Mirror area in the frozen region of Meigu Lake. Access to this section requires opening Crimson Manor first, so players who have not progressed through that route will need to take care of that prerequisite before searching for the boss.
Although the fight is optional, it is tied to meaningful rewards and narrative context. Victory awards the two-handed sword Whiteshadow, an ice weapon that lets its user freeze enemies. The encounter also advances the path involving the Yin and Yang crystal eyes and the Secrets at the Heart of the Lake side quest. Completing that thread brings additional story detail and grants a Soul Tempering item for a Phantom Edge.
For useful background on this topic, read Loco Motive's Hands On Update Brings Steam Deck Touch Controls, Mac and Linux Support.
Before stepping into the arena, make the usual preparation seriously. Fully upgrade the weapons you intend to rotate between, check that your Accessories are helping the specific problems that have ended prior attempts, and make sure your medicines are upgraded where possible. A loadout including the Baishan Stormswords, Armybreaker, Bashpole, and Ink Cut has proven capable of handling the fight, but the key is less about copying a single weapon list and more about entering with upgraded tools and a plan for Sha-Chi recovery.
The opening dash is the first test
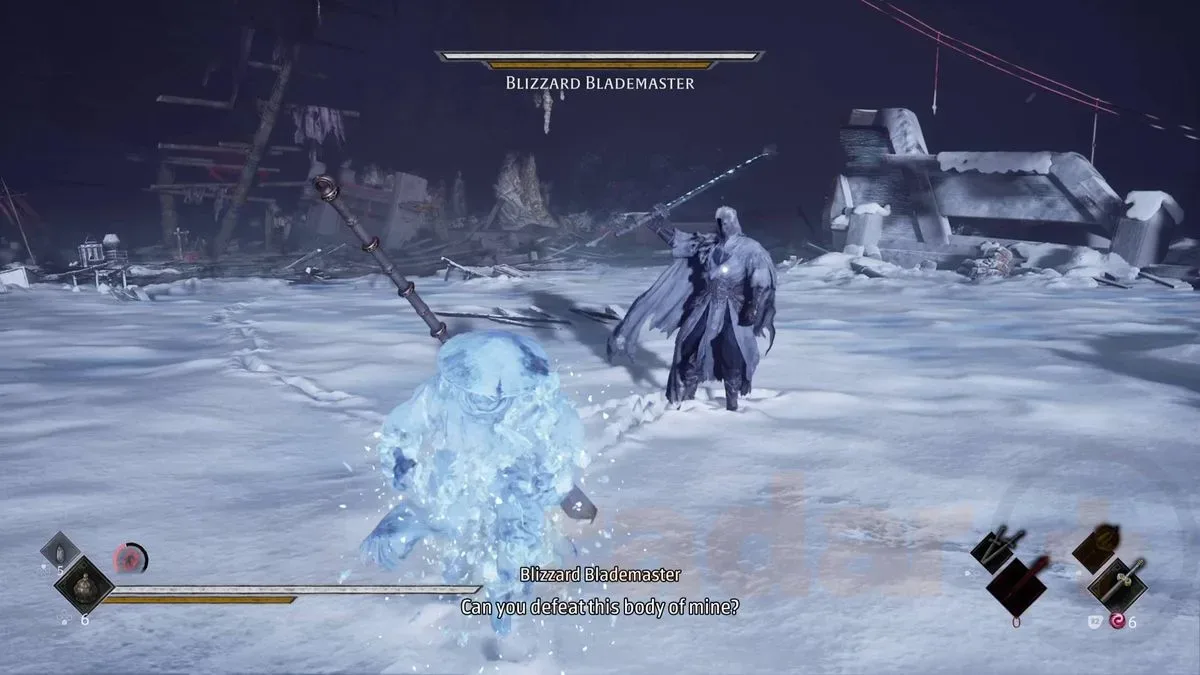
The fight begins with an immediate lesson: once the Blademaster notices Soul, he reliably launches into a dash attack. It is not an attack to casually block through. If it connects, it can instantly freeze Soul, placing the player in the worst possible position before the battle has properly begun.
Make a habit of entering the arena ready to evade rather than attack. Watch the wind-up, then dodge to the side. A sideways evade is safer than attempting to parry this opener, especially when learning the timing. The same philosophy applies to several of the boss's most damaging ice attacks. A perfect parry can be rewarding, but missing one against an enemy capable of freezing Soul can turn a small error into a lost attempt.
That does not mean parries should be abandoned. Many blue-flash attacks still offer valuable defensive and offensive openings. The difference is recognizing which moves are worth challenging and which are better treated as hazards to avoid entirely. The opening dash and the especially punishing ice wave are prime examples of attacks where survival is often the better reward.
Freeze buildup is the real boss mechanic
The Blademaster's individual strikes are threatening, but the accumulation of freeze is what makes his pressure so oppressive. More than one dedicated ice move can immobilize Soul, and ordinary hits also contribute to the buildup. Once frozen, there is no dependable answer that immediately frees Soul from the effect. The duration must be endured, and whether the Blademaster capitalizes on it can feel dangerously uncertain.
Keep an eye on the red debuff icon above Soul's health bar throughout the encounter. It communicates both the rising freeze danger and the active frozen duration. Watching this indicator helps prevent the common mistake of continuing to challenge an exchange when the next hit could leave Soul immobilized.
The most useful medicine for this matchup is Green Serpent Brew. It removes status effects and temporarily increases resistance to them, making it a direct response to the central problem of the fight. Upgrading it improves its benefits further, so it is worth investing in before committing to repeated attempts against the boss.
Phantom Brew can also have a place in the medicine selection. When fully upgraded, it provides brief invulnerability. That short window can be valuable during especially crowded moments or when a player needs to stabilize after a difficult sequence. Neither medicine replaces learning the attacks, but both can reduce the impact of an unavoidable mistake and give a struggling run a chance to continue.
Respect the red-flash grab
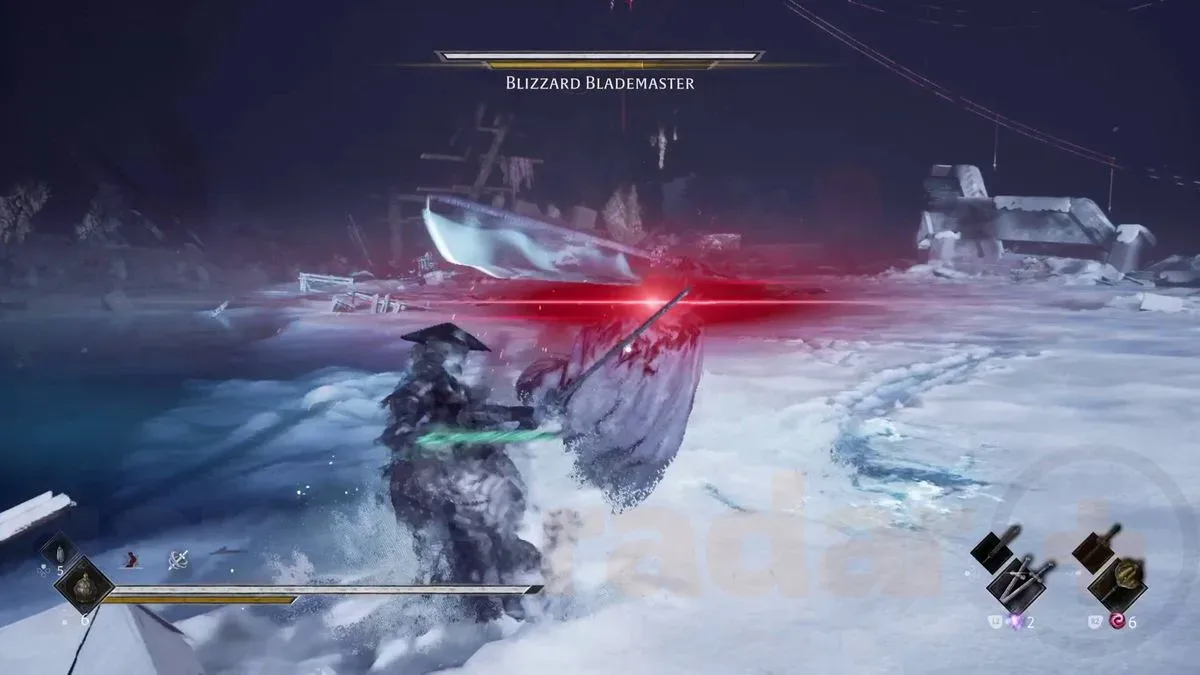
Red-flash attacks are already among the most alarming attacks in Phantom Blade Zero, and the Blizzard Blademaster's version deserves special caution. His grab is quick, highly damaging, and awkwardly flexible in when it can appear. It may arrive after a blue-flash attack has just been perfectly parried, precisely when a player believes they have earned a safe chance to strike.
That reversal is why overcommitting after a parry is risky. A successful parry should create an opportunity, not an automatic invitation to empty an entire combo. Attack with enough discipline that Soul can still react if the Blademaster immediately answers with the grab.
The grab is difficult to avoid, but a perfect dodge against it can create one of the best punishment windows in the battle. Be ready to capitalize, while staying aware that the boss may recover surprisingly quickly. A short, controlled punish is safer than assuming he will remain vulnerable for a long sequence. In this duel, surviving the next exchange matters more than maximizing every opening.
Use Power Surges to stop the attacks that matter
The Blademaster is not easily interrupted by ordinary aggression. Trying to hit him out of everything will often lead directly into a freezing counterattack. Power Surge attacks are a notable exception and should be saved for moments when interrupting him prevents a particularly lethal move.
Think of Power Surges as a defensive resource with offensive upside. They are not simply extra damage to spend whenever available. If a Surge can halt one of the boss's deadliest attack sequences, it may preserve health, Sha-Chi, and medicine charges that would otherwise disappear in seconds. This is particularly important because the fight becomes much less manageable after Soul has been forced into a defensive spiral.
At close range, do not mistake activity for control. The Blademaster is dangerous in melee, and constant attempts to retake the initiative can expose Soul to rapid attacks, freeze buildup, and grabs. Prioritize clean dodges and appropriate parries. Then use short punish strings, weapon techniques, or Power Surges when the boss has actually given an opening.
Protect Sha-Chi and use weapon switching deliberately
Several of the Blademaster's attacks inflict heavy Sha-Chi damage. If Soul's guard breaks, the resulting vulnerability can quickly become fatal, especially if freeze follows. A broken guard against this opponent does not just mean lost momentum; it can mean standing helplessly in range of the attacks that the player most needed to avoid.
Weapon switching is therefore a major part of the survival plan. Switch at the correct time to restore Sha-Chi rather than waiting until the gauge is already in a desperate state. The fight's pace can make this difficult, so players should identify calmer portions of the boss's recovery animations and incorporate switches into those brief pauses.
If guard pressure remains a recurring problem, the Agarwood Prayer Beads Accessory is worth considering. Medicines and other Accessories that support Sha-Chi regeneration can also make the encounter more forgiving. The right setup depends on whether the player is dying primarily to freeze, guard breaks, or failed evasions, but a build that ignores Sha-Chi is likely to struggle here.
Do not run away from the fight
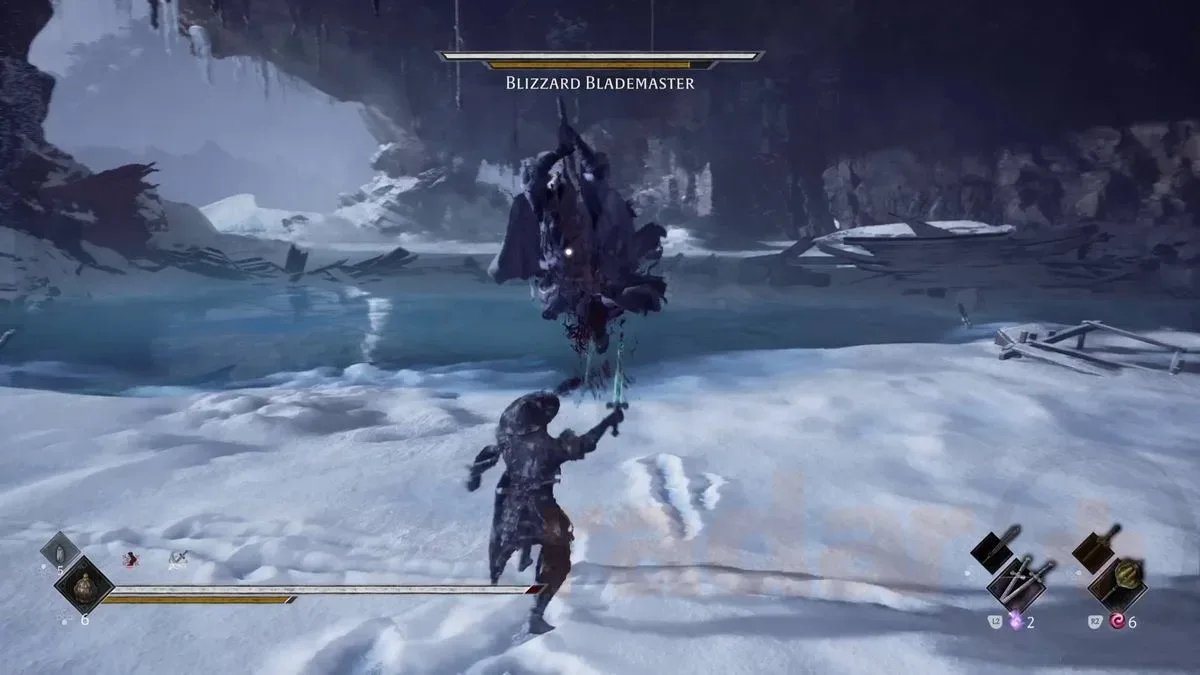
There is an important balance to maintain. Staying directly beside the Blademaster at all times is dangerous, yet retreating too far may be even worse. At distance, he is more likely to use icy lunge attacks, and those approaches can be difficult to manage when they become frequent.
Instead of backing away across the arena, aim for a controlled mid-to-close spacing. Remain near enough that the boss does not constantly choose lunges, but far enough to read his startup animations and sidestep the attacks that should not be parried. This measured position gives the player more chances to react rather than simply chase or flee.
- Dodge sideways when the fight opens to avoid the automatic dash.
- Monitor the red freeze icon and use Green Serpent Brew before buildup becomes overwhelming.
- Do not greed after blue-flash parries; the red-flash grab can follow quickly.
- Save Power Surges for dangerous attacks that need interrupting.
- Switch weapons with Sha-Chi restoration in mind, not only for offense.
- Hold a controlled distance instead of retreating far enough to invite repeated lunges.
What comes after the win
Persistence pays off with Whiteshadow, the Blademaster's ice-infused two-handed sword. Players who collected every clothing item in Four Guardians' Mirror can obtain the Boy's Worn Outfit, allowing Whiteshadow to be Soul Tempered immediately.
For anyone still unable to find a rhythm, additional combat practice may help more than another rushed attempt. Finding Long Pillars and fighting the Gold-Masked One offers an opportunity to sharpen defensive reactions before returning to Meigu Lake. The Blizzard Blademaster is deliberately demanding, but once his dash, grab, freeze pressure, and Sha-Chi threats are treated as separate problems instead of one overwhelming assault, the fight becomes far more readable.
Community
Discussion
Start the conversation.
No comments have been posted yet.