

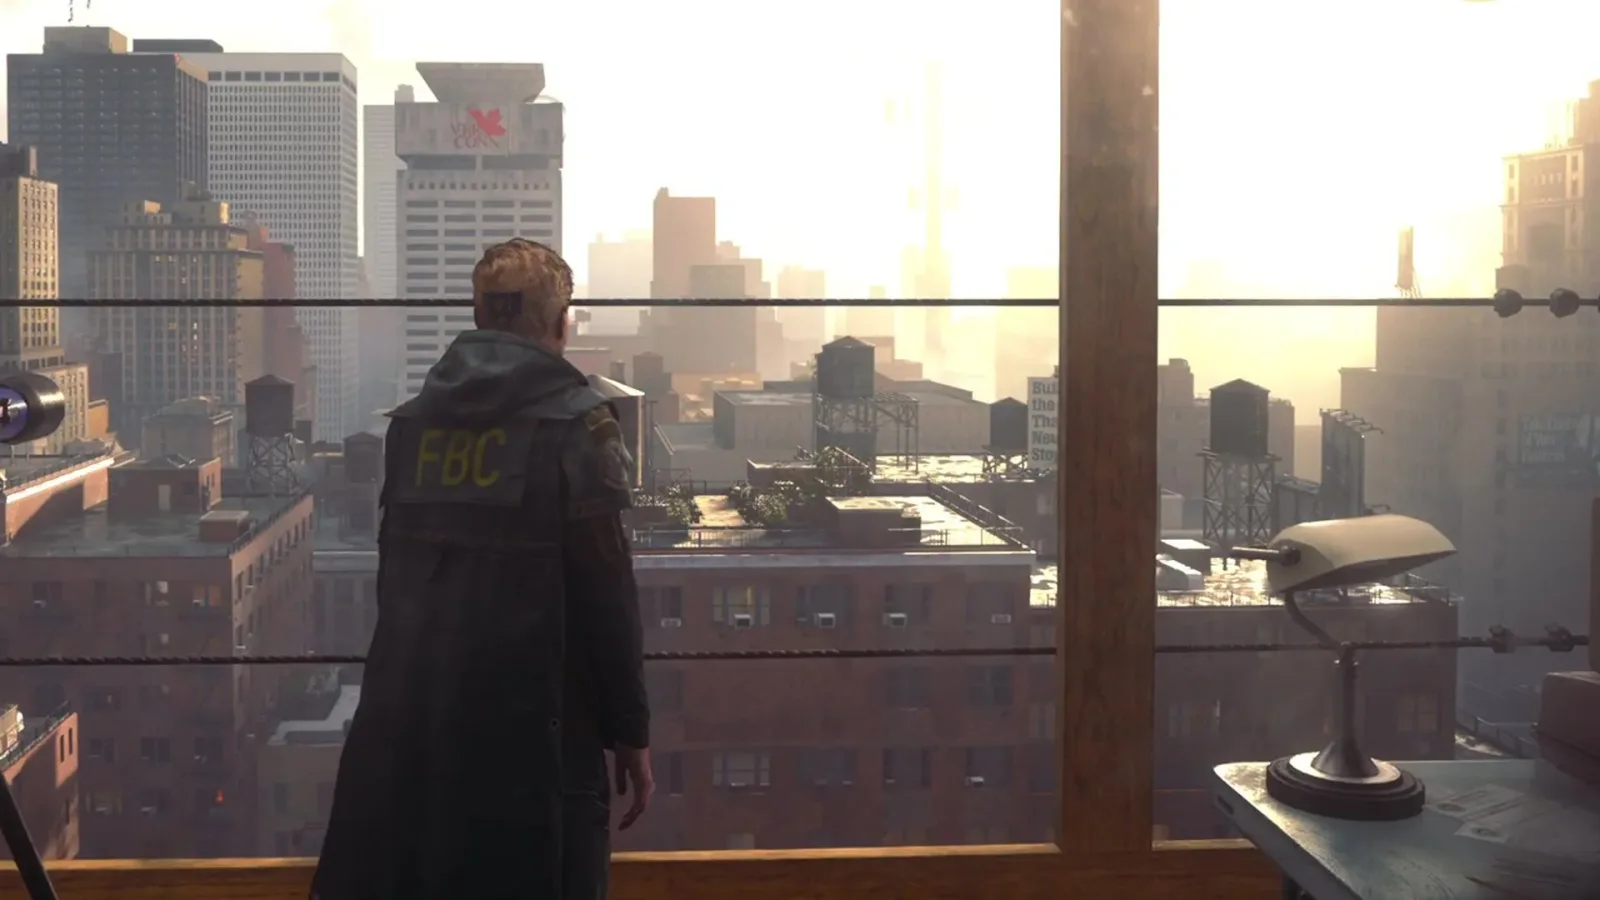
Control Resonant opens up considerably once the tutorial is over and the first trip to the Watchtower is complete. After speaking with Zoe, the path through the underground tunnel leads into Central, where several objectives, unexplored regions, optional encounters, and side activities become available at once. That freedom is exciting, but it can also be intimidating in a game where an unexpected Hiss ambush can quickly turn a routine exploration trip into a punishing defeat.
There is no single mandatory route through Central, and players should not ignore interesting detours simply because they are not part of the main narrative. Still, a broadly sensible order can make the opening hours smoother. It introduces useful infrastructure first, creates room to gain levels through World Feats, and prioritizes powers that have practical value in the areas that follow.
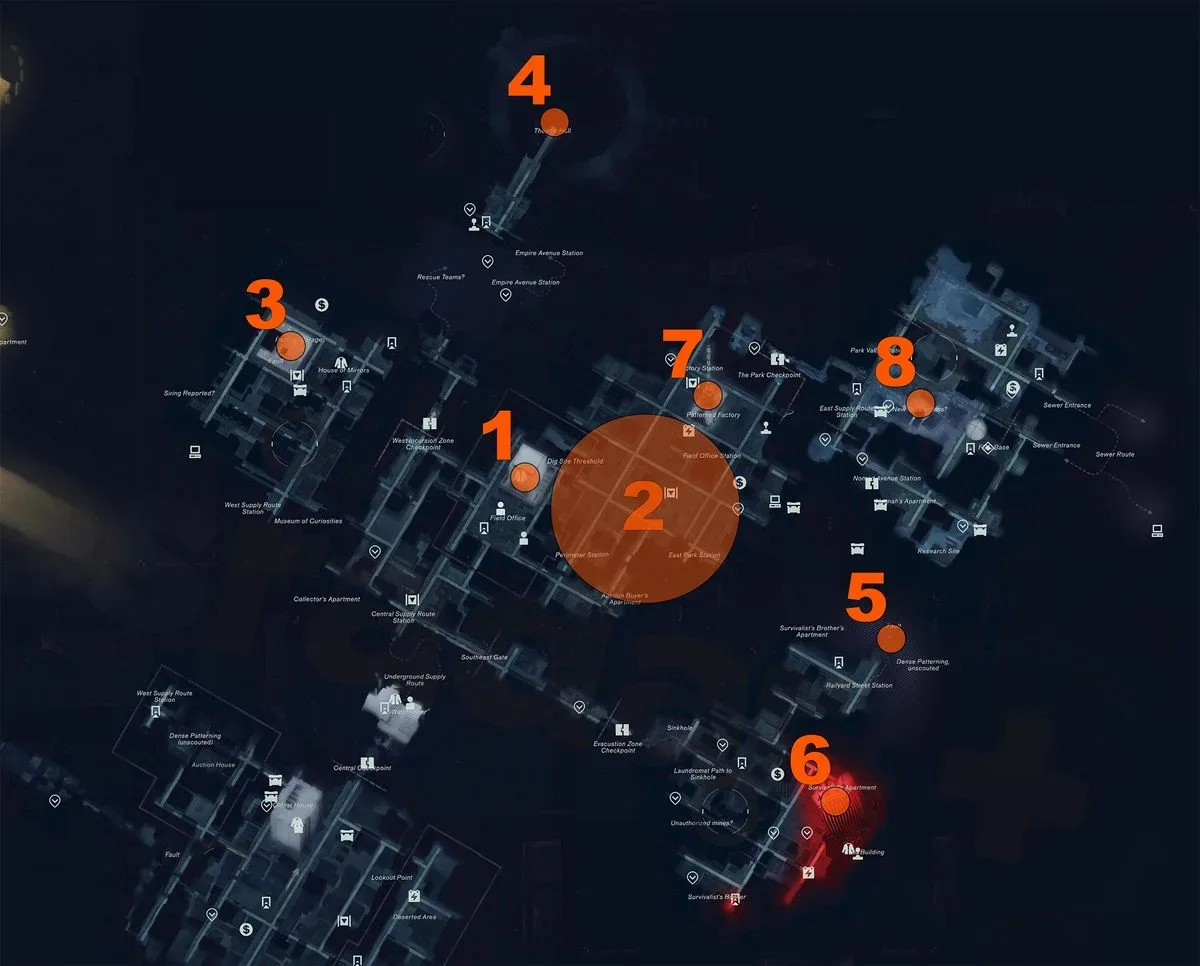
The recommended route begins with the clearance keycard objective in Central, then moves through the West Incursion Zone and Evacuation Zone before returning to Central for the Factory encounter. The final major stop is The Park, where the rewards earned earlier are especially relevant against its Mold-infested threats.
Start with Welcome to Manhattan and secure a Clearance Keycard
Once players leave the tunnel into Central, the first priority should be the objective marked Welcome to Manhattan. This points toward obtaining one of the Control Resonant Clearance Keycards. It may be tempting to immediately wander toward the most distant icons on the map, but getting a keycard first is the more useful opening move.
For useful background on this topic, read Shape of Dreams Codes: Active September 2026 Cosmetic Reward and Redemption Guide.
The keycard objective introduces the main FBC Field Office, which serves as an important hub. Establishing access to this location early provides a much better foundation for everything that comes afterward, especially as Central begins to branch into several separate zones and routes. The Field Office is a natural point to regroup before taking on more dangerous fights.
While handling this first task, make sure to activate the Fast Travel Door in the area. Fast travel is not merely a convenience in a large and hostile space such as Central. It cuts down on repeated travel through combat-heavy routes, makes it easier to return for side objectives, and reduces the friction of revisiting zones after a new power changes what can be accessed or fought efficiently.
In short, the early keycard and Fast Travel Door are an investment. They do not provide the spectacle of a boss reward, but they make the rest of the opening progression far more manageable.
Spend time in Central and complete available World Feats
After the initial hub setup, take some time to explore Central rather than rushing directly into the next main-story marker. World Feats that appear in the area are worth completing at this stage. They offer opportunities to gain experience, become more familiar with enemy behavior, and improve a character before the more directed encounters in the surrounding zones.
This is particularly valuable because Control Resonant can be demanding early on. Being overwhelmed by Hiss enemies does not necessarily mean a player has selected the wrong quest or failed to understand the game. It can simply mean they need a little more experience, a stronger build, or a better grasp of positioning and ability use. World Feats provide an organic way to address that without grinding a single activity repeatedly.
Use this period to test the tools currently available, identify enemy attacks that cause the most trouble, and get comfortable moving between combat spaces. Players who feel confident after a few World Feats can proceed quickly, while anyone struggling should consider staying in Central longer. The route works best as a progression framework, not as a strict speedrun checklist.
Visit the West Incursion Zone for the Gravity Anomalies power
The next major destination is the West Incursion Zone. From the House of Mirrors hub area, head west to locate a Fault in the Parking Garage. This is a Jesse Sighting objective, and completing the Fault grants access to Gravity Anomalies.
Gravity Anomalies is among the most useful powers to obtain in the early game. Since it arrives before several other significant objectives, securing it early gives players more time to learn how it works and incorporate it into their approach. Any ability that expands tactical options is especially valuable in an action RPG where encounters can become chaotic and enemy pressure can arrive from several directions.
The Parking Garage Fault is therefore not merely a side stop for completion-minded players. It is a meaningful power pickup that can make the next stretch of the game feel less restrictive. If the route through Central has felt dangerous, this is one of the clearest early opportunities to become more capable before facing additional Resonants and story encounters.
After gaining the new power, it is worth taking a moment to practice with it before immediately moving to the next major fight. A player who understands the practical rhythm of a new ability will get more value from it than one who only unlocks it and moves on.
Continue north in the West Incursion Zone to face the Dancer
Remain in the West Incursion Zone after clearing the Parking Garage Fault. The next objective is in the northern part of the zone, at the Theater Hall, where players can confront the Dancer, another Resonant.
This encounter follows naturally after the Gravity Anomalies unlock. By placing it after the Jesse Sighting, the route avoids sending players into the Theater Hall without one of the early powers that can improve their options. It also maintains a steady escalation: first establish hubs and gain experience, then secure a useful ability, then move into a more focused Resonant battle.
As with other difficult encounters, players should feel free to step away if the Dancer proves too punishing. Central's open structure means there is little reason to repeatedly throw resources at a fight when World Feats, exploration, or another nearby objective can provide a better return. The recommended sequence is designed to keep challenges ordered sensibly, but it does not demand that every battle be won immediately.
Head to the Evacuation Zone for Reach and Evacuation Procedures
After the West Incursion Zone, travel to the Evacuation Zone. Move north toward Dense Patterning to find another Jesse Sighting Fault. Completing it grants the Reach power.
Reach is the next important ability in this early route. Obtaining it before pressing deeper into the story gives players another piece of their kit and continues the pattern of seeking power rewards before tackling later, more demanding content. The game's open objectives can make it easy to accidentally delay useful unlocks while pursuing whatever marker happens to be closest, so deliberately targeting the Fault at Dense Patterning is a strong choice.
Once Reach has been acquired, stay in the Evacuation Zone. The nearby Evac Building is home to Evacuation Procedures, the main-story objective that involves meeting Arish. This placement makes the Evacuation Zone an efficient stop: it contains both a power unlock and a meaningful narrative continuation, avoiding unnecessary backtracking.
The larger benefit of doing the Jesse Sighting first is preparation. Entering the Evac Building after expanding the available toolkit is preferable to rushing toward the story step with fewer options. It also keeps the overall route consistent: use side content to improve capabilities, then advance the plot from a stronger position.
Return to Central and challenge the Deserter at the Patterned Factory
With the West Incursion Zone and Evacuation Zone addressed, return to Central for the Central Resonant encounter. The destination is the Patterned Factory, where players will face the boss known as the Deserter.
This is an important turning point because defeating the Deserter grants a choice of fire powers. The exact decision is significant in its own right, but the key progression benefit is having a pyrokinetic option before moving into The Park. That next region is heavily affected by Mold enemies, and fire abilities are particularly effective against them.
For that reason, the Factory belongs before The Park in a recommended route. It is possible to visit The Park earlier, but doing so means confronting Mold opposition before obtaining a reward that is well suited to dealing with it. The Deserter may be a substantial fight, yet its payoff directly improves the next major destination.
Players should approach the Patterned Factory with the expectation that it is a boss-focused objective rather than a casual diversion. Use the prior World Feats, Gravity Anomalies, and Reach unlock to make the most of the available build. If the encounter exposes a weakness in damage, survivability, or ability use, Central remains available for additional activities before another attempt.
Save The Park and The Collective for after the Factory reward
The final major stop in this early progression is The Park, located northeast of Central. The zone is overrun by Mold, and its central area contains the quest marked new Mold Strains?. Following that quest eventually leads to an encounter with a boss called The Collective.
The Park is the clearest example of why quest order matters even in an open-ended structure. Completing the Patterned Factory first means arriving with a fire power that is especially effective against Mold enemies. That advantage can change how approachable the area feels, making the final leg of this route more coherent than it would be if attempted immediately after reaching Central.
Do not treat this as a command to avoid The Park completely until every earlier task is finished. Exploration can still be rewarding, and players may find worthwhile side content along the way. However, anyone looking for the smoothest sequence should leave the core Mold quest and The Collective encounter until after the Deserter has been defeated and the fire-power choice has been made.
A flexible route is better than a rigid checklist
The strongest early order in Control Resonant is: secure a Clearance Keycard and activate fast travel, complete Central World Feats, get Gravity Anomalies in the West Incursion Zone, fight the Dancer, obtain Reach in the Evacuation Zone, meet Arish during Evacuation Procedures, defeat the Deserter at the Patterned Factory, and then take on The Park's Mold-related questline and The Collective.
That order steadily raises the challenge while ensuring that major ability gains arrive before the situations where they are most helpful. Just as importantly, it leaves room for side quests, exploration, and World Feats whenever the difficulty begins to spike. If the Hiss are consistently leaving a player battered and short on resources, the answer may be to take a detour, build up a little more, and return with a broader set of tools.
Central is designed to offer choices. This path does not remove that freedom; it simply provides a dependable way to turn the early flood of objectives into a manageable progression through hubs, powers, story steps, and boss encounters.
Community
Discussion
Start the conversation.
No comments have been posted yet.