


Control Resonant separates its upgrades into two major categories: traversal abilities that expand where you can go, and combat powers designed to reshape how you approach hostile encounters. The distinction is important because the game's progression is not entirely linear. Traversal upgrades come from completing Faults encountered while pursuing Jesse, while most offensive abilities are rewards for defeating the game's Resonant bosses.
The complication is that several of those boss rewards are permanent choices. Defeating a Resonant can present two or three combat powers, but selecting one normally locks the others away. It is possible to redo those decisions later, though the resource required to do so is limited. That makes it useful to understand each option before committing, particularly for players who want a build that remains effective into the post-game.
Below is a complete breakdown of the known traversal and combat abilities, their unlock conditions, the practical role of each power, and a recommended setup centered on combining Infection and Burn.
How ability unlocks work in Control Resonant
Traversal powers are tied to Fault completion. These upgrades are primarily exploration tools, opening routes through previously inaccessible areas and helping players navigate the game's unusual gravity-defying spaces. Some are essential to story progress, while others arrive in an order that can vary somewhat based on which optional content is pursued first.
For useful background on this topic, read Magic: The Gathering Star Trek Beginner Box Canceled Worldwide.
Combat abilities are generally gained after defeating Resonants. At several of these milestones, the game asks the player to pick from competing powers. A choice can be revisited at the Gap hub, but doing so consumes a Reset Item. Since Reset Items are rare, it is best to treat the early decisions as meaningful rather than assuming every ability can be freely swapped at will.
There is one later exception. Finishing the main story and then completing the Pope's Research side quest in Unknown awards a Resonant Combat Token. That token grants one additional combat ability from one of the earlier choice sets without forcing the player to surrender the original selection.
Every traversal ability and where to unlock it
Double Jump
Unlock: Complete the Fault in Downtown.
Double Jump is one of the earliest and most foundational movement upgrades. Beyond its obvious second leap, it also enables air-dashing and elevation for longer jumps. In practice, it becomes the baseline for later navigation challenges, helping players cross wider gaps and gain access to higher paths.
Shift
Unlock: Complete the Fault in the parking lot in the West Incursion Zone.
Shift allows the player to align their gravity with Gravity Anomalies, making it possible to walk along surfaces that would otherwise be unusable. It is a major exploration power because it changes the orientation of the world rather than simply extending conventional movement. Expect it to be particularly relevant in spaces built around verticality, side routes, and surreal environmental puzzles.
Reach
Unlock: Complete the Fault inside the Subway in The Evacuation Zone.
Reach functions as a grappling ability, letting the player latch onto distortions throughout Control Resonant. It is useful for quick movement and for accessing locations beyond ordinary jumping range. Once acquired, it should make revisiting older areas more rewarding, as distant or suspended routes become viable.
Every combat ability and boss requirement
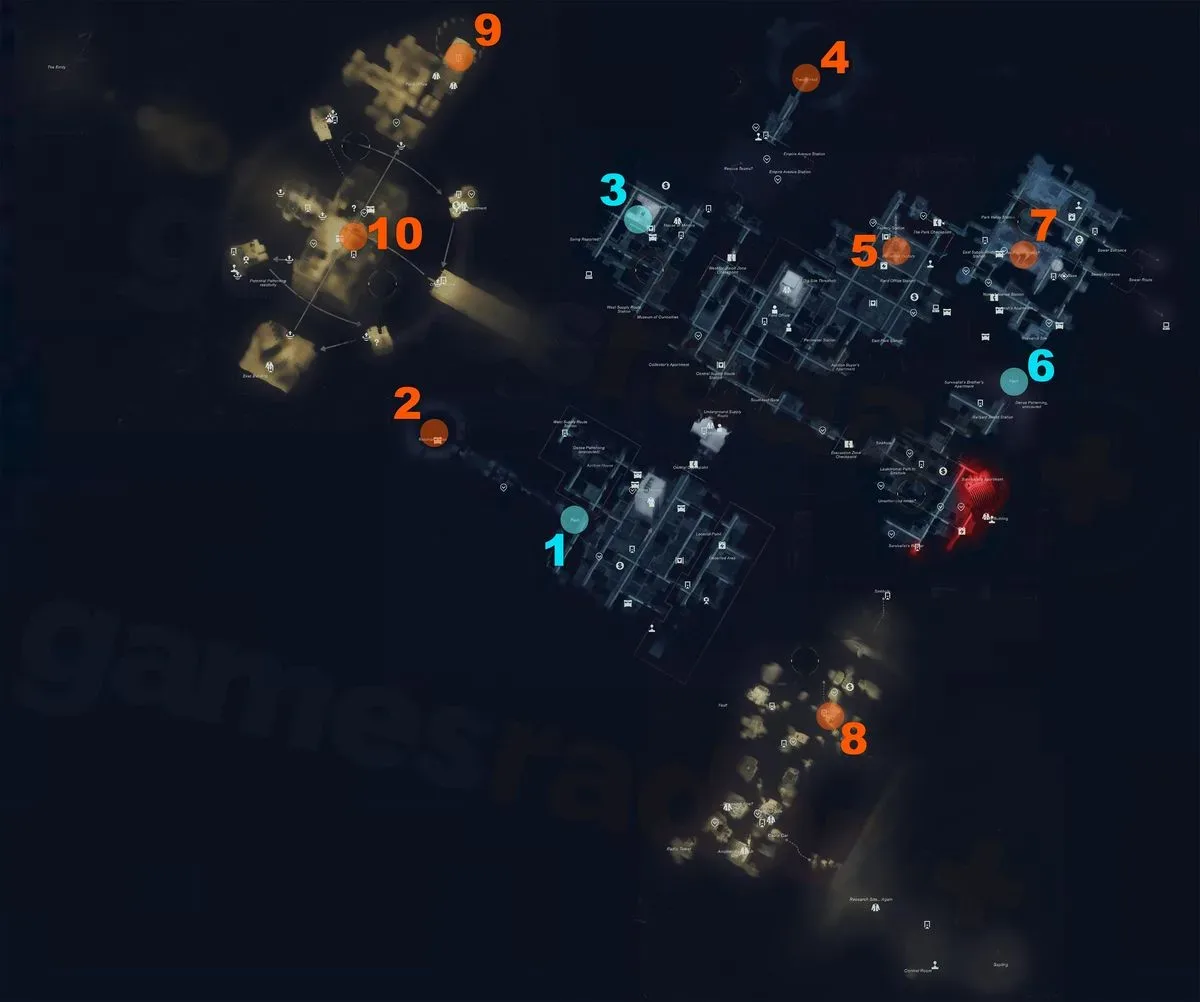
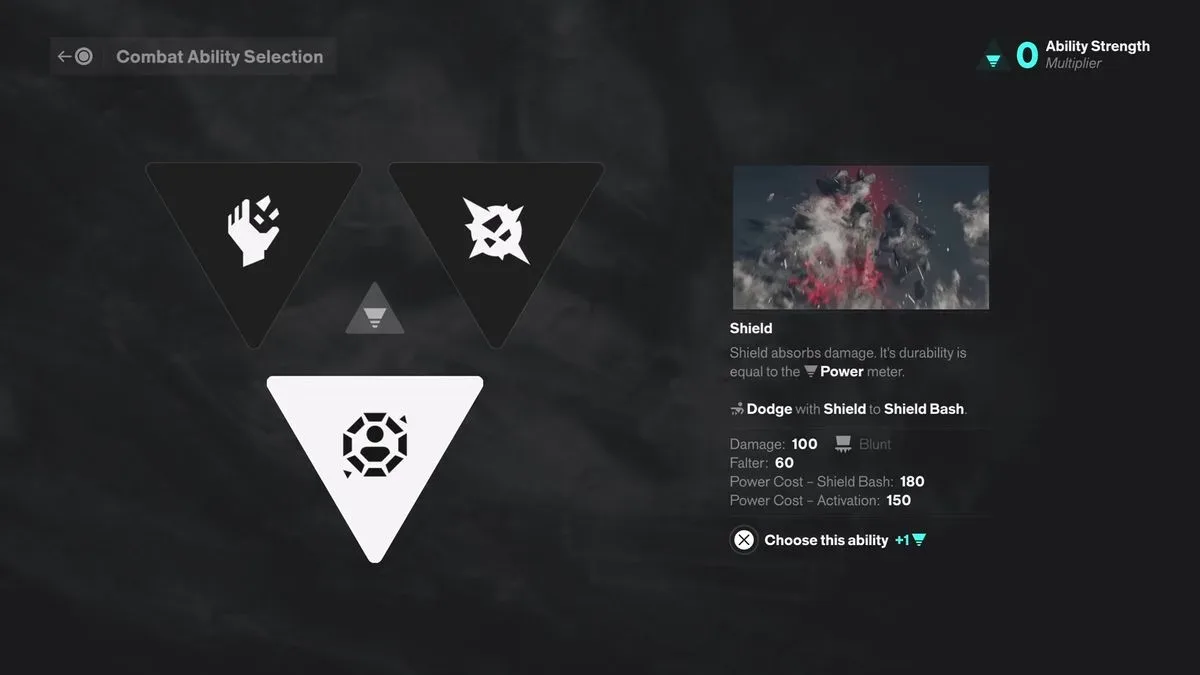
Artist Resonant: Barrage, Volatile Anomaly, or Shield
Location: West Downtown.
- Barrage: Fires projectiles at enemies.
- Volatile Anomaly: Summons an explosive ally.
- Shield: Creates a protective barrier.
Shield is the most broadly useful choice from this first set. While maintaining it consumes power, it offers a defensive answer during aggressive encounters and can create room to recover Health pickups. It also causes significant Falter when used to dash into an enemy. A later talent that permits Shield detonation gives the ability stronger offensive value, making it more than a purely defensive selection.
Barrage provides another ranged option, while Volatile Anomaly offers a summon. However, a build focused on direct aggression and reliable status damage gets more consistent value out of Shield's protection and close-range utility.
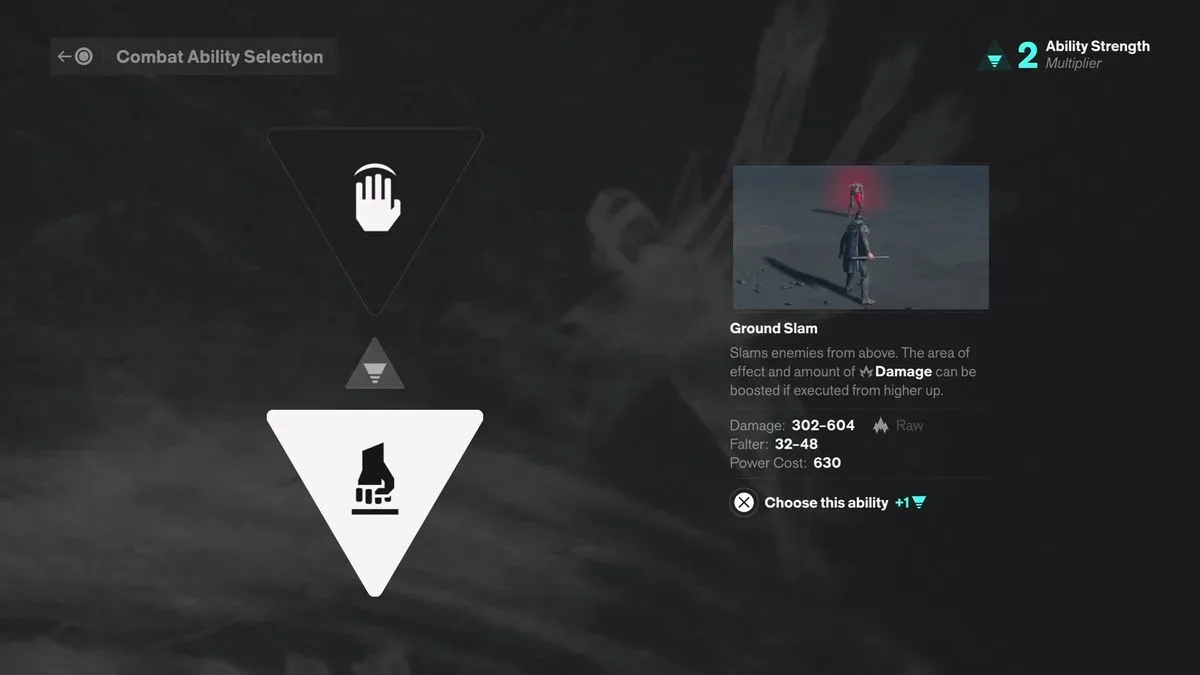
Dancer Resonant: Ground Slam or Push
Location: Theater Hall in the West Incursion Zone.
- Ground Slam: Slams down from the air to damage targets below.
- Push: Sends out a telekinetic pulse that knocks enemies back.
This is a more even decision than some of the other combat choices. Ground Slam is the higher-damage option, while Push is simpler and more immediately convenient to use. Ground Slam fits better alongside a mobile, close-range playstyle, especially one that already uses burning weapon strikes. Push can still be sensible for players who prefer keeping enemies at a distance, but it overlaps with the game's other projectile-oriented tools.
Deserter Resonant: Ignite or Inferno
Location: Central Patterned Factory.
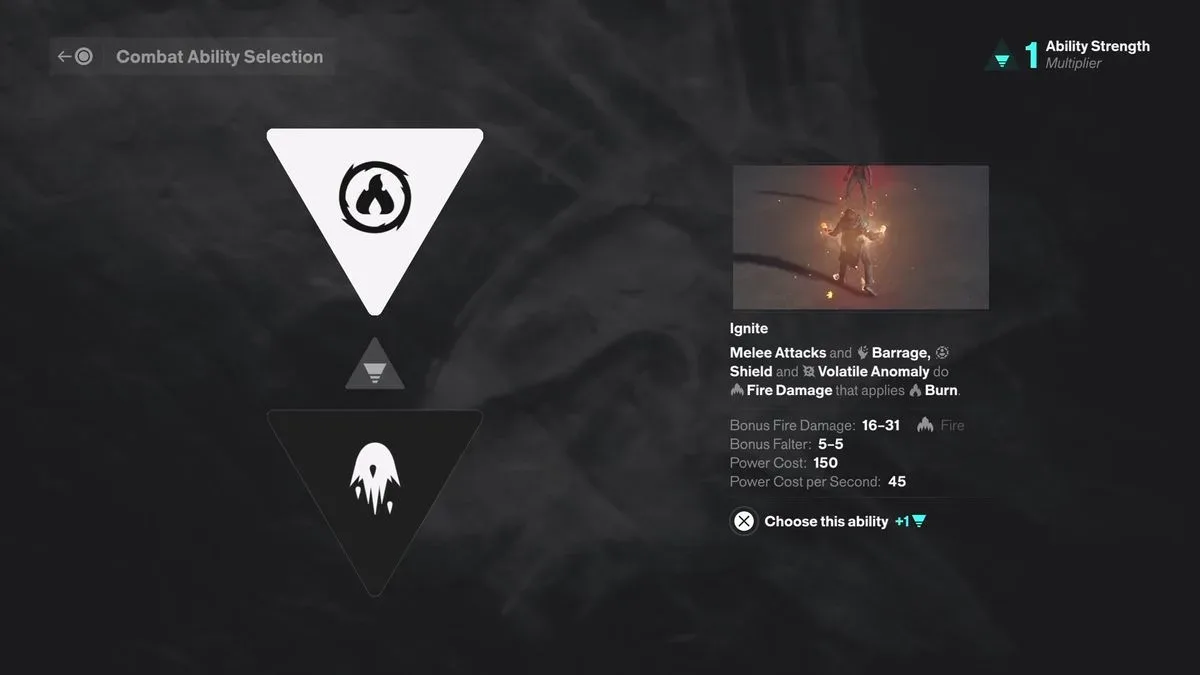
- Ignite: Adds Burn to weapon attacks.
- Inferno: Unleashes short-range waves of fire.
Ignite is the standout choice. It directly improves the weapons players are already relying on, adds lingering Burn damage, and gives every hit Falter potential. More importantly, it enables the strongest status interaction available in this recommended setup: Burn can be paired with Infection for explosive damage once both effects are fully built on a target.
Inferno has a straightforward close-range fire role, but Ignite's sustained damage and integration with regular weapon attacks give it much greater flexibility.
Collective Resonant: Spore Burst or Growth
Location: Under the Park, after consuming four types of Mold.
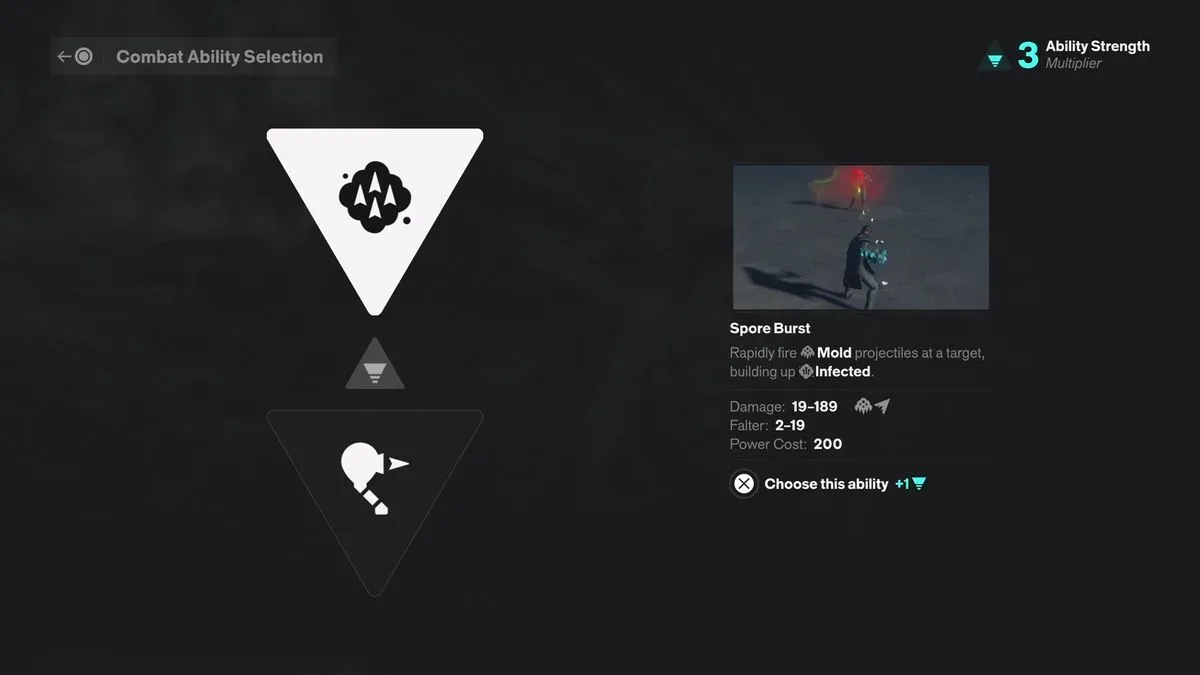
- Spore Burst: Fires a rapid barrage that builds the Infected status.
- Growth: Summons a Mold turret that launches Infected projectiles at nearby foes.
Spore Burst is the recommended initial pick because of how rapidly it applies Infection. A single burst can fully build an opponent's Infected status, including on tougher late-game enemies. That speed is crucial when the plan is to immediately follow up with Ignite-enhanced attacks and trigger the Burn/Infection payoff.
Growth is an exception among the game's summons because its turret has a clear and helpful function. It is still slower and less direct than Spore Burst, but it becomes an excellent candidate for the Resonant Combat Token after the main story.
Physicist Resonant: Spike or Astral Rebuke
Location: At the top of the Spire in the Underpass, near a gap in the Astral Plane.
- Spike: Summons an ally that attacks enemies.
- Astral Rebuke: Raises a spike from the ground to strike and launch foes.
Both choices apply Astralized, a status that makes enemies more vulnerable to other status effects. Neither is as central to the recommended build as Ignite or Spore Burst, but Astral Rebuke has the advantage of being immediate and uncomplicated: activate it and it attacks. It does have a targeting limitation, however, as it works only on grounded enemies and cannot hit flying targets.
Spike asks for more active management as a controlled summon. Players who enjoy directing companions may find a use for it, but Astral Rebuke is the easier all-purpose choice.
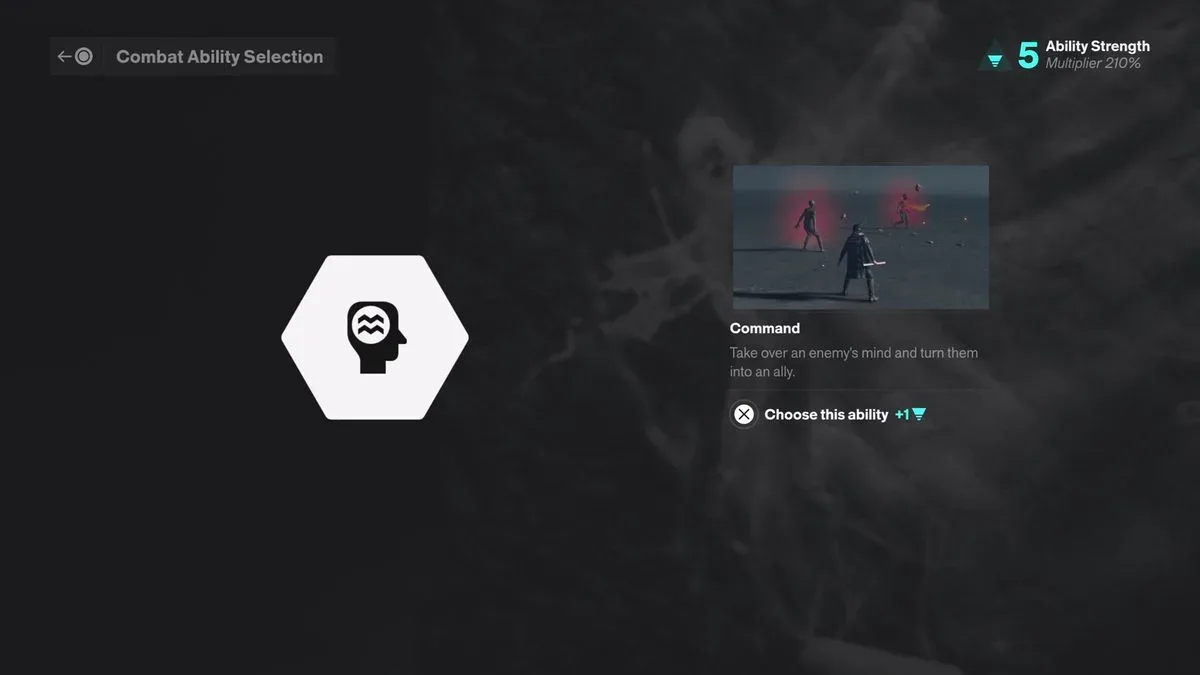
Co-Director Resonant: Command
Location: Unknown Field Office.
Command is not a choice-based reward. It converts hostile enemies into temporary allies that fight on the player's side. Its use is limited by distinct Command charges, so it should be deployed thoughtfully rather than used as a standard attack. It can be particularly useful for disrupting enemy groups, creating breathing room, or shifting attention away from the player during difficult fights.
A recommended combat build
A powerful all-round setup is Shield, Ground Slam, Ignite, Spore Burst, Astral Rebuke, and Command, followed by Growth through the Resonant Combat Token.
The central idea is to prioritize speed, close-range pressure, and the reaction between Infection and Burn. Start by using Spore Burst to load a target with Infection. Then move in and attack with Ignite active. When both status effects are maxed out on the same enemy, they cancel each other and produce a powerful explosion. This approach remains useful beyond the campaign because it scales well against sturdier opponents: Infection is applied quickly, while Ignite turns ordinary weapon attacks into a persistent source of damage and Falter.
Shield supports that plan by protecting the player during the approach. Ground Slam adds a damaging aerial option for maintaining momentum. Astral Rebuke offers another low-effort way to disrupt grounded targets, while Command can relieve pressure in crowded arenas. Growth rounds out the build as a supplemental source of Infection without replacing the much faster manual application of Spore Burst.
How to reset combat powers
If a chosen power does not suit your preferred style, return to the Gap hub. On entering, interact with the mural on the left side. At the top of that interface is a Reset All option, activated by holding the indicated controller button.
Using the feature spends one Reset Item but allows every combat-power choice to be made again from the beginning. In other words, one reset applies across the full set of decisions rather than changing only a single ability. That is generous in scope, but the scarcity of Reset Items still makes it wise to save them until you have a clear idea of the build you want.
For players who want the most reliable route through Control Resonant's combat encounters, the Burn-and-Infection combination provides a clear foundation: infect quickly with Spore Burst, ignite weapons, stay aggressive, and let the resulting explosion do the heavy work.
Community
Discussion
Start the conversation.
No comments have been posted yet.