

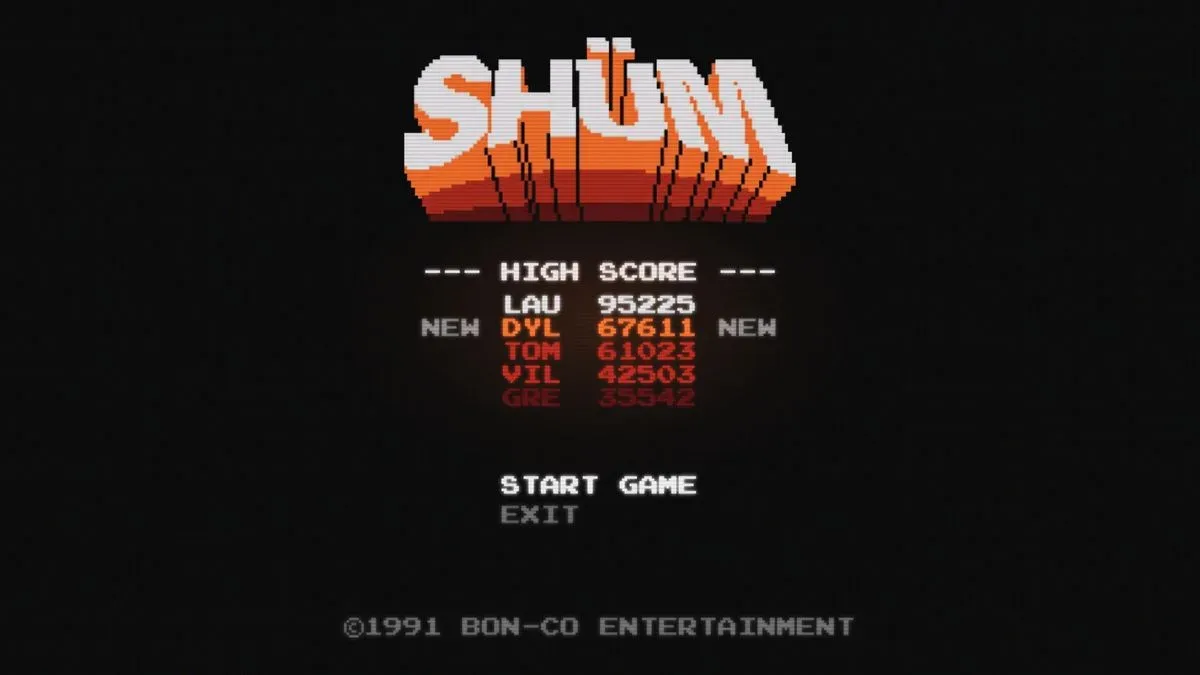
The Shum III arcade cabinets scattered through Control Resonant are much more than decorative throwbacks. Each machine sends Dylan into a self-contained combat or movement challenge built around a leaderboard, a target time or score, and escalating rewards. They are easy to mistake for ordinary side activities when first discovered, but their demands place them firmly in the game's later progression stretch.
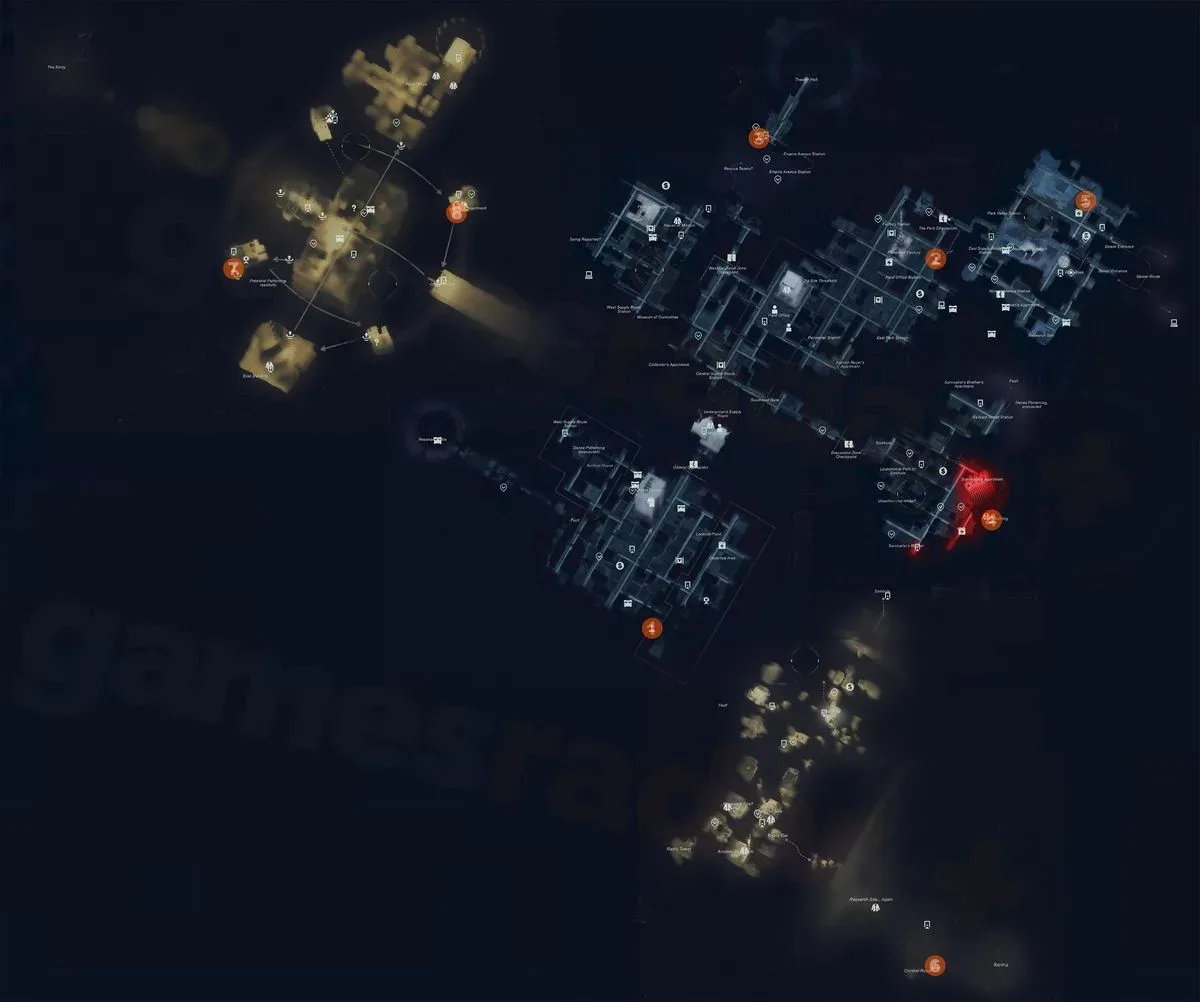
There are eight Shum arcade machines in total. Seven are associated with Manhattan's individual Zones, while the final cabinet becomes available only after the main story has been completed. Unlocking them generally requires raising a Zone to a specified Zone Level, though a few have additional story or side-quest requirements. The payoff can include cosmetic outfits, Power Upgrade Points and a Control Resonant Reset Item for the very best leaderboard finish.
Below is a full breakdown of every cabinet, what must be done before it can be played, the type of challenge it contains, and the performance required for its outfit reward. Because these machines are designed for the endgame, do not be discouraged if an early attempt feels unreasonably difficult.
How Shum III arcade machines work
Every Shum III cabinet launches a challenge with a leaderboard result rather than simply awarding a prize for participation. Your placement is determined by performance, whether that means clearing opponents quickly, protecting objectives, or reaching a finish line with time remaining. Higher scores also grant more Zone Level experience, making a strong run useful beyond the leaderboard prizes alone.
For useful background on this topic, read Queen's Domain Brings King's Field-Style Dungeon Crawling to Steam and Consoles This Halloween.
Most cabinets cannot be used as soon as they are spotted. Their related Zone must first reach a particular level, so exploration and progression in each part of Manhattan directly affect arcade access. The exceptions add another requirement on top of Zone Level: one Entropy challenge is gated behind a story mission, another needs a full side-quest chain, and the last machine is tied to completion of the campaign.
The modes repeat in a few distinct formats. Entropy focuses on rapidly defeating enemy waves while the safe combat arena periodically shrinks. Parkour challenges test route execution and survival through hazards, with damage imposing a major time penalty. Defend asks Dylan to keep several vulnerable targets intact. Clocked is a timer-driven wave battle in which enemy eliminations provide additional seconds. Finally, Conquest revisits an unusual recreation of Ordinary for a town-wide enemy clear.
All eight Shum arcade locations and requirements
Defend -- Downtown
The Downtown cabinet unlocks once the area reaches Zone Level 6. Its Defend scenario revolves around three crates that hostile forces are attempting to destroy. Success depends on reacting quickly to threats across the arena and reducing the damage sustained by all three crates, while also eliminating attackers as efficiently as possible.
For the outfit reward, reach at least 80,953 points. The mode rewards both offense and disciplined objective protection, so simply chasing enemies is not enough if crates are being damaged elsewhere. Keeping sightlines open and moving between all three objectives is essential.
Parkour -- Central
Central's Shum machine becomes available at Zone Level 4. This is a Parkour course that circles the exterior of the Patterned Factory. The route contains multiple dangers, and each instance of damage adds three seconds to the clock. That penalty makes a clean run considerably more valuable than trying to force a risky shortcut.
The target for the cosmetic outfit is a completion time of 1:18 or better. Learn the route before committing to an optimized attempt. A slightly slower but safer path can be preferable if it avoids even one hit, since a three-second addition can erase the benefit of a tight movement line.
Entropy -- West Incursion Zone
The West Incursion Zone cabinet opens at Zone Level 3, making it one of the earlier Shum activities available. It uses the Entropy ruleset: enemy waves arrive in sequence and the playable combat space occasionally contracts. The shrinking arena changes the rhythm of each wave, creating pressure to eliminate targets before positioning becomes severely restricted.
A score of at least 42,503 earns the outfit reward. The central priority is speed. Plan for area control as the playable space tightens, and avoid letting surviving enemies extend a wave longer than necessary. Although this machine opens relatively early, its leaderboard target remains intended for a more developed Dylan.
Entropy -- Evacuation Zone
The Evacuation Zone also contains an Entropy machine, but its conditions are more demanding. First, raise the region to Zone Level 6. Then complete the story mission "Evacuation Procedures." Both conditions are required before the cabinet can be used.
Like the West Incursion version, this challenge asks players to clear enemy waves rapidly while the available arena periodically reduces in size. Its outfit threshold is lower numerically but still requires a solid run: score at least 25,322 points. Do not assume the lower score requirement means it will be effortless; the changing combat space can make a lost moment difficult to recover.
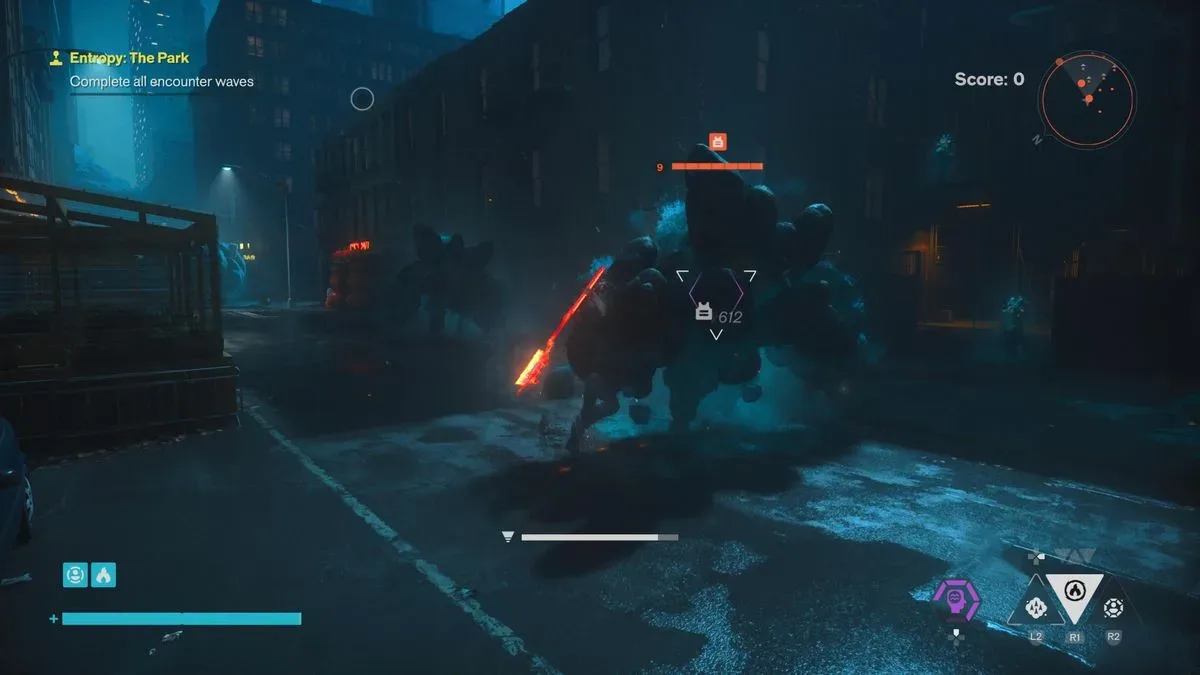
Entropy -- The Park
The Park's arcade machine requires Zone Level 4 and the completion of all three "Carbon Copy" side quests. That makes it one of the more involved cabinets to unlock, even before attempting its combat trial. Once available, it follows the same core Entropy structure of quick wave clears under an intermittently shrinking arena.
The outfit is awarded at 26,032 points. Since the Park challenge arrives after a substantial amount of optional content, it is a good opportunity to bring a more refined combat setup and test whether it can maintain high damage output under close-range pressure.
Clocked -- Underpass
Underpass unlocks its Clocked cabinet at Zone Level 5. Here, the objective is to defeat every wave before the timer expires. The key mechanic is that eliminating an enemy adds time back onto the clock, turning momentum into survival. Fast, uninterrupted kills create more breathing room for the later encounters.
Complete the mode in 22 seconds or better to receive its outfit reward. The listed threshold underlines the need to treat the challenge as an aggressive time-management test rather than a conventional endurance fight. Any delay that prevents quick kills can cascade into a much tighter final wave.
Parkour -- Unknown
The Unknown Zone's cabinet unlocks at Zone Level 5. It offers another Parkour trial, this time set around an island in the Unknown. As with Central's course, there are several hazards and taking damage costs three seconds. The setting and route differ, but the same discipline applies: preserve momentum while minimizing mistakes.
The outfit benchmark is 1:14 or better. This is a tighter target than Central's course, so route knowledge matters. Repeated practice can be more valuable than changing tactics mid-run, especially when a single hit can add enough time to move a result below the desired leaderboard position.
Conquest -- Retro
The eighth and final cabinet is Conquest: Retro. It is unlocked in Dylan's apartment after finishing the main story. Rather than remaining in one of Manhattan's standard Zones, this machine sends Dylan back into the Retro video-game recreation of Ordinary. The task is to defeat every enemy around town.
Reach 110,000 points for the outfit reward. As the post-story Shum challenge, Conquest is the clearest example of the cabinets serving as endgame content. It is built for players who have completed the campaign and want a final score-attack objective with a substantial target.
Leaderboard rewards explained
Shum prizes are tied to placement. Fifth and fourth place provide no additional leaderboard reward. Reaching third place grants an outfit or customization unlock, second place adds a Power Upgrade Point, and first place awards a Control Resonant Reset Item.
- Fifth place: No leaderboard reward
- Fourth place: No leaderboard reward
- Third place: Outfit or customization unlock
- Second place: Power Upgrade Point
- First place: Control Resonant Reset Item
These rewards stack rather than replace one another. A first-place result also includes the second- and third-place rewards, meaning the reset item comes alongside a Power Upgrade Point and the relevant cosmetic unlock. For players who primarily want each outfit, third place is the important benchmark, but climbing higher still offers progression resources.
Why the Shum challenges can feel so difficult
The cabinets are deliberately balanced around late-game character strength. Encountering one as soon as it becomes accessible can create the impression that its targets are out of reach, particularly in modes where a few seconds or a brief lapse in objective defense can decide the leaderboard result. That difficulty is not necessarily a sign that a strategy is fundamentally wrong.
A sensible baseline is to return when Dylan is at least level 8. By then, stronger capabilities and a broader set of resources should make the score and time thresholds more realistic. This is especially relevant for the hardest first-place attempts, where small improvements in damage, mobility, consistency, or survival can have an outsized effect on the final placement.
Players who would rather collect the rewards earlier can also adjust the challenge through the game's accessibility options. That route may be preferable for anyone more interested in the clothing and customization rewards than the pure score-attack test. Either approach is valid: the Shum cabinets are optional endgame challenges, not a progression wall.
Best approach before chasing first place
Start by unlocking all available machines through Zone Level progression and their specific mission requirements. Then make an initial run to understand the mode's structure. In Parkour, identify where damage is most likely and rehearse safer movement. In Entropy, learn when the arena contracts and prioritize rapid wave clearing. In Defend, map the crates and prepare to rotate immediately between danger points. In Clocked, maintain kill momentum at all costs.
Once the outfit threshold is secured, decide whether the additional upgrade and reset rewards are worth the extra effort. Because Shum content tends to arrive when many players already have a healthy supply of Power and Reset Items, the cosmetics may be the main attraction. Still, first place remains the definitive way to finish each cabinet, collect every stacked reward, and prove that Dylan can conquer Control Resonant's most demanding arcade simulations.
Community
Discussion
Start the conversation.
No comments have been posted yet.