

Tenebrae Lux is one of the more unusual distractions Jason and Lucia can find in GTA 6. Played through the in-game JoyStation, it initially looks like a deliberately austere, art-house puzzle game: cryptic scenery, unsettling sounds, obscure symbols and mechanics that are only partly explained. It is also more substantial than a one-note joke. The compact adventure has four main sections, each built around a different style of puzzle.
The most important thing to know before starting is that not every solution is identical between playthroughs. The bunker's clues, in particular, can vary, while the bridge's object placements and poem order are reset if you fail. That means memorizing one player's final code or bridge route will not necessarily solve your version. Instead, this guide explains the logic behind each puzzle, including the clues to record and the few rules that are easy to miss.
Part 1: Clear the Beach Shack Boards
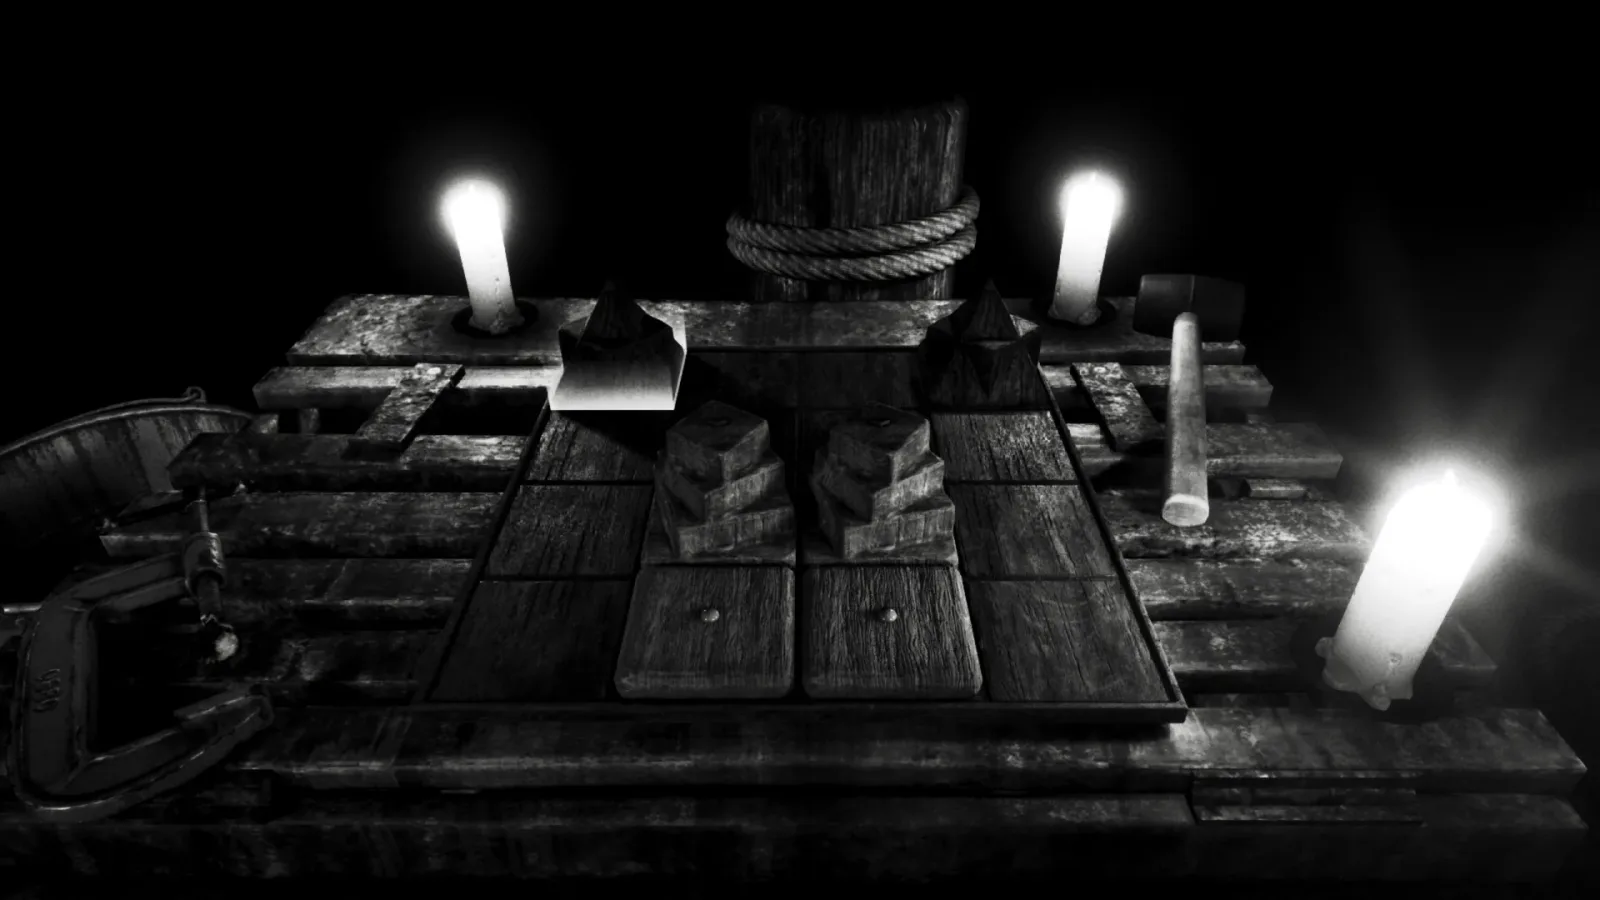
Tenebrae Lux begins on a shoreline where there is little to do besides inspect the environment. Head left along the beach, assuming you are facing inland from the starting position. A cluster of weathered shacks illuminated by bright lights contains the three required board puzzles.
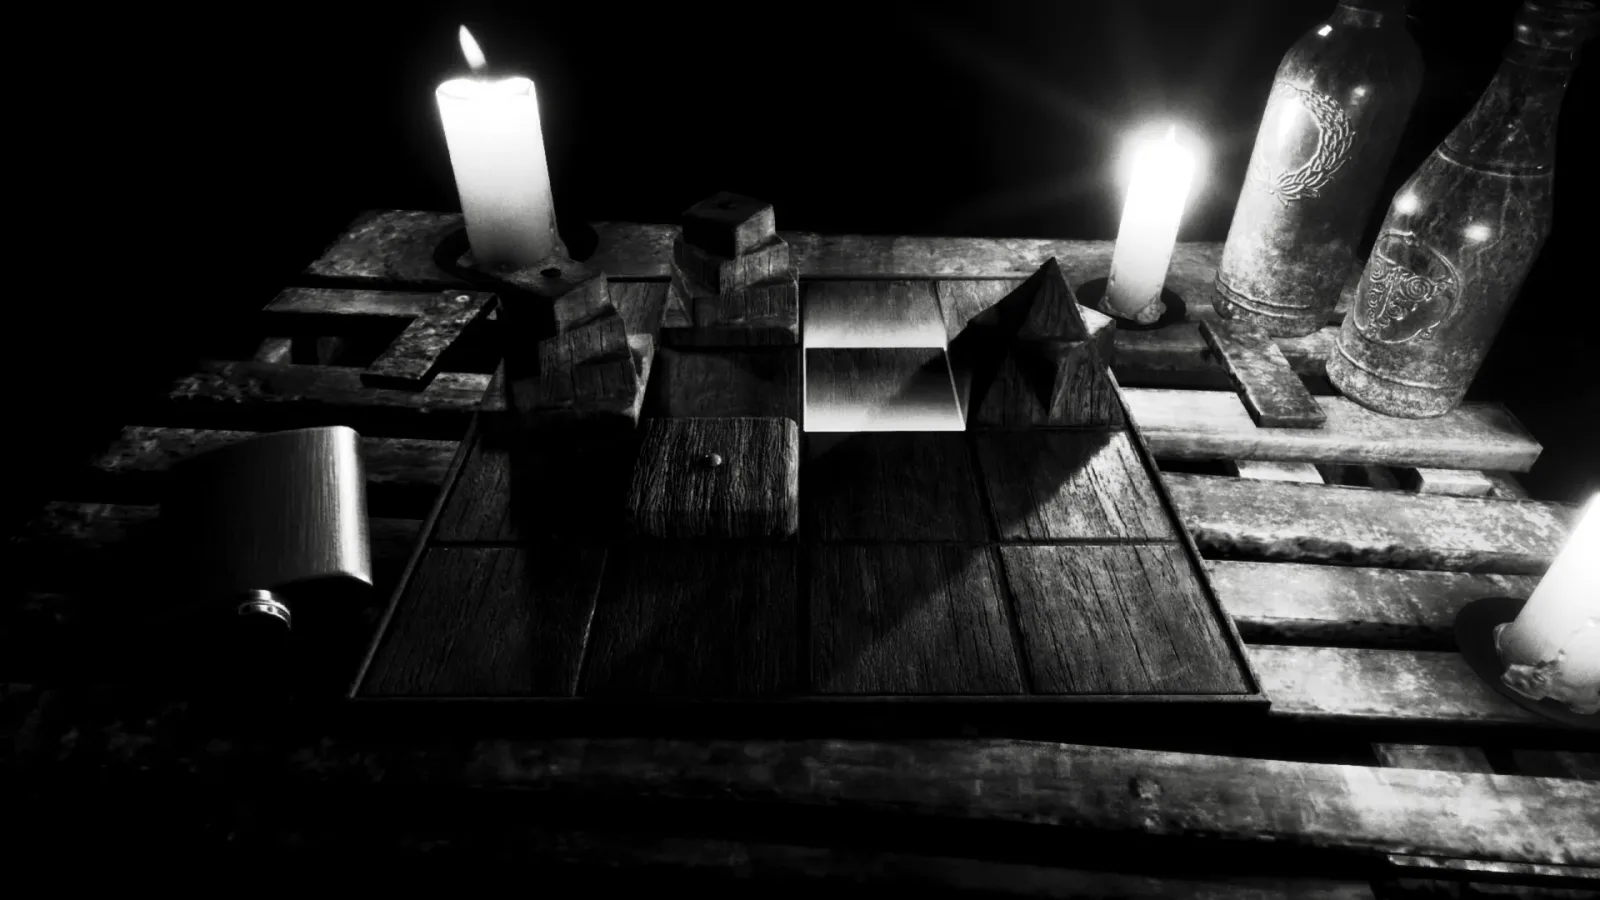
Each board is a grid occupied by tiles with one of three forms. There are flat tiles marked by a small central dot, spiky middle-height tiles, and tall three-tier tiles. The aim is to remove every piece from the board.
For useful background on this topic, read 8 Indie Games to Try When You Want Something Beyond the Biggest Blockbusters.
- Flat, dotted pieces cannot move.
- Spiky middle-height pieces can slide across the grid.
- A spiky piece removes a flat piece when it lands beside it.
- Spiky pieces and tall three-tier pieces can also remove one another when positioned adjacent to each other.
- Tall pieces cannot clear the flat dotted pieces directly.
The last rule is the foundation of these opening puzzles. Do not try to eliminate tall pieces before the immovable flat pieces are gone. First use the mobile spiky pieces to clear the dotted tiles, then arrange the remaining spiky and tall pieces so they can meet and disappear in matching pairs.
There is no required order for the three shack boards. One is fairly direct, while the others demand more planning because a careless move can leave a tall tile stranded with no available spiky tile to remove it. Before moving a spiky piece toward a flat tile, take a moment to consider where that spiky piece will end up afterward and whether it can still reach a tall piece.
A particularly useful pattern is to leave two tall pieces with an open space between them, then guide a spiky piece into the gap after it has cleared a flat tile. Depending on the layout, that final move can remove the incoming spiky tile and multiple tall tiles at once. Optional beach puzzles may be tougher, but clearing the three principal boards is what advances the story.
Part 2: Decode the Bunker Loop
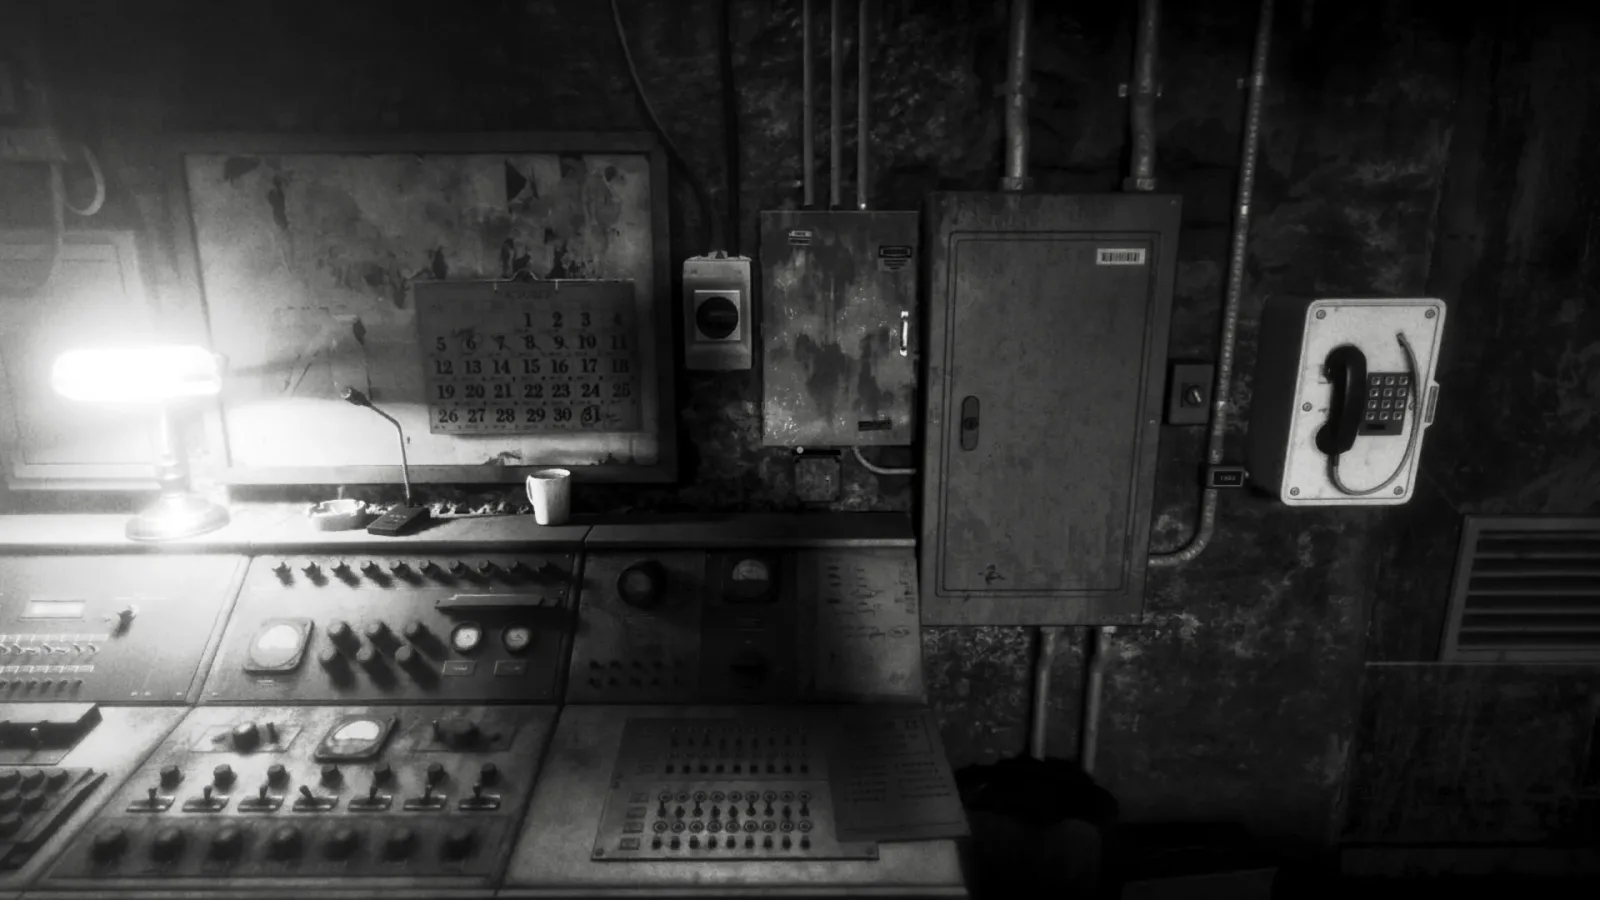
The bunker is the most involved part of Tenebrae Lux. Upstairs, entering the room and proceeding through its door creates a repeating loop. The room largely looks the same on every pass, but two details matter: the date displayed on the calendar and one altered object or environmental clue.
Your objective is to find six digits, enter them on the telephone in chronological order, and then press #. The six calendar dates are always October 11, October 14, October 20, October 23, October 27 and October 30. They may appear in any sequence as you loop through the room, but the final code must use the digits in that calendar order.
Bring notes. Make a six-line list for the October dates, then write each associated digit beside the matching date. If you overlook a clue, simply keep going upstairs: the cycle eventually repeats.
How to identify each bunker digit
Only six of the possible changes appear in a single run, and the selected set is randomized. Look for something in the room that differs from its usual state. The following are the known types of clue and the way to translate each one into a number.
- Flashing lamp: The lamp near the switches may blink in Morse code. Use the Morse reference sheet on the nearby desk to read the digit.
- Record price: A record on the barrel may show a different price. Reduce a two-digit number by adding its digits repeatedly until one digit remains. For example, 85 becomes 8 + 5 = 13, then 1 + 3 = 4.
- Telephone rings: If the phone rings an unusual number of times, the number of rings is the digit.
- Engine splash screen: The text that credits the fictional Zuchworks Engine may use a different Greek letter. Convert that letter to its position in the Greek alphabet. Gamma, for instance, represents 3.
- Slowed sea shanty: The records offer the hint. If the music is playing at 33 rpm rather than its normal speed, reduce 33 to 3 + 3 = 6.
- Fallen framed photo: Inspect the picture carefully and count the people visible in it. The altered image may show an additional person.
- Roman-numeral painting: The columns on the painting can change. Read the Roman numeral displayed by the altered version.
- Unredacted protocol number: The instruction sheet normally hides this value. If it is visible, use it, reducing two-digit values by digit addition when necessary. A displayed 42 therefore becomes 6.
- Changed clock: A book below the clock explains the relevant measurement. Work out the clockwise angle from the hour hand to the minute hand, then reduce the digits if needed. At 7:00 the angle is 180, which becomes 9.
- Tape-recorder date: Listen for a date that differs from the normal one. The changed date supplies the number; if it is a multi-digit value such as 20, add the digits to get 2.
Once every date has a digit, arrange them as October 11, 14, 20, 23, 27 and 30. Enter the resulting six-digit sequence on the phone, followed by #. A successful entry lets you take the stairs onward and leave the loop behind.
Part 3: Match the Ruins to the Bridge
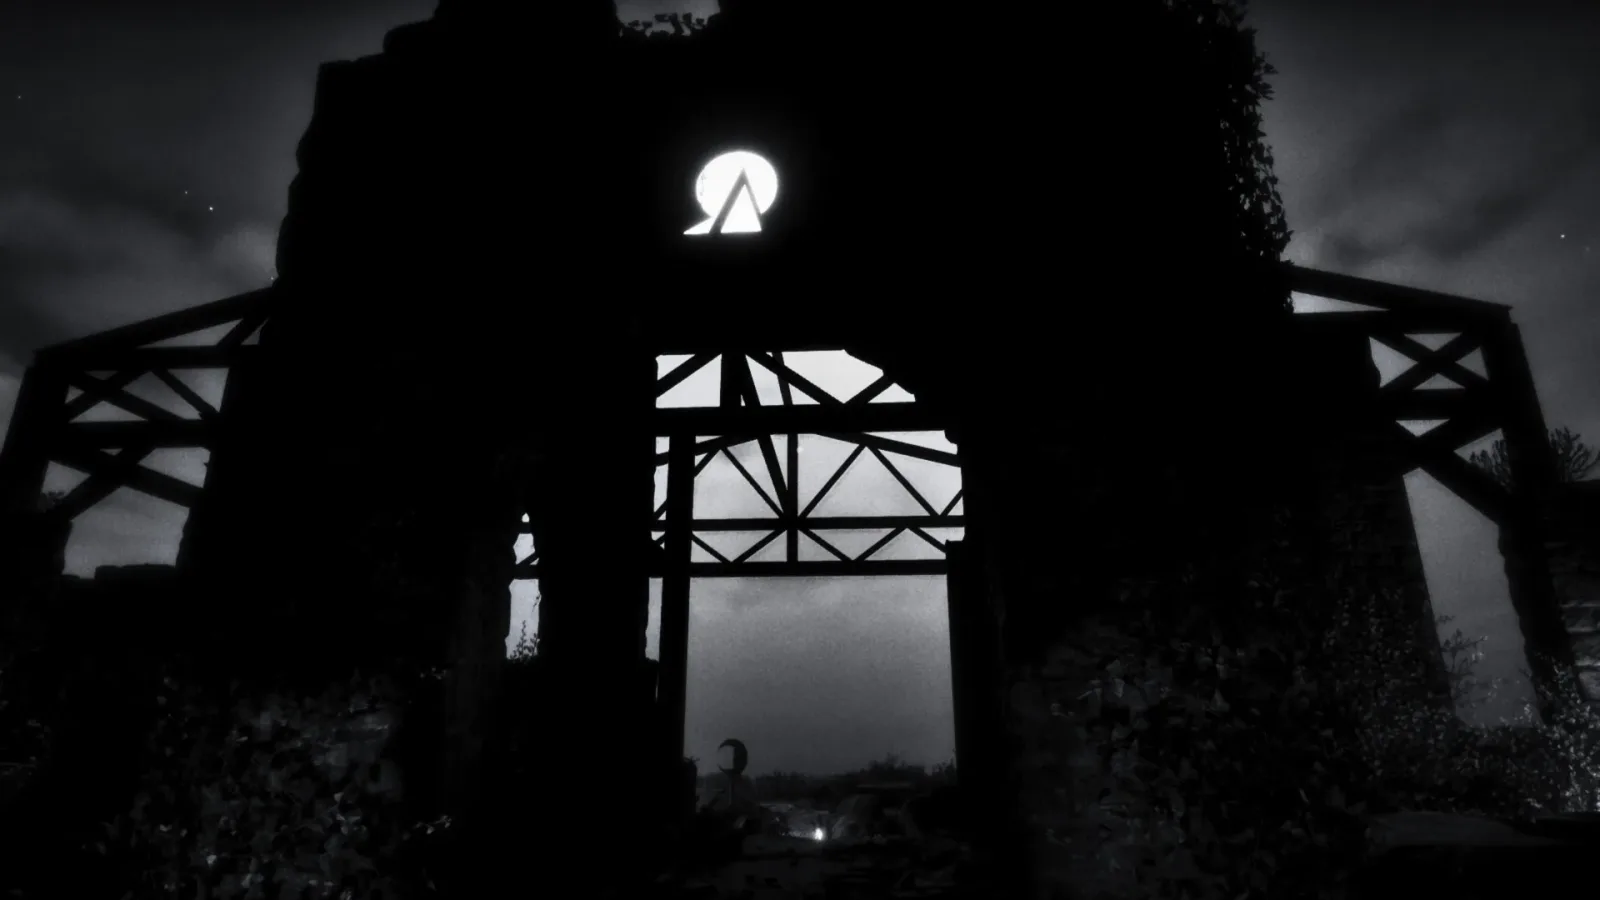
The next major challenge takes place around ruins and a bridge to the left. The bridge is lined with rows of strange symbols. Stepping on an incorrect symbol extinguishes a lamp; after three mistakes, the puzzle fails and resets completely.
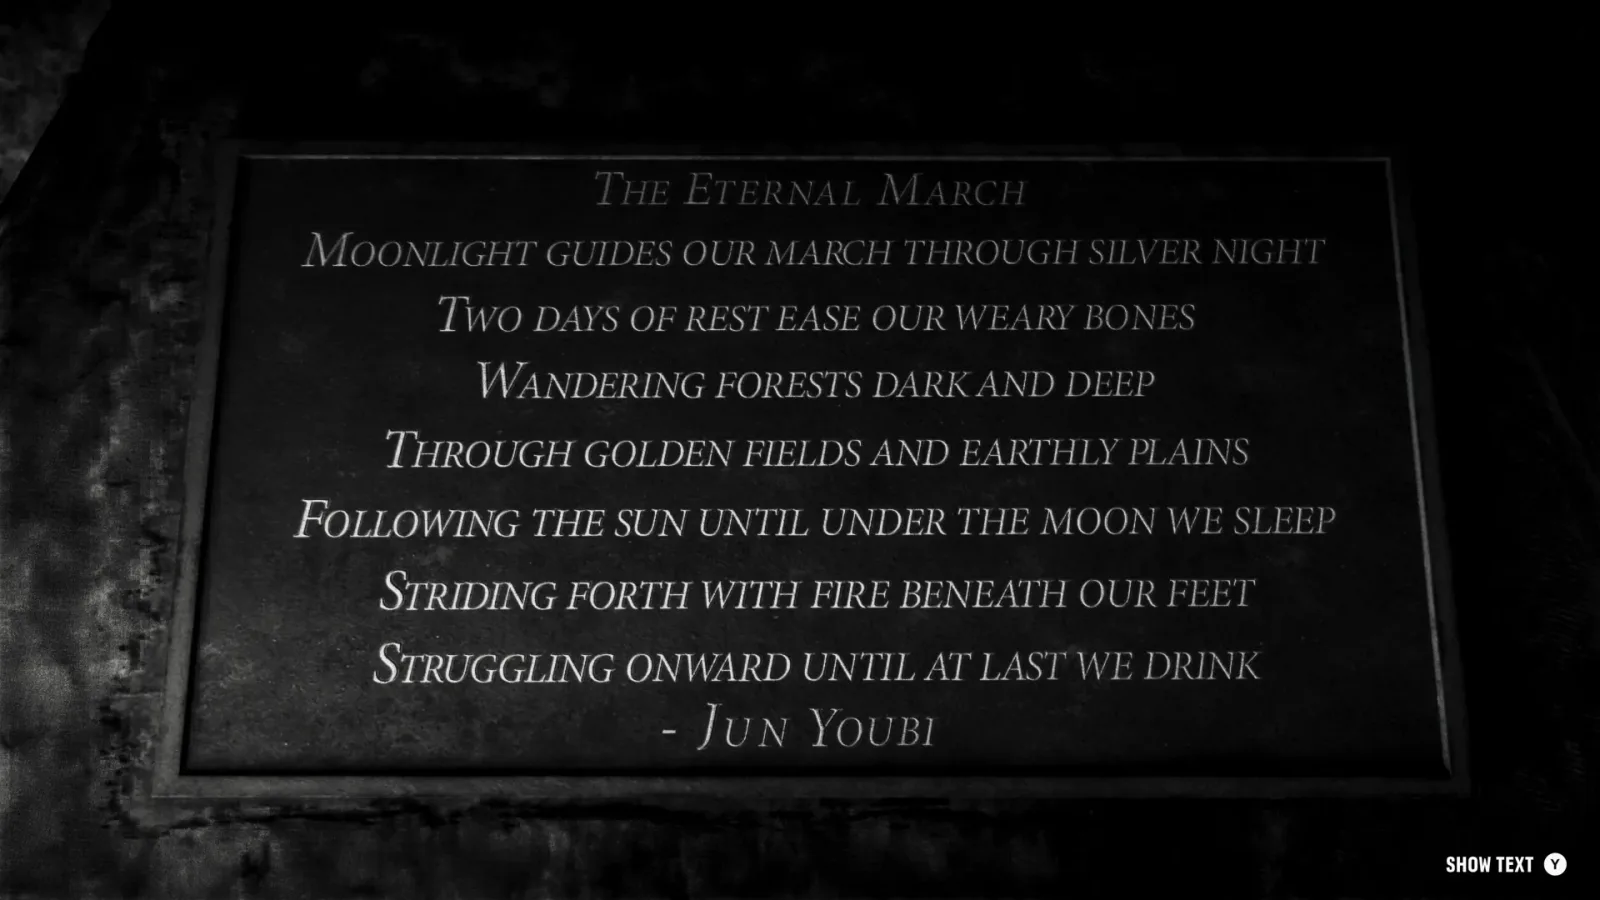
The answer comes from combining the plaque's poem with objects placed around the ruins. The poem refers to seven ideas represented by physical landmarks:
- Gold is represented by a trophy.
- Forest is represented by a tree.
- Fire, heat or furnace is represented by a burning flame.
- Water is represented by a fountain.
- Earth is represented by a container of soil.
- Sun is represented by a sundial.
- Moon is represented by a moon marker.
The poem determines the order in which to use those seven objects. Its wording and order can vary, so read your own plaque rather than relying on a preset route. Some lines may sound as if they mention more than one celestial object, but each landmark is used only once and the bridge has seven rows. Follow the sequence implied by the poem without repeating an item already accounted for.
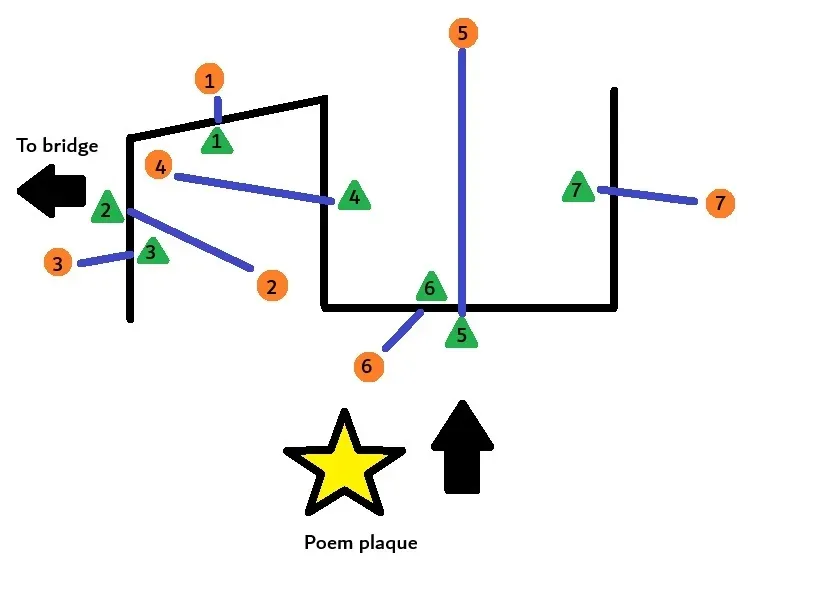
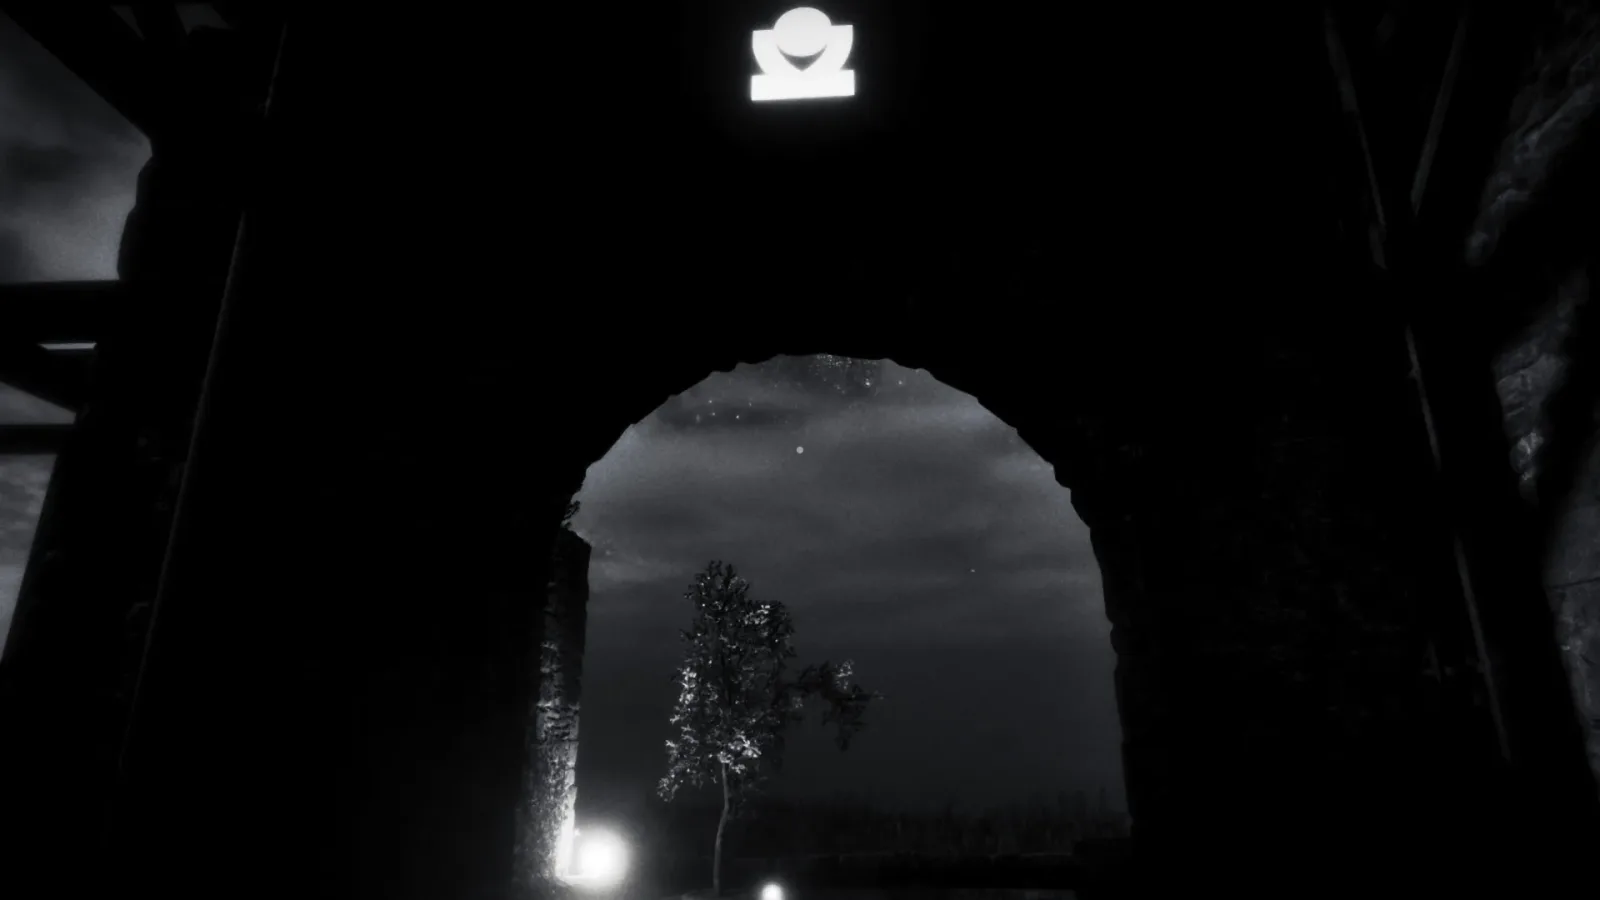
Next, find each object in the ruins. Above or near the routes through the broken arches are glowing symbols matching the symbols on the bridge. The correct symbol for an object is generally the one above the entrance you pass under to reach that object. One location can be confusing because its arch has collapsed and its symbol is on the ground, but it follows the same principle.
The safest method is to write down a small key before walking onto the bridge: object name, corresponding arch symbol, then the poem's required order. Once you have that list, cross the bridge by stepping on the matching symbol in each row. The direction a bridge symbol faces does not matter.
If you fail three times, do not assume the same solution will still work. The ruins and poem are refreshed after a reset, so inspect the new arrangement and rebuild your notes.
Part 4: Survive the Door Hall
The final sequence looks more threatening than it is. You will face several doors while shadowy figures move between them. The rule is simple: choose the available door that is furthest from the figures.
If one person approaches a door on the right side, head for the furthest usable option on the left. As the sequence progresses, more people appear. In those cases, choose the door that creates the greatest possible distance from the group overall, effectively placing yourself between threats only when that is the safest available position.
Pay attention to out-of-order notices. A door with a sign cannot be used, even if it would otherwise be the best choice. Move to the next safest door instead. During the final set, there may be no door completely clear of the figures; walk through the option directly between them to finish the sequence.
After the last door, Tenebrae Lux is complete. The game's puzzles are intentionally opaque, but they all become manageable once their core language is clear: plan your tile removals, document the bunker's changes, map the ruins before crossing the bridge, and keep your distance in the final hall.
Community
Discussion
Start the conversation.
No comments have been posted yet.