

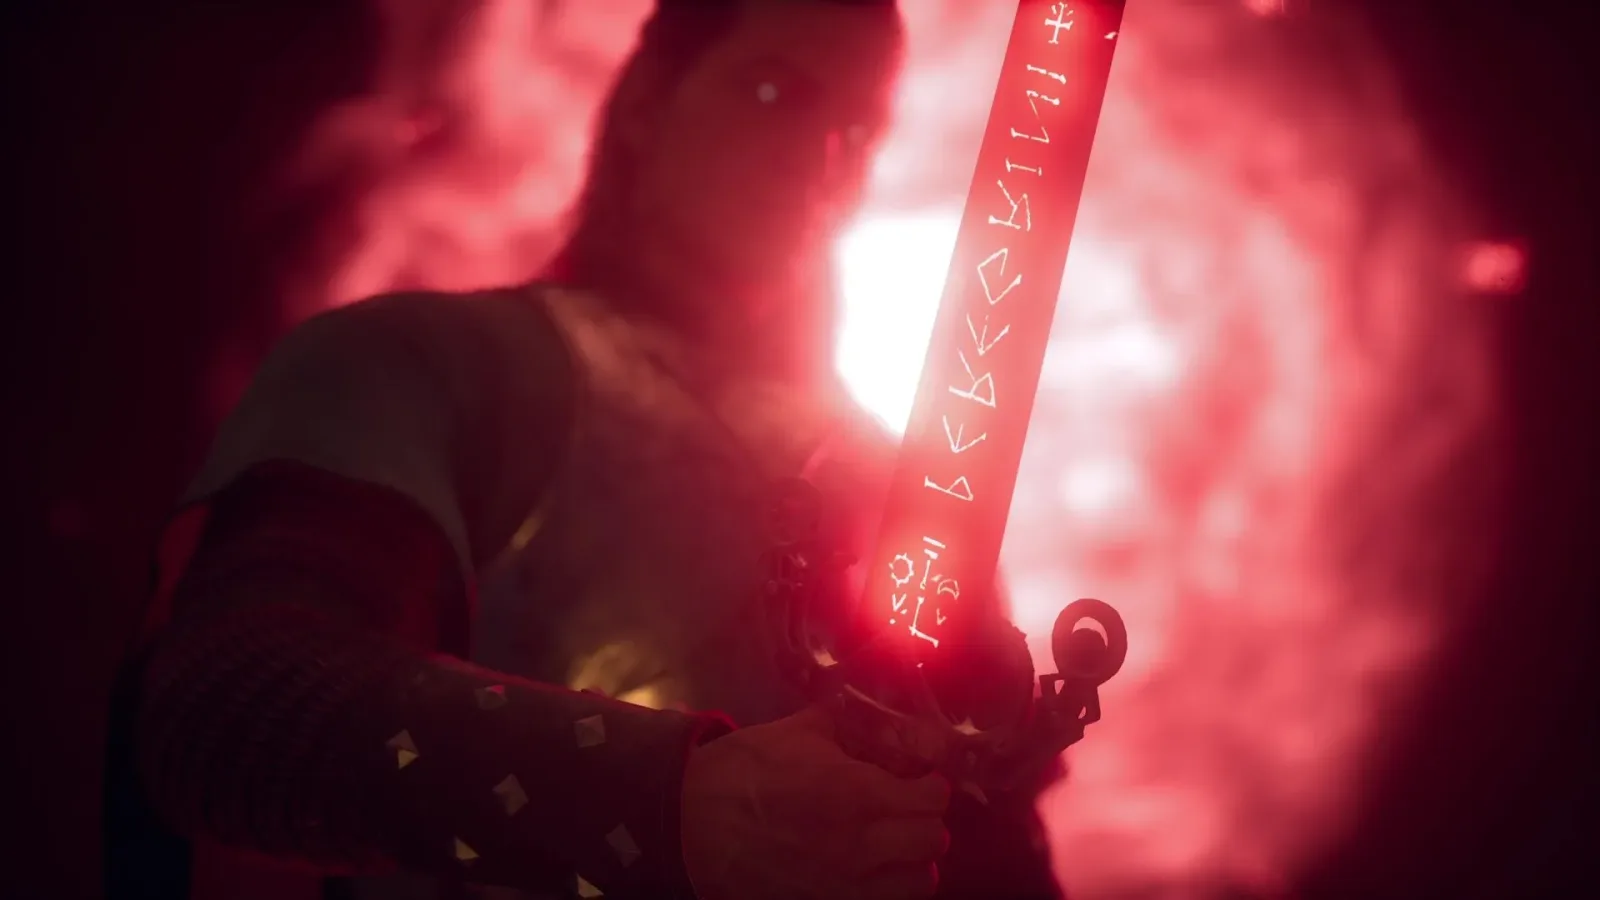
Players pursuing one of The Blood of Dawnwalker's most formidable weapons will eventually be sent on a lengthy hunt across Vale Sangora. The prize is the Sword of St. Mihai, a legendary silver weapon with a particularly useful role against supernatural foes, including Brencis. However, acquiring it is not as straightforward as opening a crypt or following a single objective marker. The process begins in Svartrau, branches into three cave expeditions for missing Sword Shards, requires a visit to a specialist blacksmith, and ends with one last dangerous ritual site.
GamesRadar+ detailed the route in a guide published September 2, 2026, explaining how the quest chain leads to the fully upgraded Imbued Sword of St. Mihai. The route includes optional investigation clues, enemies that can slow down an underprepared character, and a final tempering sequence that transforms a broken relic into a Legendary Greatsword.
Begin with A Saint and a Monk in Svartrau
The search starts with the quest A Saint and a Monk, which is centered on Svartrau and the history of St. Mihai. The saint is said to have fought Vrakihiri, making his burial place a natural destination for anyone looking for equipment intended for vampire hunting.
According to GamesRadar+, the quest has Coen follow a scholar's markings using Focus mode around the city walls in Svartrau's Middles District. Those clues ultimately lead toward the massive cathedral, but the next part can be misleading. The quest's highlighted area is broad, and the apparent crypts outside the cathedral may look like the obvious solution before the player has the information needed to identify St. Mihai's resting place.
Players who have not yet unlocked A Saint and a Monk can reach it through Anca's questline. GamesRadar+ says that progressing beyond the trip to St. Tryna's, completing Echoes of Silenced Bells, and researching books with Anca during Beyond the Words is one route that successfully unlocks the quest. The outlet notes that there may be alternative progression paths. Advancing this route can also contribute to Anca's romance path for players interested in that storyline.
Do not get stuck around the cathedral crypts
Several activities near the cathedral can appear important but do not advance the main objective by themselves. The crypts outside glow with the quest's yellow highlight, yet Coen cannot determine which tomb belongs to St. Mihai until he learns the saint's emblem. A nearby well can lead into caves close to the crypt area, while a library can be entered through an unlocked balcony door. Both locations provide world detail and research opportunities, but neither is the key to progressing this particular stage.
The crucial route is on the side of the cathedral opposite the crypts. Players need to use the belltower scaffolding to gain access to the building. Inside is Xanthe, described as a dangerous presence, though she can be avoided. Examining the frescoes high on the cathedral's interior reveals St. Mihai's mark. With that information in hand, pick up the rooftop key and use it to exit near the crypts.
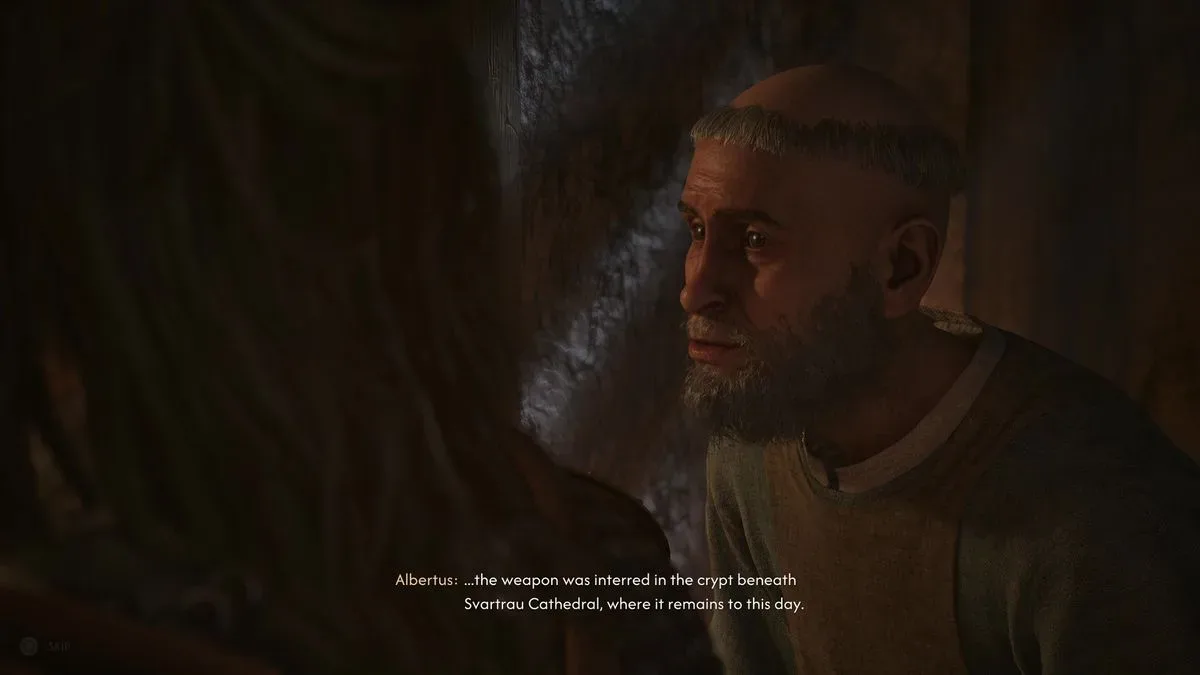
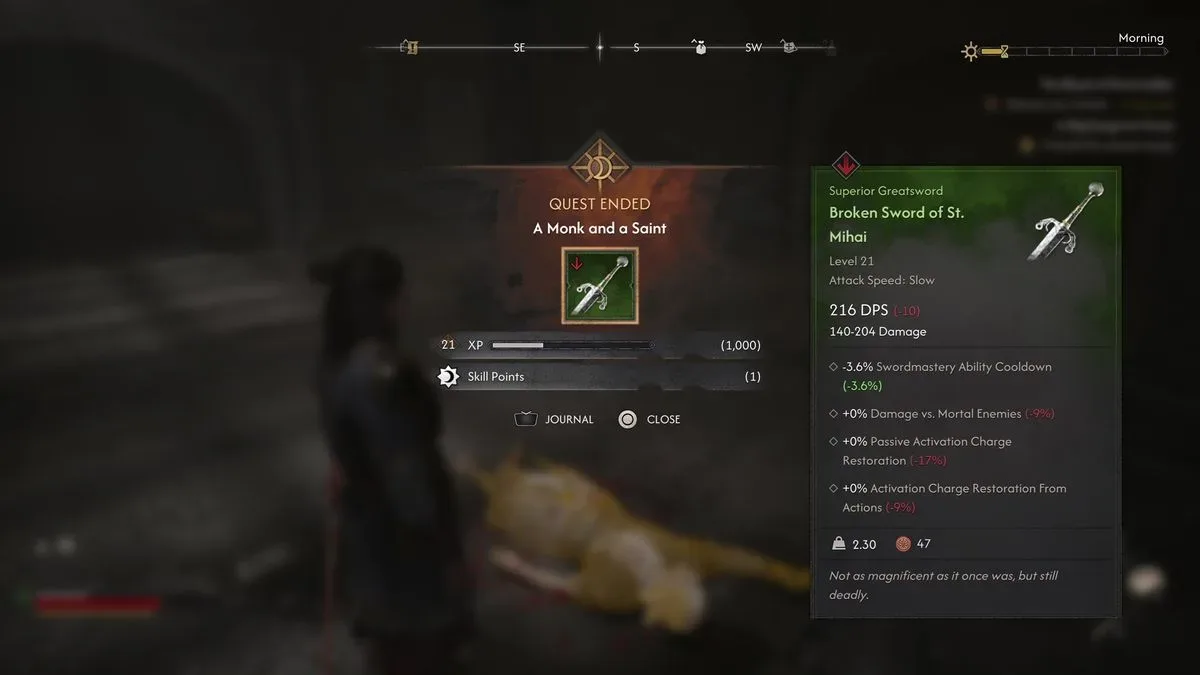
Exploring the correct crypt and surviving the ensuing combat rewards the player with the Broken St. Mihai's Sword. It is an important milestone, but it is not the final weapon. Restoring it begins the next quest, Forge It Anew, and requires three separate silver shard pieces along with the help of a blacksmith capable of handling the relic.
How the Sword Shard hunt works
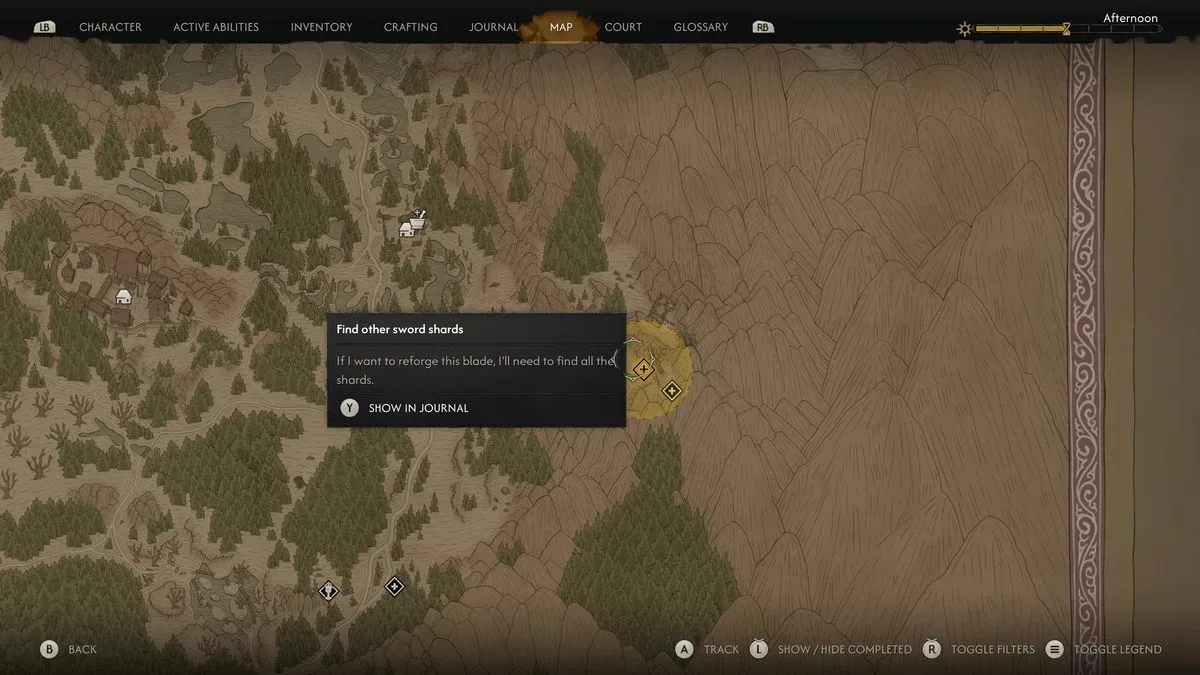
Forge It Anew initially offers little direct guidance. Its three required Sword Shards are hidden in caves throughout Vale Sangora rather than placed beneath clear map markers from the outset. When Coen approaches one of the relevant areas, the Journal adds the Forge It Anew quest name and a location-specific subtitle, confirming that the player has found a correct destination.
The useful twist is that each shard cave contains information pointing toward the others. As a result, players only need to discover one location through exploration, environmental clues, or clues found in books elsewhere in the world. Once inside, wall markings can reveal more of the story and place the remaining cave search areas on the map. The three objectives can be completed in any order, although their enemy encounters and navigation differ considerably.
Sword Shard location one: the western wilderness
The first shard location described by GamesRadar+ sits in the western wilderness of Vale Sangora, beneath large crags and not far from Uriash territory. Approaching from the west is recommended because the terrain makes the cave easier to locate from that direction.
Inside, players face a large kobold named Munch-Munch, who guards the shard. This is more than a simple loot stop: the cave's wall markings add background detail and, importantly, help identify the locations of the other two Forge It Anew caves. Anyone beginning the shard search with no useful markers should make a point of examining the environment after defeating the guardian.
Because the cave is near the wider Uriash region, it also makes practical sense to keep the eventual blacksmith visit in mind while planning travel. Still, the sword cannot be repaired until all three pieces have been recovered, so there is no need to rush immediately to the forge after obtaining only this shard.
Sword Shard location two: the north-east cave
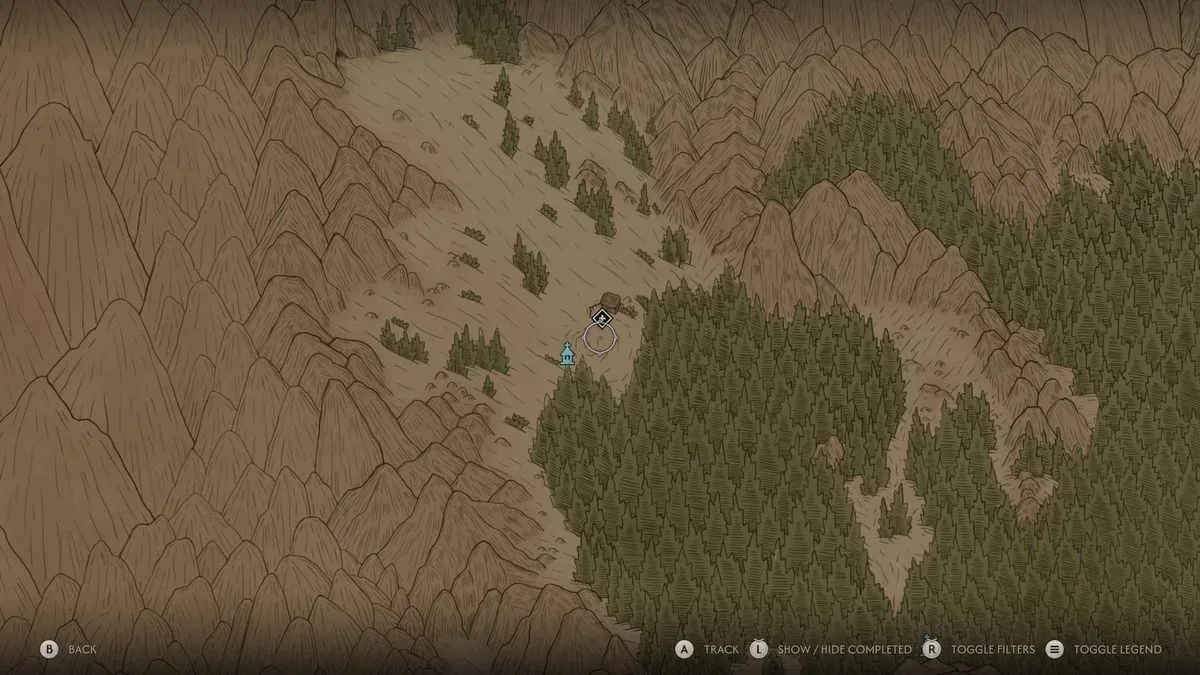
The second shard is in Vale Sangora's north-east. GamesRadar+ characterizes this one as likely intended for lower-level characters, even though its tucked-away entrance means it can be easy to overlook during the early game.
The most reliable way to locate it is to activate Focus mode and inspect the evidence left by a guard patrol that had been tracking kobolds. Following that trail leads to the entrance. This makes the cave a good example of how the game's observation mechanics can solve a navigation problem that ordinary map reading may not.
Within the cave are multiple hostile creatures as well as the bodies of dead soldiers, which can be looted. The shard is found inside alongside more markings to inspect. As with the western site, these details serve both as narrative context and as a backup source of direction if the other caves have not already been revealed.
Sword Shard location three: the south-east cave and Xanthe's camp
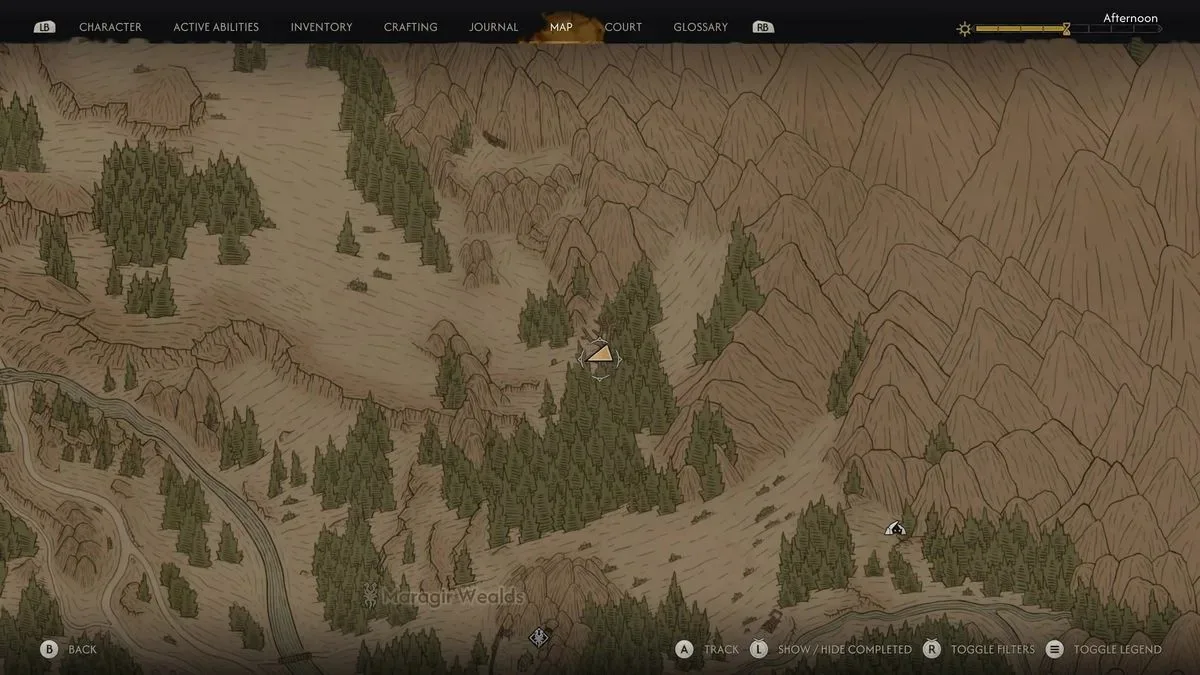
The third shard begins in a cave in the south-east, but this objective has an extra step. Players arriving at the intended cave will find that the shard has already been taken. Clues at the site indicate that Xanthe's forces looted it on her behalf, redirecting the search to one of her nearby camps.
Follow the trail from the empty cave to the camp and prepare for a difficult fight. After clearing the enemies, search the main tent to find the final shard. This location is therefore not just an exploration stop; it is a combat-focused detour that may be more demanding than the first two cave recoveries.
With all three fragments collected, the Broken St. Mihai's Sword can finally be taken to someone who can restore it. The next destination is at the far north-west of the map.
Find the Uriashi Blacksmith and reforge the weapon
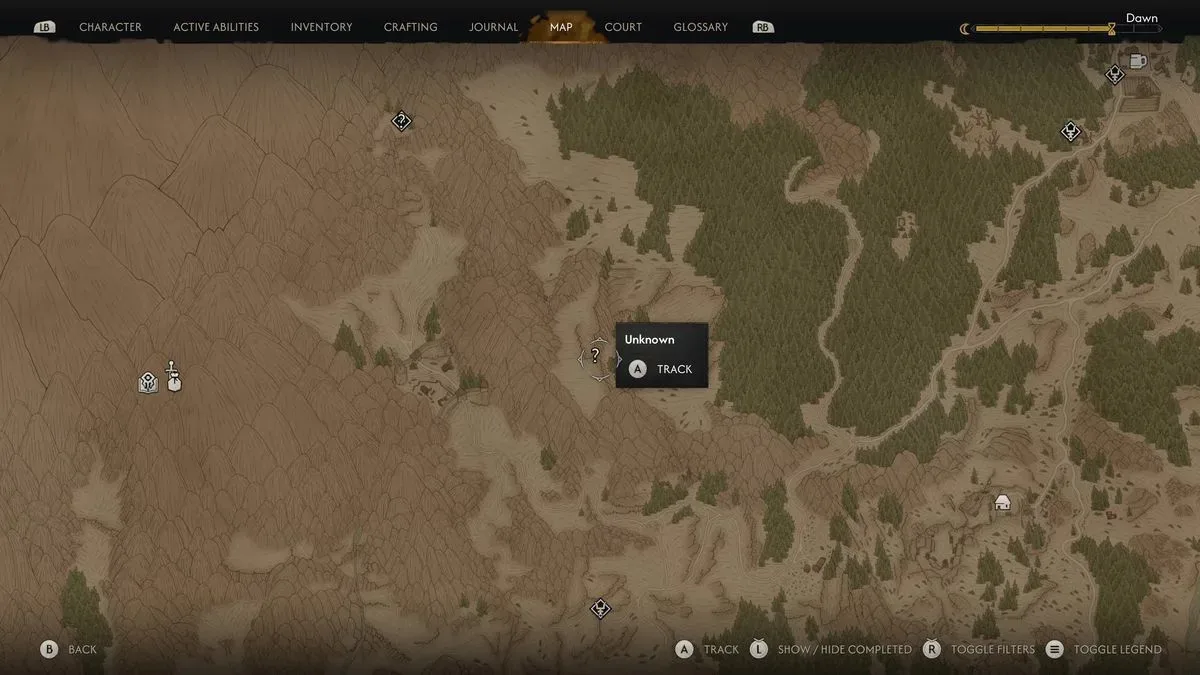
The required craftsperson is the Uriash Hermit, a blacksmith with a rune-powered forge. Her location is at the extreme north-west of the map, excluding the prologue's starting village area. GamesRadar+ notes that it is possible to encounter her surprisingly early because of how close she is to the starting region, but she will not engage with the sword-repair task until Forge It Anew is active.
There is one small practical warning during this conversation: using haste powers around the Hermit can frighten her and leave her temporarily unable to interact. Players should approach normally, speak with her while the quest is active, and hand over the complete set of shards for the reforging step.
The forge produces a restored version of St. Mihai's blade, but the quest chain still is not complete. The Hermit directs Coen to a nearby cave farther into the north-west, where the sword must receive a blessing to regain its full power.
Temper the Sword of St. Mihai to create the Legendary Greatsword
The tempering cave is only a short run from the blacksmith. Its entrance is covered in red vines, a barrier that had previously made the location inaccessible. At this point in the quest, Coen can simply destroy the growth by using the prompted interaction.
Beyond the vines is an ancient supernatural site illuminated by the familiar red glow seen at other old locations. The route involves a brief platforming sequence and multiple spectral enemies. Players should also expect an Echoing Anger mini-boss before reaching the site's central interaction point.
After clearing the hostile spirits, interact with the ancient site to temper the weapon. This produces the Imbued Sword of St. Mihai, a Legendary Greatsword. Its exact level scales with the player's level when it is obtained, as is the case with much of the game's loot. GamesRadar+ reports that the sword has major benefits against supernatural enemies, an improved critical-hit rate, and additional strength that makes it a compelling endgame choice.
Its effectiveness will still depend on character setup. Players investing in Swordmastery perks can get more out of the weapon, while builds centered on Coen's claws may find the choice less absolute. Fully upgraded talons remain powerful, so the sword is not necessarily a replacement for every vampire-focused playstyle. For sword-oriented characters, though, completing the full St. Mihai questline provides a powerful silver option that can remain useful through the end of the game.
Quick completion checklist
- Unlock and follow A Saint and a Monk to Svartrau Cathedral.
- Enter via the belltower scaffolding, inspect the ceiling frescoes, and learn St. Mihai's emblem.
- Retrieve the Broken St. Mihai's Sword from the crypt sequence.
- Complete Forge It Anew by collecting shards in the western wilderness, north-east cave, and the south-east route leading to Xanthe's camp.
- Bring all three shards to the Uriashi Hermit in the far north-west.
- Visit the nearby red-vine cave, defeat its spectral threats and Echoing Anger, then temper the reforged blade.
The complete process is deliberately more involved than a standard treasure hunt, but it rewards attentive exploration across multiple regions of Vale Sangora. For players looking to build around silver weapon damage and confront supernatural enemies with a high-tier greatsword, St. Mihai's restored weapon is one of the most substantial quest rewards available.
Community
Discussion
Start the conversation.
No comments have been posted yet.