

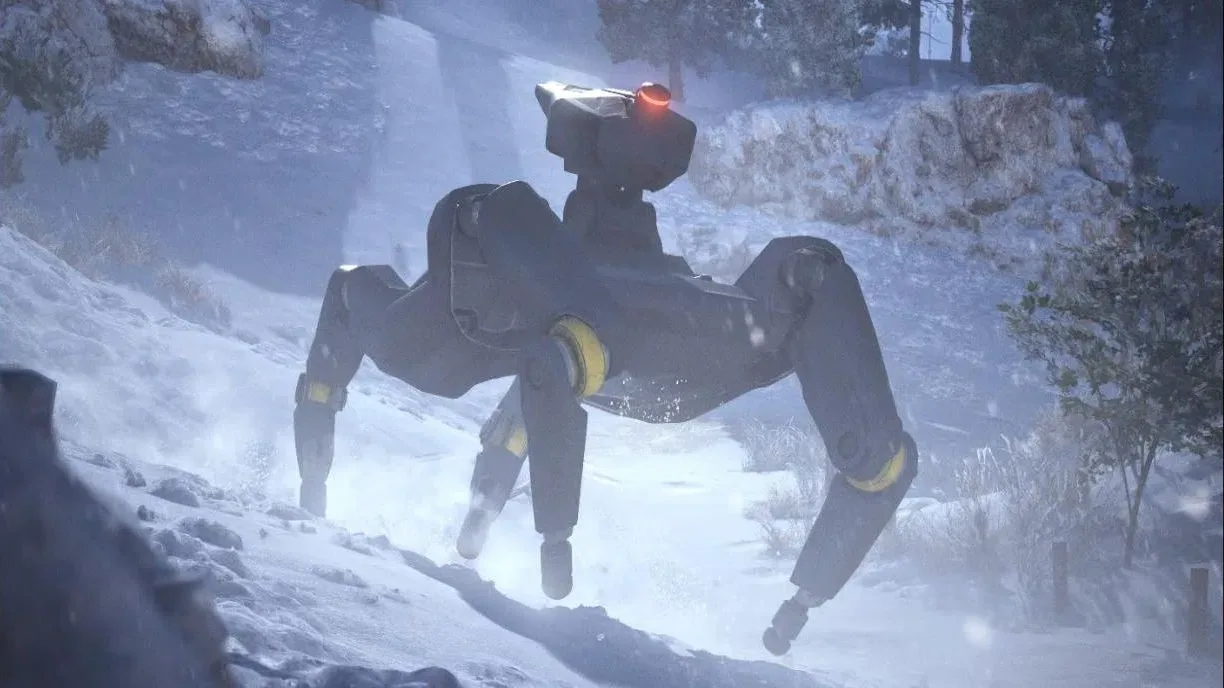
Arc Raiders has added another serious mechanical problem for Raiders to contend with in the Frozen Trail update: the Bully. This four-legged Arc is built to pressure players constantly, combining rapid movement with heavy turret fire and explosive attacks. It is not simply a durable target that can be worn down from the open. A Bully closes distance quickly, forces movement with grenades, and can punish anyone who tries to trade shots without a safe position or a plan.
In practical terms, the Bully sits somewhere between the game's other aggressive Arc enemies. It has the pace to chase a fleeing player, the armor to survive a careless burst of gunfire, and enough offensive coverage to make recovering after a mistake difficult. The encounter can take time even with a strong loadout, but it becomes far more manageable once players understand where to aim, when to break line of sight, and which tools can stop the machine from dictating every second of the fight.
This guide covers the Bully's vulnerable points, the value of energy and armor-piercing weapons, defensive terrain choices, and the rewards available after bringing one down.
Where to hit a Bully in Arc Raiders
The most dependable weak points on a Bully are the yellow-marked joints on its legs. These areas are the priority target during a normal fight, especially when the machine is moving toward the player. The limbs are difficult to track because the Bully moves quickly and unpredictably, but sustained shots into its leg joints are much more productive than simply firing into the most heavily protected parts of its body.
For useful background on this topic, read Steam Next Fest demos Spotlight Five Very Different Indie Games.
There is an important step before those shots become easier: damage the exterior armor plates around the legs. Breaking or stripping those pieces of protection gives better access to the vulnerable joints and creates more opportunities to keep dealing effective damage as the fight progresses. Players should think of the encounter in phases. First, use the appropriate weaponry to compromise the outer shell. Then capitalize on the openings with consistent fire on the exposed weak points.
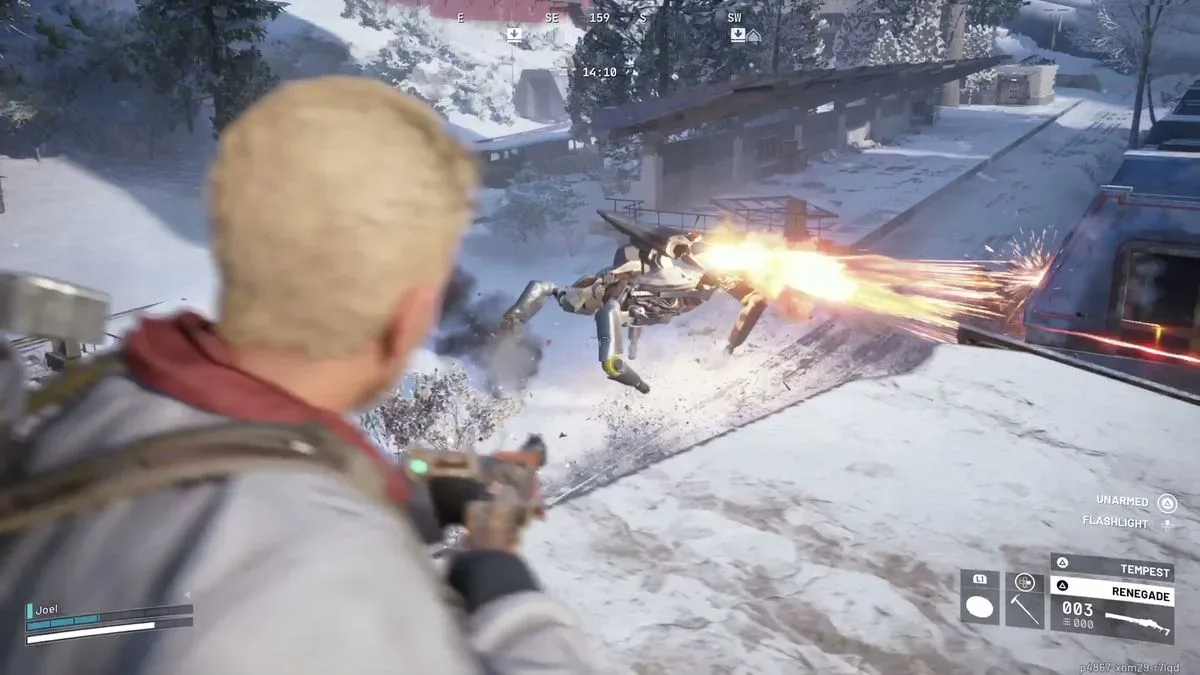
The Bully also has a more specialized vulnerability in its turret. Just before the turret fires, its protective plating opens. A well-timed hit directly down the barrel with a powerful armor-penetrating weapon can interrupt the attack and stun the Bully for a few seconds. This can cancel the shot it was preparing to launch, turning a dangerous moment into a brief opening for retaliation or escape.
That turret counter is high-risk. The timing is tight, and attempting it from an exposed location can put a player directly in the path of one of the Bully's most punishing attacks if the shot misses. It is best treated as an advanced option rather than the foundation of a strategy. If there is solid cover nearby, a player may be better served by avoiding the incoming blast and returning to the leg-joint plan. Still, knowing that the turret can be interrupted may save a run when there is no easy route out.
Bring energy weapons when the risk is worth it
The Bully is particularly susceptible to energy weapons, especially examples with strong armor penetration. These weapons are effective at chewing through its defenses and reducing its survivability faster than less suitable options. The Aphelion is notably useful against this Arc, giving prepared players a capable answer to its durable shell.
There is a tradeoff, however. Energy weapons can be rare and valuable, so taking one into a dangerous encounter carries a meaningful risk. A player should consider the broader objective of the run before bringing premium gear specifically for a Bully. If the goal is to hunt high-threat Arc targets or to push into an area where one is expected, the investment may make sense. If the objective is simple scavenging, extracting safely with valuable equipment may be wiser than committing that equipment to a prolonged fight.
Armor-piercing options have a role even when they do not deliver the largest direct damage numbers. Weapons such as the Hullcracker can help dismantle the Bully's outer plating. That may not look as immediately rewarding as a high-damage weak-point burst, but it sets up the rest of the team or the player's secondary weapon to perform better. Once the armor is removed, ordinary weapons have a much more favorable target to work with.
In short, energy weapons accelerate the encounter, while armor-piercing weapons create access. A versatile loadout can use both ideas: break down the shell, then exploit the newly exposed areas. Players who cannot afford that equipment should lean harder into patience, terrain, and repeated shots at the yellow leg joints rather than trying to outgun the Bully head-on.
Win the terrain battle before the damage battle
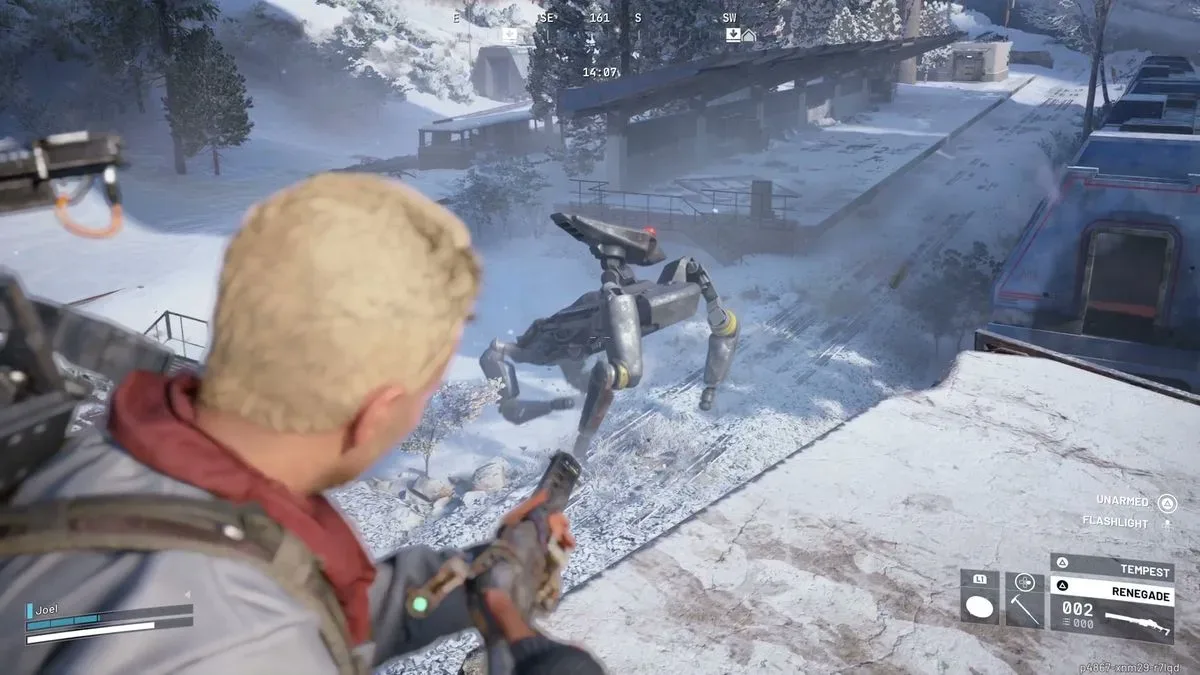
Positioning is arguably more important than raw weapon strength against a Bully. Its speed means that trying to outrun it across level ground is unlikely to work for long. The key limitation is that it cannot climb. Reaching a rooftop or another elevated area that the Bully cannot access gives a player a much safer place from which to work through its armor and target its legs.
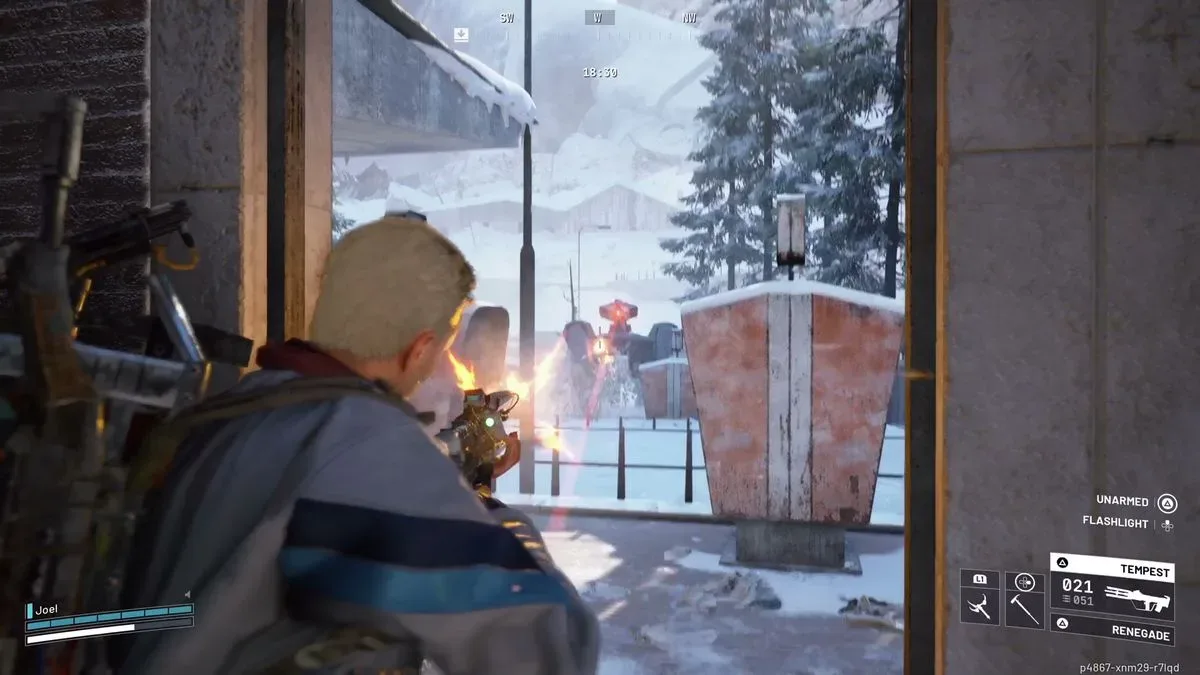
Height alone helps, but a small elevated window can be even better. From that kind of position, the player can fire outward while reducing the Bully's ability to return damage effectively. Its grenade spread is broad and unreliable when trying to pass through a tight opening, while the shotgun attack offers enough visual warning for a player to duck behind the wall or step back into cover. A window should not be treated as complete immunity, but it can transform an open, frantic encounter into a controlled exchange.
When no building is available, prioritize anything that breaks line of sight and allows a quick reposition. Corners, elevated ledges, and uneven routes can all buy enough time to reload, recover, or bait an attack. Standing in a wide-open space is the scenario the Bully wants. It can keep sprinting forward, fire its turret, and layer explosives across the ground while the player has few options besides running.
How to react to the Bully's grenades and close-range pressure
The Bully's grenade attack is one of the clearest signals that a player needs to move immediately. It launches an arcing spread of timed explosives over a broad area. There is a brief delay before the blast, but that delay is not an invitation to remain in place and keep firing. As soon as the incoming grenades are spotted, sprint out of the expected blast zone and wait for the explosives to detonate.
Trying to absorb the damage or make one last weak-point shot can turn a manageable fight into a recovery situation. The Bully is persistent enough that it can capitalize on that recovery window with another rush or turret attack. Movement first, damage second. After the explosions go off, use the moment to find better cover, climb to a safer level, or resume fire from a fresh angle.
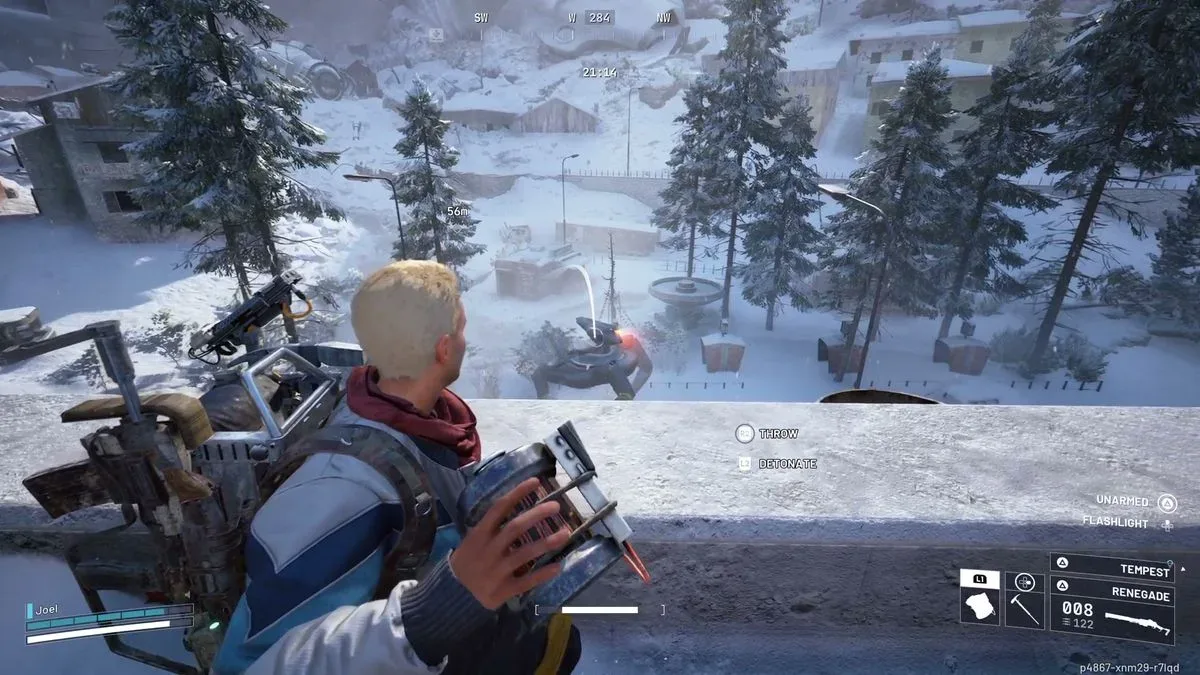
Its speed also makes precision shooting difficult. The leg joints may be the correct target, but they will not stay lined up for long when the Bully is charging over uneven terrain. That is where control equipment becomes valuable. The Showstopper or Yank Grenade can stun or restrain the machine long enough to stabilize the engagement. A short interruption can be used to land several weak-point shots, escape an unfavorable lane, or place a Deadline mine onto the Bully's shell.
These tools do more than add damage. They take back the tempo of the encounter. The Bully is dangerous because it keeps players reacting. Pinning it in place, even briefly, gives the player a chance to choose the next move instead.
Use explosions and terrain to create major openings
A large explosion combined with uneven ground can sometimes overturn a Bully, leaving it on its back. This is not something that can be relied upon every time, but it is a major opportunity when it happens. The machine will eventually thrash around and right itself, so players should use that window aggressively. Focus fire on exposed areas, unload prepared weapons, and avoid wasting the opening on unnecessary repositioning if a safe firing angle already exists.
The possibility of a flip is another reason to consider mines and explosive tools as part of an engagement plan. A Deadline mine can be planted when the Bully is held down by a Showstopper or Yank Grenade. Even when an explosion does not fully overturn the target, it can still contribute to armor damage and create the kind of disruption needed to regain control.
Do not expect a quick takedown. The Bully is built to absorb punishment, and even a well-executed encounter can be lengthy. The goal is not to rush the kill at any cost. It is to repeatedly create safe damage windows, avoid the grenade spread, and preserve enough resources to finish the job without becoming vulnerable to other threats in the area.
Bully rewards and why the fight may be worthwhile
After it is defeated, the Bully breaks into multiple pieces that can be scavenged. Its notable unique drop is the Bully Fragmenter, an Epic crafting item. The Fragmenter has uses connected to the level 3 Research Station, making it a meaningful reward for players progressing through higher-level crafting and station upgrades.
That reward helps justify the danger, but it also reinforces the need to plan an exit. A long Bully battle can draw attention and consume ammunition, equipment, and healing resources. Once the Arc is down and the valuable components are collected, reassess the surroundings rather than assuming the encounter is over. The best Bully kill is one that ends with both the Fragmenter and the Raider safely extracted.
Quick Bully checklist
- Aim for the yellow leg joints whenever they are visible.
- Break exterior leg armor to expose more vulnerable areas.
- Use energy weapons with armor penetration for particularly effective damage; the Aphelion is a strong option.
- Consider armor-piercing weapons early to remove the Bully's shell before switching to regular damage.
- Take high ground, since the Bully can chase but cannot climb.
- Use narrow elevated windows to limit its shotgun and grenade effectiveness.
- Run as soon as grenades arrive; do not linger in their blast radius.
- Use Showstoppers or Yank Grenades to hold the Bully still for weak-point shots or mine placement.
- Watch for explosive flips on uneven terrain and punish the brief knockdown.
- Attempt a turret-barrel interrupt only when prepared, as a missed timing can be costly.
The Bully is one of Arc Raiders' most oppressive opponents because it asks players to manage aim, movement, cover, and equipment at the same time. But it is not invincible. Strip its armor, target the legs, respect its explosives, and force the fight into elevated or enclosed terrain. With those fundamentals in place, the Bully becomes less of an unstoppable pursuer and more of a demanding source of valuable salvage.
Community
Discussion
Start the conversation.
No comments have been posted yet.