

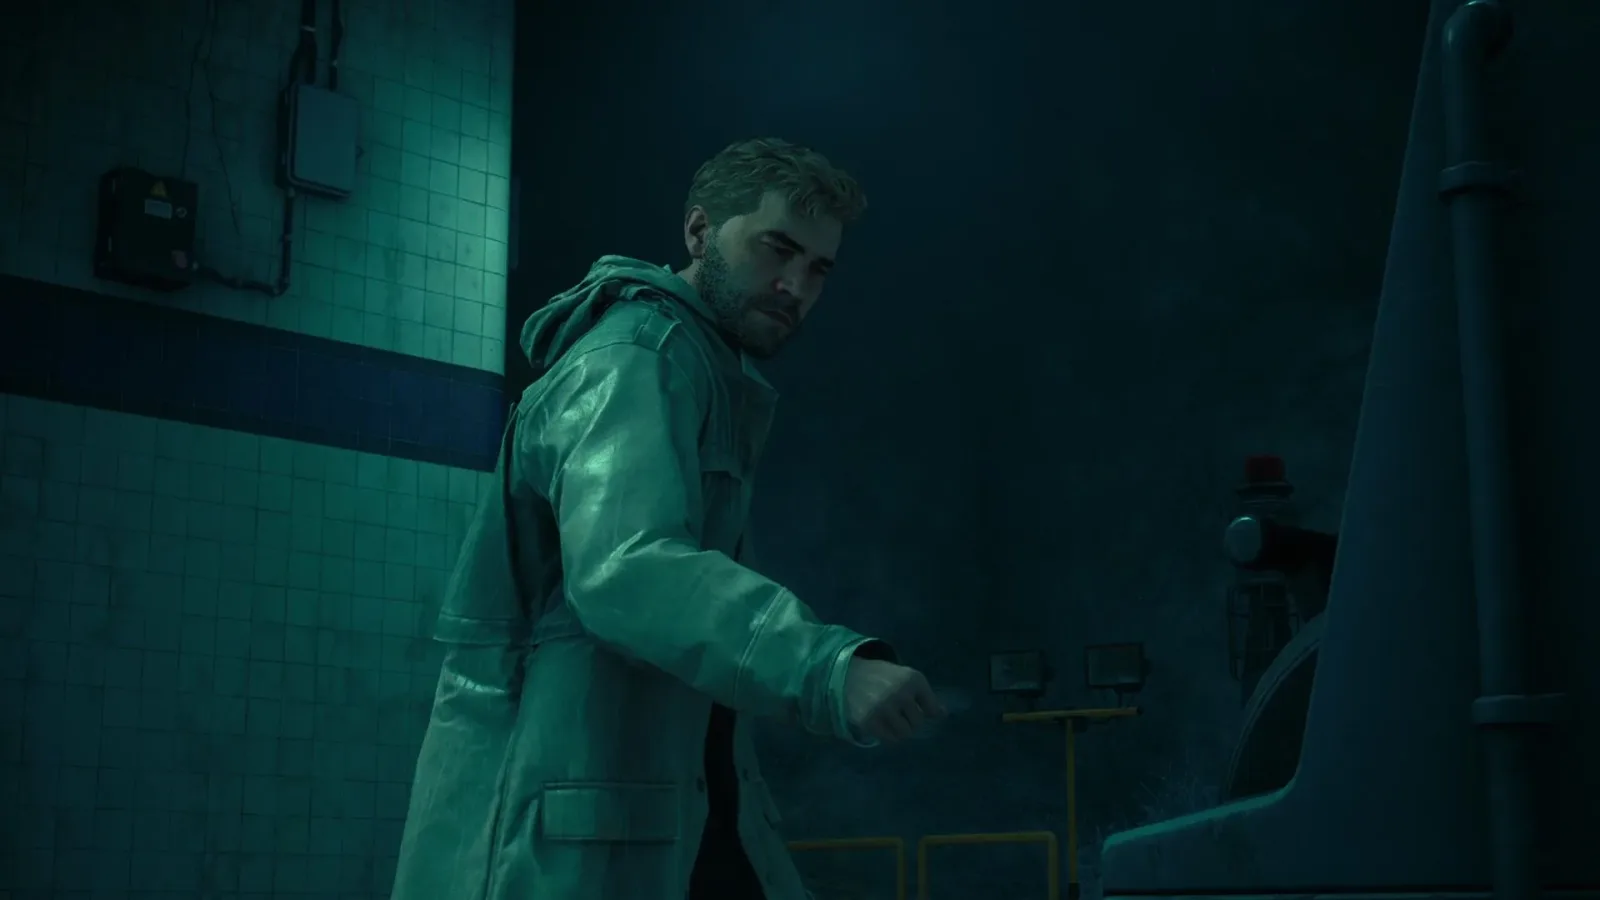
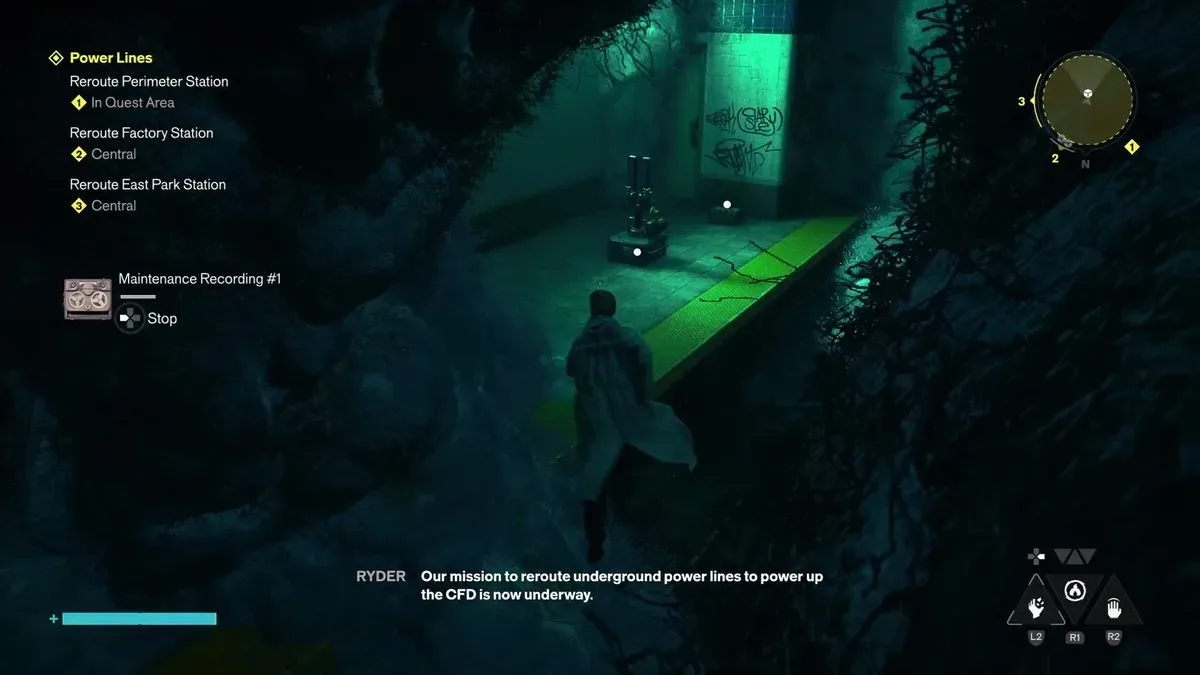
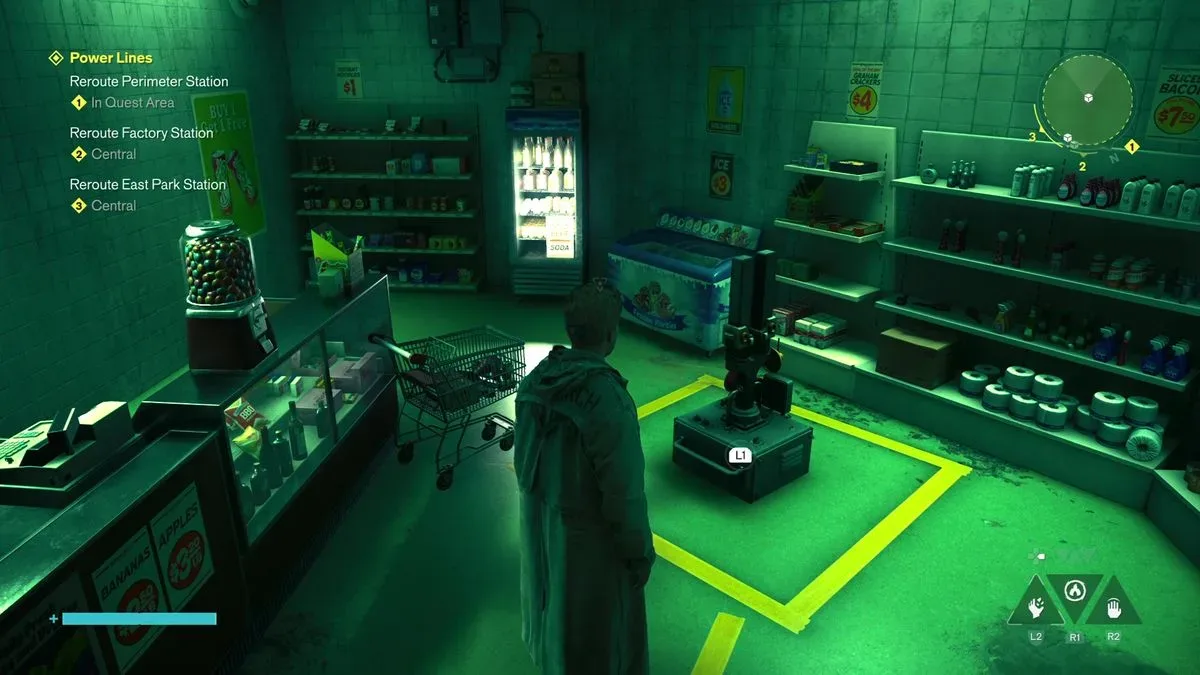
The Power Lines quest in Control Resonant asks Dylan to restore enough energy for an FBC project by rerouting power through three stations: Perimeter Station, East Park Station, and Factory Station. The basic idea is consistent throughout the quest, but each stop adds a new wrinkle. You will collect portable Calibration Units, place them in the correct yellow-taped zones, and activate a large control mechanism known as the Tuning Device.
That simple formula becomes increasingly elaborate as locked storefronts, removable electrical Charges, Mold barriers, teleportation, and an extra-dimensional station complicate the route. The final portion at Vanished Station combines nearly every mechanic introduced earlier and requires especially careful control of light-sensitive Mold.
This walkthrough breaks down every stage in order, explaining where to find each Calibration Unit, where it belongs, and how to avoid getting stuck during the final rerouting sequence.
How Power Lines puzzles work
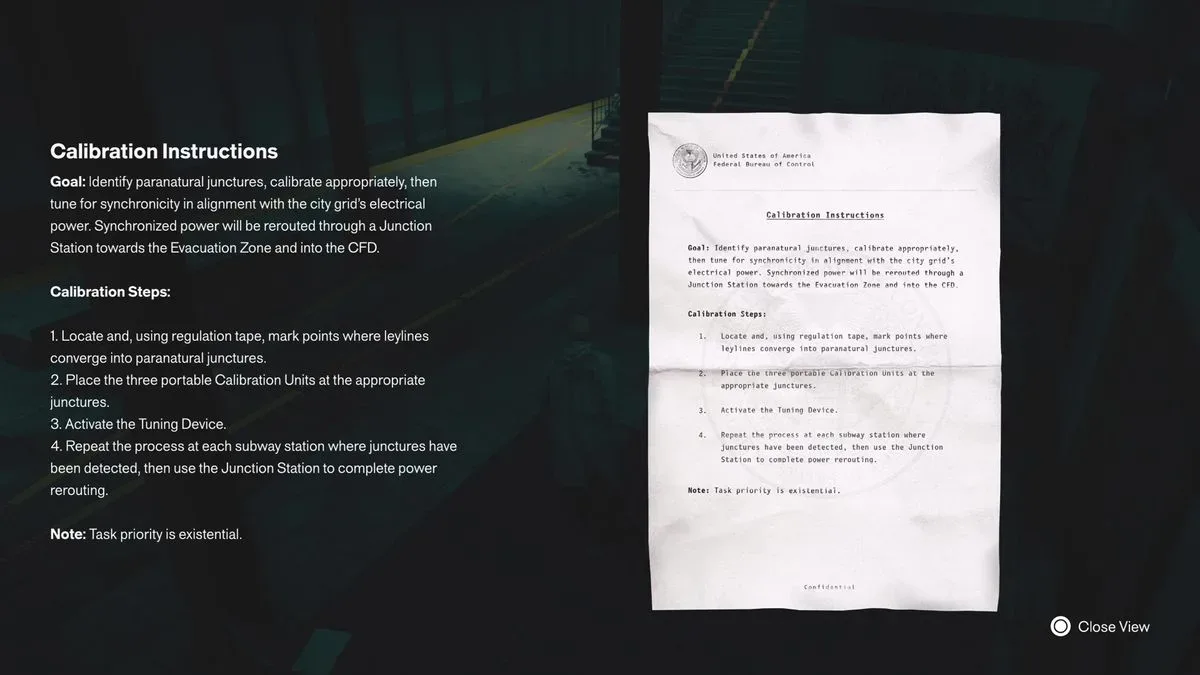
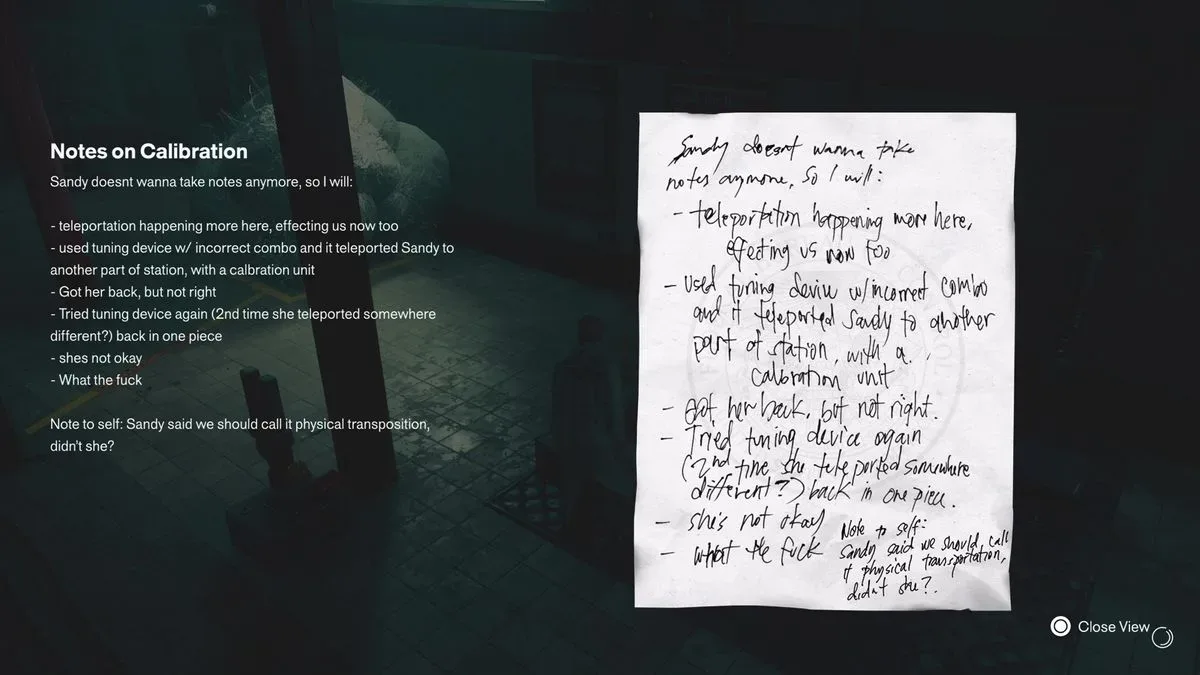
At every main station, look for the Calibration Instructions document near the machinery. It establishes the broad objective: position the Calibration Units in the intended spots, then interact with the Tuning Device.
For useful background on this topic, read Steam's Personalized Discounts & Events Feed Is Giving Smaller Indies a Major Visibility Boost.
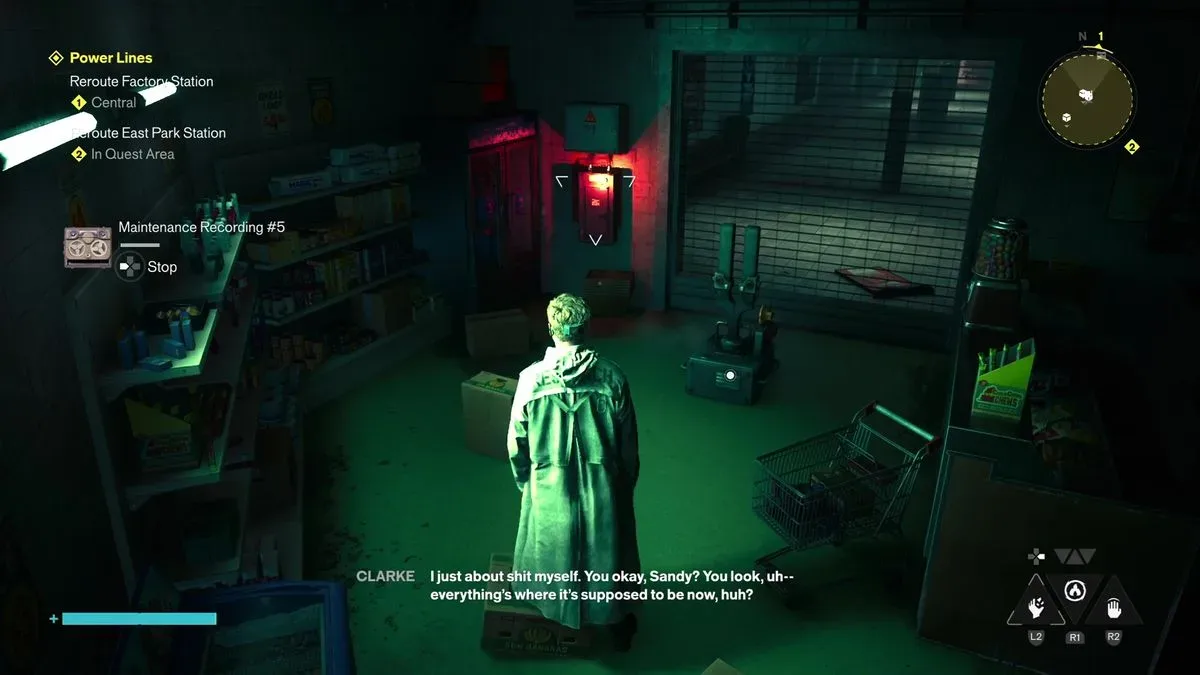
Calibration Units are small devices Dylan can pick up and carry. The destinations for them are square zones marked with yellow tape. While the first three stations each use three units, the Vanished Station requires four. Charges taken from Power Cores are equally important, as they can power doors, shops, lights, and other electrical devices. Moving a Charge from one core to another will often open one route while closing another, so keep track of which mechanism each core is supporting.
It is usually helpful to bring found units down to the platform as soon as possible. Doing that creates a central staging area and cuts down on repeated trips through stairs and storefronts.
Perimeter Station Power Lines solution
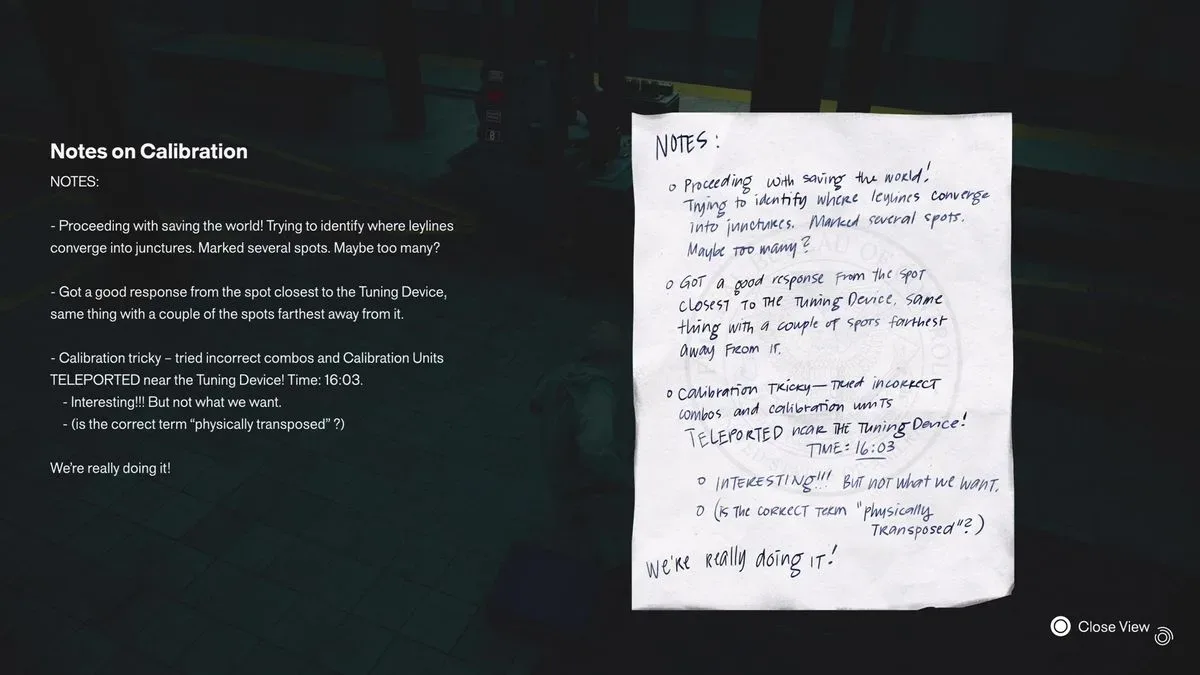
Perimeter Station is the introductory version of the puzzle and establishes the central rules. There are three marked squares and three Calibration Units. The note beside the Tuning Device indicates that two units must be positioned as far from the machine as possible, while the remaining one belongs in the nearest available square.
Find all three Calibration Units
- On the platform, travel south and look behind the partially formed Mold wall. The first Calibration Unit is there. Pull it out into the clear so it is easy to retrieve later.
- Go up the stairs on the north side of the platform. A Mold-blocked dead end contains a yellow-marked square and the second Calibration Unit.
- Return toward the south stairs, which are also the route used to enter the area. A Power Core holding a Charge keeps a store door open.
- Take that Charge down to the platform, then follow the tracks north to another Power Core. Powering this second core opens a door containing the third Calibration Unit.
Place the units correctly
Once all three units are available, use the Charge to reopen the store door associated with the yellow tape trail. Put one Calibration Unit in the marked square inside that store. This is one of the two farthest placements.
Carry the second unit to the marked square at the north stairway dead end. It is the other distant placement. Finally, put the last Calibration Unit in the yellow square on the platform immediately beside the Tuning Device.
With two units at the remote points and one next to the machinery, activate the Tuning Device to restore Perimeter Station's line.
East Park Station Power Lines solution
East Park Station has a much more direct final arrangement: all three yellow-marked squares need a Calibration Unit. The complication is that activating the Tuning Device before everything is complete teleports Dylan elsewhere. That effect initially seems like a setback, but it is the intended way to reach the last unit.
Clear the platform and collect the first two units
- From the platform, head upstairs and enter the north store to collect the first Calibration Unit. Bring it back down to the platform.
- Destroy the clumps of Mold blocking the marked platform spaces. Basic melee attacks are enough to shatter these obstructions.
- Find the second Calibration Unit on the south side of the platform.
- Place these first two units in the marked squares beside the north and south staircases.
Use teleportation to reach the final unit
Now activate the Tuning Device. Because the setup is incomplete, Dylan will be teleported into a closed store containing the third Calibration Unit. This is not a failure state; it is the required path forward.
Inside the shop, strike the electrical panel to unlock the door from within. Take the newly found unit down to the platform and set it in the final vacant yellow square. Return to the Tuning Device and activate it again. With all three placements filled, East Park Station's Power Lines are complete.
Factory Station Power Lines solution
The initial Factory Station task appears simple: find three units and arrange them in a straight line. However, its completion opens the final and most complicated Power Lines scenario. Before dealing with that later challenge, make sure the Factory arrangement is exact.
Where to find the Factory Station units
- Go around the north platform stairs and check behind them for the first Calibration Unit. Carry it back to the platform.
- Head upstairs and find the second unit in an open storefront ahead of the route.
- Look on the roof of the train sitting on the west track to locate the third unit.
Make the straight-line formation
The target layout uses the three locations running alongside the tracks. Place two Calibration Units between the benches on the track. Position the third unit beside the stairs so that all three form a line.
Activate the Tuning Device after arranging them. This concludes the ordinary Factory Station puzzle, but it also transports Dylan to an unfamiliar station beyond normal reality. Defeat the Mold enemies encountered there and use the payphone to speak with the survivors before proceeding.
Vanished Station: the final rerouting puzzle
Vanished Station is the true finale of Power Lines. Dylan must restore a connection to Manhattan by operating Tuning Devices across two separate platforms, A and B. Both platforms have a Tuning Device, and activating one sends Dylan to the other. Early on, that teleportation is the only bridge between the locations, though a gate can later create a physical connection.
There are four Calibration Units total, with two ultimately required on Platform A and two on Platform B. The key hazard is the unusual Mold. It expands under light, conducts electricity when it bridges damaged wires, and regrows too rapidly to destroy while it remains illuminated. In other words, the Mold must be grown when it is needed as a conductor, but removed when it covers a required placement square or blocks access.
Open the route and meet the survivors
- Activate a Tuning Device to arrive at Platform B.
- Go upstairs and break the electrical box. This opens a gate, establishing a direct route between Platforms A and B without repeatedly relying on teleportation.
- Go upstairs and remove the Charge from the Power Core that powers the spotlight aimed at the Mold.
- Break the Mold clump that was affected by the light. This raises another gate and allows Dylan to reach the survivors.
- Collect the two Calibration Units near the survivors. Place them on Platform A for now, where they will be convenient later.
Get the remaining two Calibration Units
Near the survivor hideout, move the Charge from its current Power Core to the core farther west. This opens a shop door containing the third Calibration Unit. Bring that unit to Platform B.
Take the Charge from the shop and deliver it to Platform A's Power Core. Doing so opens the gate at the north staircase, giving access to the fourth and final Calibration Unit. At this point, all four devices are in hand. Keeping two on each platform is the most efficient approach and prevents a long series of back-and-forth carries.
Set up Platform A
Place one Calibration Unit in each of Platform A's two yellow-taped squares. Watch the floodlight closely. If its beam causes Mold to cover one of those target squares, bring the Charge back to the Power Core by the survivors upstairs. Shutting down the light stops the rapid regrowth, allowing the area to be cleared and the unit placement to remain usable.
Set up Platform B and preserve the wire connections
Platform B requires more caution. First, use an electrical Charge to make the Mold grow across every location where it can spread. This is necessary because some of those growths connect severed electrical cables and carry the needed current.
After the Mold has spread, return the Charge upstairs to turn the relevant systems off. If Dylan moves quickly enough, it is also possible to keep the Charge in the weapon while handling the next actions. Destroy every Mold clump on Platform B except the clumps physically bridging the wires. Those wire-linking sections must remain intact or the electrical path will fail.
Once the marked yellow squares have been exposed, place Platform B's two Calibration Units in them. Then quickly reach the nearby Tuning Device and pull its lever.
Finishing the Power Lines quest
After the Vanished Station configuration is accepted, several Mold enemies appear. Defeat them, then go upstairs and speak to Dr. Florez to formally finish Power Lines.
The reward includes a valuable Living Shard, an item used to unlock new weapons in Control Resonant. More importantly, the quest's final sequence teaches the broader lesson behind these station puzzles: Charges control the environment, light determines whether special Mold grows, and not every obstruction should be destroyed. At Vanished Station, some Mold is a barrier, while other growth is the electrical bridge that makes the entire solution possible.
Community
Discussion
Start the conversation.
No comments have been posted yet.