

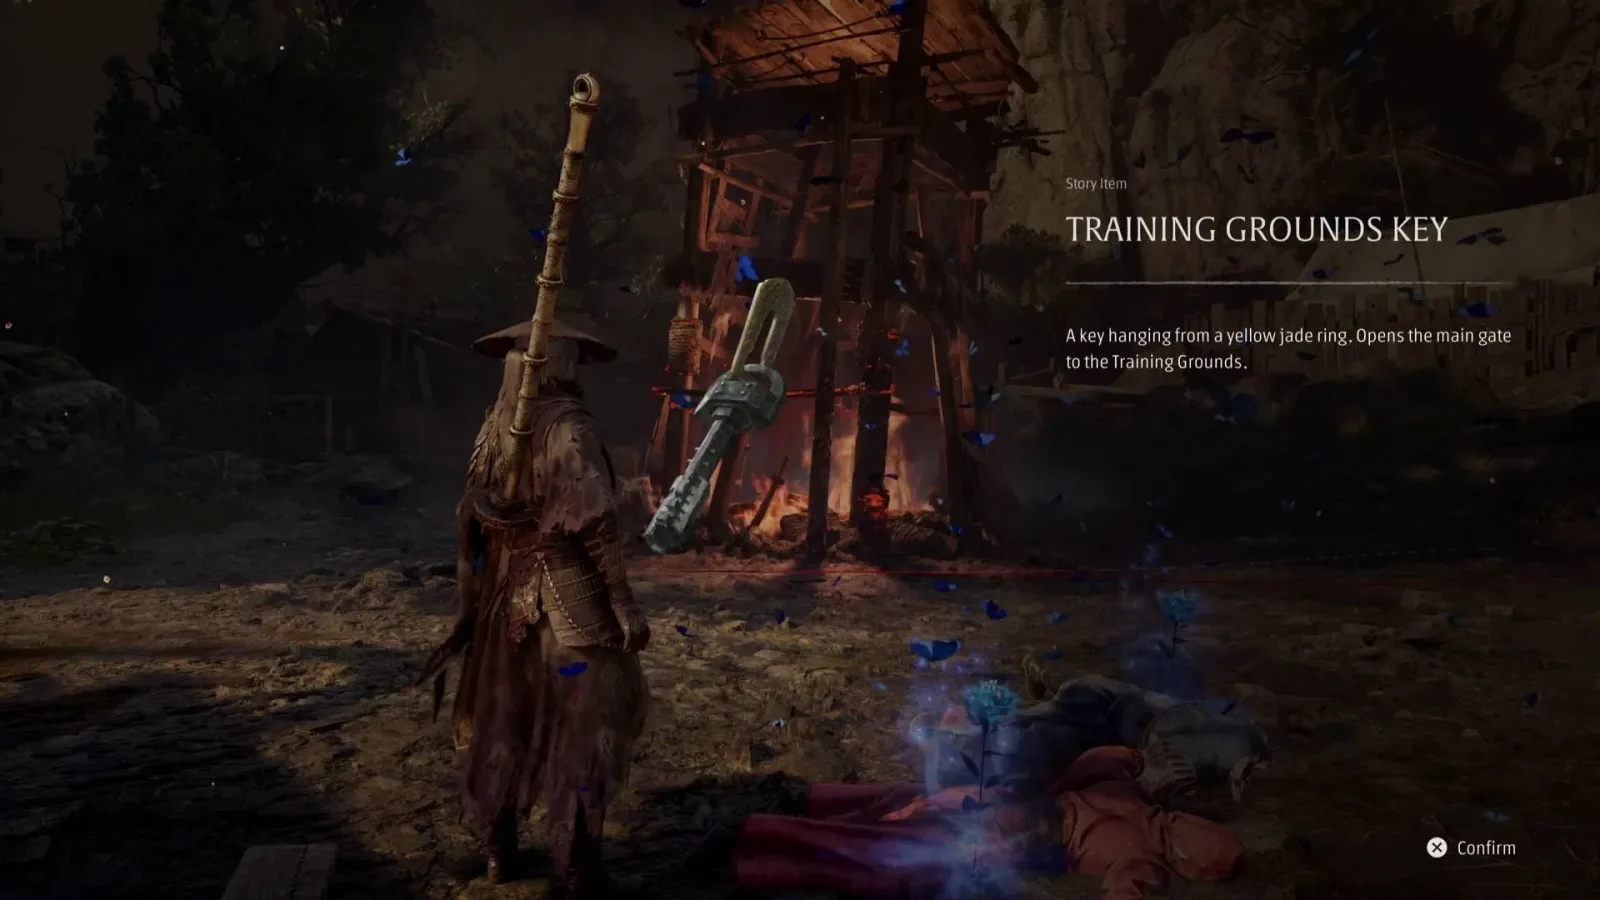
The Training Grounds Key is one of the more important progression items to find in Phantom Blade Zero, but the route to it is surprisingly easy to overlook. It is hidden behind a detour in the Mandate Encampment that begins with a modest dirt path, then leads through a dovecote tower, along precarious cliffside scaffolding, and ultimately into a demanding boss battle.
Getting the key is worthwhile for several reasons. Opening the Training Grounds advances your exploration of the Mandate Encampment and provides access to another major fight, valuable equipment, collectibles, and a crucial component needed for the Illusory Pipa restoration objective. If you have reached the main camp and are unsure where to go next, the solution is not far away--but it is not necessarily on the most obvious route.
Where to start looking in Mandate Encampment
Begin inside the main Mandate camp, near the dying Mandate disciple. From this area, follow the route onward into the next section of the encampment. As you enter, pay particular attention to the right-hand side rather than continuing straight ahead.
You are looking for a wooden ramp leaning against a fence. This ramp is the key visual landmark for the entire detour. Climb it, cross over the fence, and move toward the wooden fortified gate beyond it.
For useful background on this topic, read Ragdoll Robot Boxing codes for November 2026: Lucky Spins, Gears and Redemption Steps.
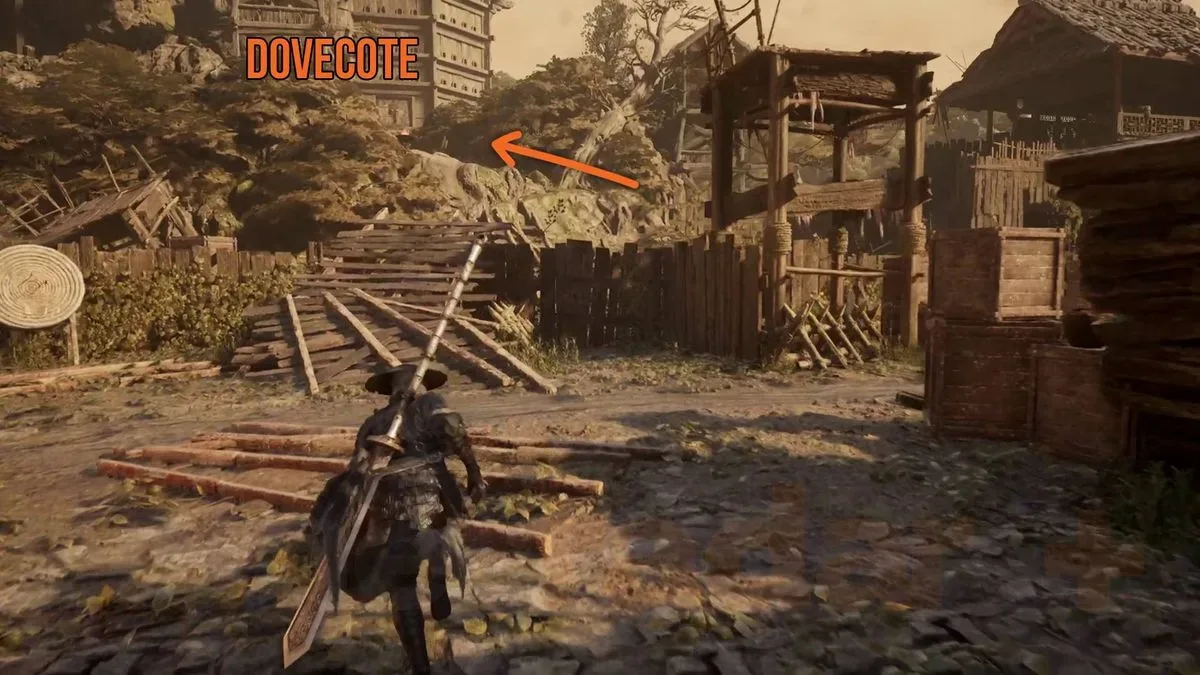
The next turn is where many players can lose the trail. Opposite the wooden incline that climbs toward the gate's upper level is a short dirt path heading uphill. It can blend into the surrounding terrain and may not initially look like the main route, but this is the path you need to take.
- Start at the main Mandate camp by the dying disciple.
- Proceed into the next area.
- Find the wooden ramp against the fence on the right.
- Climb over the fence and head toward the fortified wooden gate.
- Turn to the short uphill dirt trail opposite the gate's wooden incline.
Reach the dovecote and escape the first encounter
Follow the dirt trail uphill and you will quickly arrive at a dovecote tower, marked by a bell. Ascend the structure. The tower is not merely a scenic stop: it begins the sequence that eventually brings you to the Training Grounds Key.
At the top, you will encounter a boss. This is not the moment to try to finish the fight. The intended response is to escape. Use the nearby chain to swing across to the cliff, leaving the boss behind for now.
This is an important piece of encounter design to recognize. A retreat can feel counterintuitive in an action RPG, especially when a boss health bar or threatening enemy is placed directly in front of you. Here, however, the escape route is part of the required progression. Do not spend unnecessary resources attempting to win a battle that the route is asking you to abandon.
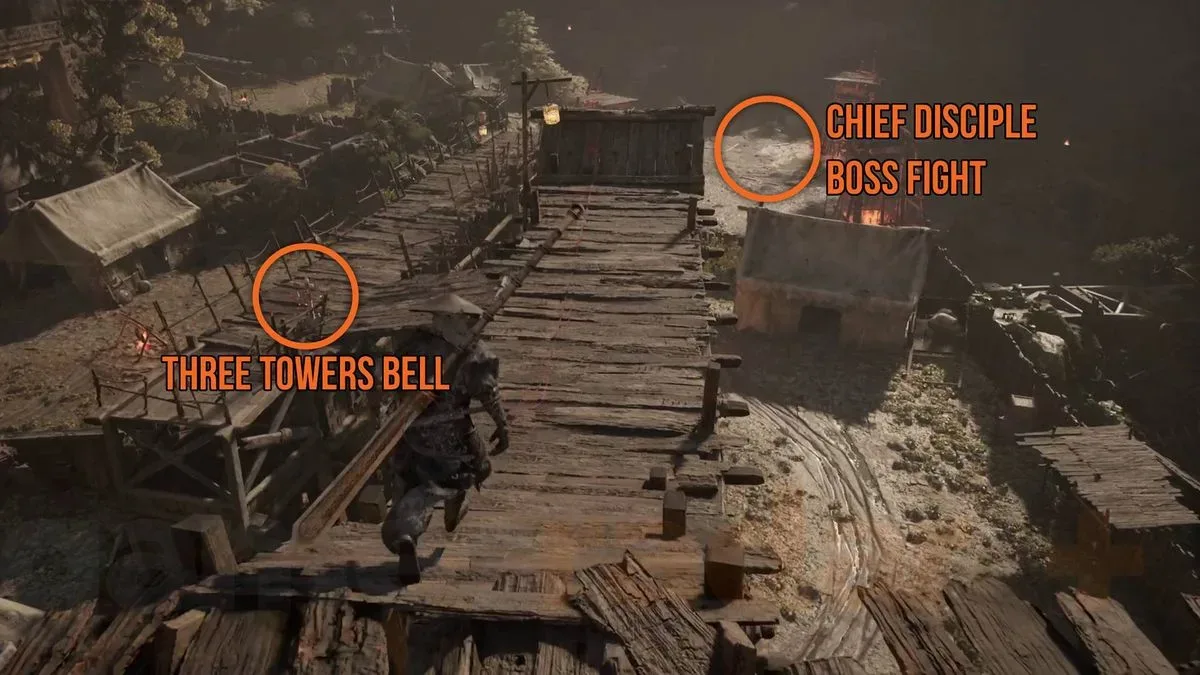
After swinging to the cliff, continue through the wooden scaffolding built along the rock face. The walkway winds around the cliff and eventually turns left. Stay on this route until you reach the Three Towers Bell.
Take the shortcut before moving on
Near the Three Towers Bell is a raised ladder that can be kicked down. Do this as soon as you can. Opening the ladder creates a shortcut that will save time if you need to return after dying, resupplying, or continuing your search for missed items.
Shortcuts are especially valuable in a route that leads directly to a multi-phase boss encounter. Even players confident in their combat ability should open it before pushing ahead. It reduces the punishment of a failed attempt and keeps the focus on learning the boss rather than repeating traversal.
Defeat the Chief Disciple of the Seven-Stars Formation
Continue along the cliffside wooden walkway after reaching the bell. Eventually, the route brings you to an unmistakable combat arena. Dropping in triggers the confrontation with the Chief Disciple of the Seven-Stars Formation.
Defeating this boss earns the Training Grounds Key. The fight has two phases, and the second is significantly more dangerous than the first. The earlier boss from the dovecote encounter returns to join the battle, turning the encounter into a much more difficult test of awareness and positioning.
Because the second phase adds another opponent, it is helpful to approach the first phase with efficiency in mind. Preserve healing and avoid taking avoidable damage early. Once the returning enemy enters the fight, keeping track of both threats becomes the priority. Avoid getting trapped between them, be cautious around arena edges, and look for moments when one combatant is committed to an attack before focusing on the other.
The exact approach will depend on your build and preferred weapons, but the broad goal remains the same: reach the second phase with enough resources to respond to the sharp jump in pressure. The fight is designed to revisit the foe you were forced to flee at the dovecote, making the earlier escape feel like setup rather than a dead end.
The Training Grounds Key is awarded after the Chief Disciple of the Seven-Stars Formation has been defeated.
What to do after getting the Training Grounds Key
Once the Chief Disciple falls, you will have the key needed for the locked Training Grounds door in Mandate Encampment. There is another useful reward nearby as well: Moji's House Key. Pick it up before leaving the area so you do not need to retrace the boss route later.
Next, return to the Training Grounds door and interact with it to unlock the way forward. The area beyond contains another boss fight, so unlocking the entrance is not the final challenge. Still, it is an essential milestone because it opens access to several meaningful rewards.
The most notable equipment rewards from the Training Grounds include the Baishan Stormswords, a flashy dual-wield weapon option, and the Broken Vessel Accessory. The area also contains the Lament Draught Medicine and other collectibles for thorough explorers.
Most importantly for players pursuing the related restoration task, the Training Grounds contain the backplate of the Illusory Pipa. This is a necessary piece in the process of repairing the mystical instrument. Once you have the needed components, the Illusory Pipa can be taken to Myst in Pangzhen for repair.
Why this key matters for the Illusory Pipa quest
It can be tempting to treat the Training Grounds Key as an optional lock-opening reward and postpone the whole route until later. However, its connection to the Illusory Pipa makes it much more consequential. The backplate found beyond the Training Grounds is one of the parts required to complete the instrument's restoration path.
That makes the Mandate Encampment detour a practical priority if you are trying to finish that objective rather than merely clear the region. Securing the key, unlocking the Training Grounds, and collecting the backplate keeps your quest progress moving without leaving a major component behind.
Training Grounds Key route at a glance
- Travel to the main Mandate camp and locate the dying Mandate disciple.
- Move into the next area and find the wooden ramp against the fence on the right.
- Climb the ramp, cross the fence, and approach the fortified gate.
- Take the short dirt path uphill opposite the wooden incline leading up the gate.
- Climb the dovecote tower and flee the boss by swinging across the chain to the cliff.
- Follow the cliffside scaffolding until it turns left and leads to the Three Towers Bell.
- Kick down the nearby ladder to establish a shortcut.
- Continue along the walkway and enter the boss arena.
- Defeat the Chief Disciple of the Seven-Stars Formation to receive the Training Grounds Key.
- Collect Moji's House Key nearby, then return to open the Training Grounds door.
Other keys to keep in mind
If you are in the middle of a broader key hunt, it is also worth checking whether you have found the Village of Lu Cellar Key and the Cell Key in Weeping Creek Valley. These are separate items from the Training Grounds Key, but handling them while working through the surrounding progression can prevent an unnecessary return trip later.
For Mandate Encampment specifically, the major lesson is simple: do not overlook the uphill dirt trail by the fortified gate. That small route leads to the dovecote, the escape sequence, the Chief Disciple battle, and eventually the key that opens one of the area's most valuable paths. With the shortcut unlocked and the boss defeated, you can fully explore the Training Grounds and continue the Illusory Pipa restoration journey.
Community
Discussion
Start the conversation.
No comments have been posted yet.